Chocolate
Perfect Chocolate Ganache
The Most Useful Chocolate Recipe You Will Ever Learn
If I could teach every home baker only one chocolate technique, it would be ganache. Not because it is the most impressive — though it certainly can be — but because it is the most versatile. A single batch of chocolate ganache can become a pourable glaze for a cake, a spreadable frosting for cupcakes, a dip for strawberries, a filling for truffles, or a topping for ice cream. Change the ratio, change the temperature, and you have an entirely different application from the same fundamental technique.
And that technique is remarkably simple. Ganache is, at its core, just two ingredients: chocolate and cream. You heat the cream, pour it over chopped chocolate, and stir until smooth. That is it. The whole process takes less than 10 minutes and requires no special equipment, no candy thermometer, no double boiler if you do not want one. If you can boil water and stir, you can make ganache.
I learned ganache in culinary school, and I remember being genuinely shocked at how easy it was. We had spent weeks on complicated French techniques — tempering chocolate, making pate a choux, laminating croissant dough — and then the instructor said, “Today we are making ganache,” and the entire demonstration was over in five minutes. The class looked around at each other, waiting for the catch. There was not one. Ganache really is that simple, and the results really are that spectacular.
Understanding the Ratios
The magic of ganache lies in the ratio of chocolate to cream. This single variable determines whether your ganache pours like a sauce, spreads like frosting, or scoops like cookie dough. Once you understand the ratios, you never need to look up a ganache recipe again.
1:1 Ratio (Equal Parts Chocolate and Cream)
This is the standard ganache, and it is the most versatile. Eight ounces of chocolate to one cup of cream. When warm, it pours smoothly and is perfect as a glaze for cakes, doughnuts, eclairs, or cookies. As it cools, it thickens to a soft, spreadable consistency ideal for filling layer cakes or topping cupcakes. At room temperature, it sets to a soft fudge-like consistency.
2:1 Ratio (Twice as Much Chocolate as Cream)
More chocolate, less cream, and therefore a thicker, firmer result. This is the ratio for chocolate truffles, thick frosting, and any application where you need the ganache to hold its shape. When chilled, 2:1 ganache is firm enough to scoop with a melon baller and roll into balls. When whipped after cooling, it becomes a luxuriously fluffy frosting. This is the same base I use for my chocolate truffles.
1:2 Ratio (Twice as Much Cream as Chocolate)
Thin, pourable, and saucy. This ratio produces a chocolate sauce perfect for drizzling over ice cream, dipping fruit, or pooling on a dessert plate for plating. It stays liquid even at room temperature, so it is not suitable for frosting or filling.
The Step-by-Step Process
Chopping the Chocolate
Fine, uniform chopping is the single most important preparation step. Large, uneven chunks will not melt evenly — some pieces will be liquid while others remain solid, and when you stir too aggressively to compensate, you risk breaking the emulsion.
Use a sharp, heavy knife and a stable cutting board. Chop the chocolate into pieces roughly the size of chocolate chips, about 1/4 inch. Some shavings and dust are fine and will melt instantly. If you are using chocolate chips, they are already the right size, though they contain stabilizers that can make the ganache slightly less smooth than bar chocolate.
Heating the Cream
The cream needs to be hot enough to melt the chocolate but not boiling. Bring it to a simmer over medium heat — look for small bubbles forming around the edge of the pan and gentle steam rising from the surface. A full rolling boil can scorch the cream, giving it a slightly burnt taste, and can cause the butterfat in the cream to separate.
The Crucial Waiting Period
After pouring the hot cream over the chocolate, do not touch it for 3 to 5 minutes. I know the urge to stir immediately is strong — fight it. This resting period allows the heat from the cream to transfer slowly and evenly into the chocolate, beginning the melting process from the outside of each piece inward. If you stir too soon, the chocolate melts unevenly and you are more likely to end up with a broken, grainy ganache.
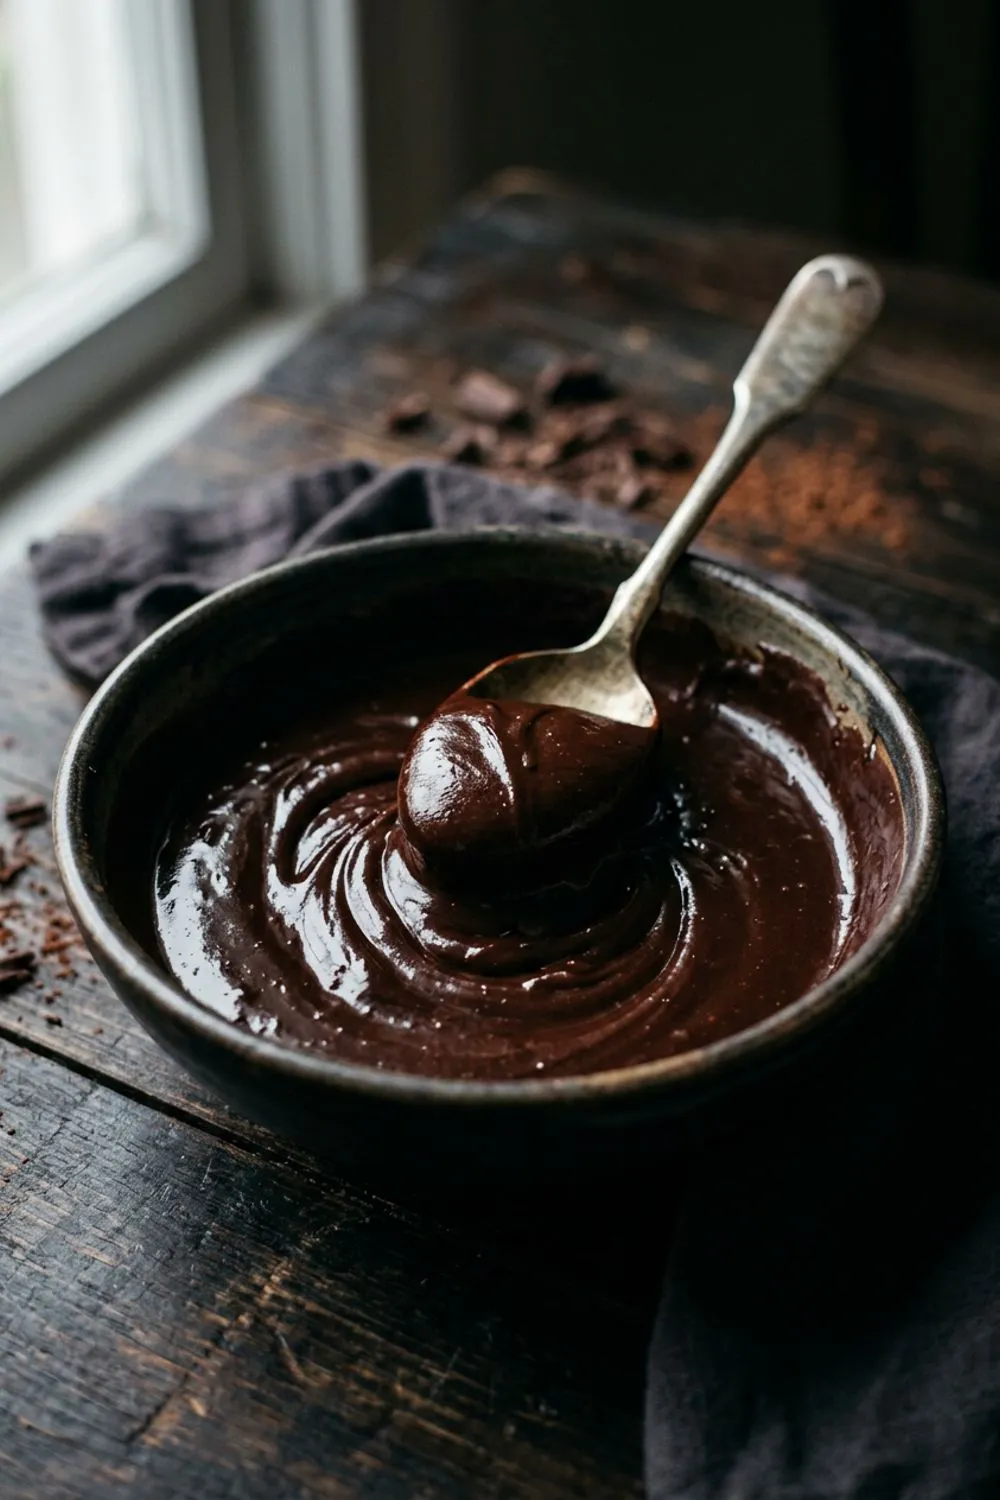
The Stirring Technique
When you finally stir, start in the center of the bowl and make small, gentle circles. You will see a smooth, glossy pool form in the center. Gradually widen your circles to incorporate the still-melting chocolate around the edges. The mixture will pass through an ugly phase where it looks broken and oily — do not panic. Keep stirring gently and steadily, and it will suddenly come together into something impossibly smooth and shiny.
The key word is gently. Aggressive whisking incorporates air bubbles, which dull the glossy surface and create a grainy appearance once the ganache sets. A silicone spatula is better than a whisk for this reason.
Troubleshooting
Ganache That Splits or Looks Oily
This happens when the emulsion breaks, usually because the cream was too hot or the stirring was too aggressive. To fix it, add 1 tablespoon of warm cream to the center of the bowl and stir in small circles until that small area becomes smooth. Continue adding warm cream, one tablespoon at a time, stirring from the center outward, until the entire batch comes back together. This rescue technique works almost every time.
Ganache That Is Too Thin
You used too much cream relative to chocolate, or the chocolate had a lower cacao percentage than expected (which means more sugar and less cocoa butter). Chop an additional ounce or two of chocolate very finely and stir it into the warm ganache until it melts and thickens the consistency.
Ganache That Is Too Thick
Too much chocolate or not enough cream. Warm a small amount of cream — just a tablespoon or two — and stir it in. Add gradually until you reach the desired consistency.
Applications and Uses
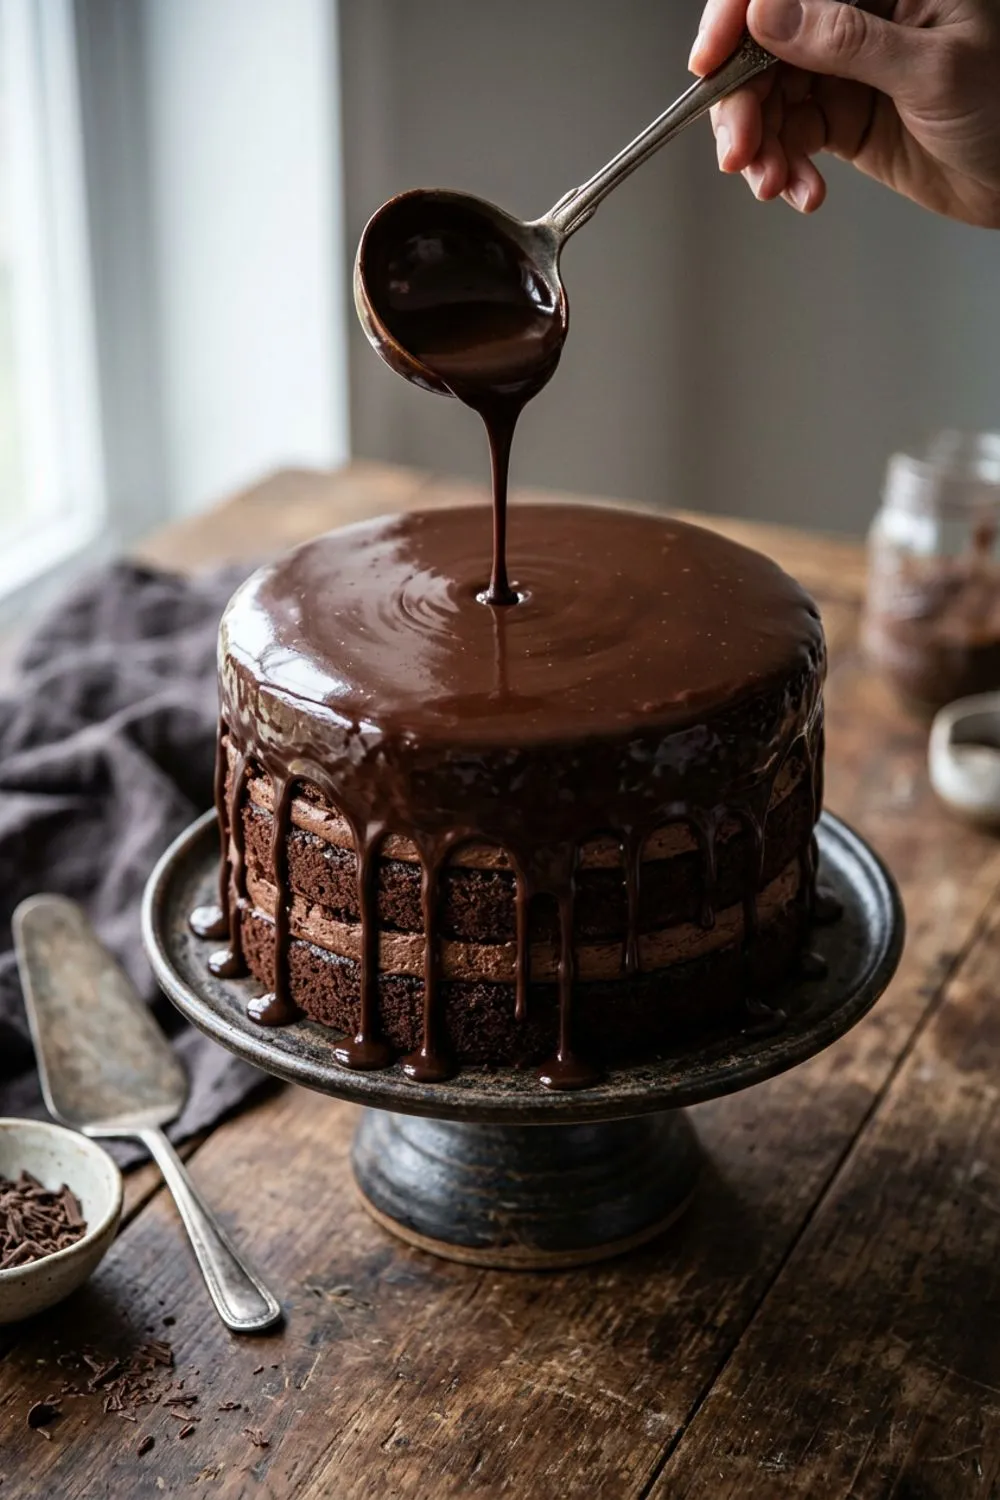
As a Cake Glaze
Use the 1:1 ratio ganache while it is still warm and pourable, about 90°F (32°C). Place the cake on a wire rack over a sheet pan. Pour the ganache over the center of the cake and let it flow down the sides naturally. Use an offset spatula to gently guide it if needed, but try not to overwork it — the beauty of a ganache glaze is its smooth, mirror-like surface.
As a Frosting
Let 1:1 or 2:1 ganache cool to room temperature, then refrigerate until firm but not hard, about 1 to 2 hours. Transfer to a mixing bowl and whip with an electric mixer on medium speed until it lightens in color and becomes fluffy, about 2 to 3 minutes. Use immediately to frost cakes or cupcakes. This whipped ganache is lighter than traditional buttercream but with a much more intense chocolate flavor.
As a Truffle Base
Use the 2:1 ratio and refrigerate until firm, about 2 hours. Scoop small portions with a melon baller or teaspoon and roll into balls between your palms. The warmth of your hands will soften the ganache quickly, so work fast and re-chill the batch if it becomes too soft. Roll the truffles in cocoa powder, chopped nuts, or tempered chocolate.
As a Tart or Pie Filling
Pour still-warm 1:1 ganache into a baked tart shell and refrigerate until set. This creates a dense, fudgy chocolate tart with minimal effort. A sprinkle of flaky sea salt on top elevates it to something truly spectacular.
Understanding the Emulsion
Ganache is technically an emulsion — a stable mixture of two substances that normally do not combine. In this case, the water-based liquid in the cream is being combined with the fat-based cocoa butter in the chocolate. The proteins in the cream act as emulsifiers, surrounding the tiny fat droplets and preventing them from separating.
This is why technique matters even in such a simple recipe. Aggressive stirring before the chocolate has fully melted can break the emulsion before it has a chance to form. Too much heat can evaporate water from the cream, changing the ratio and making the emulsion unstable. And even a small amount of additional water — from steam, a wet bowl, or a damp spoon — can cause the emulsion to break because it dilutes the proteins that are holding everything together.
Understanding ganache as an emulsion also explains why the chocolate-to-cream ratio changes the result so dramatically. At a 1:1 ratio, there is enough cream to keep the ganache fluid at room temperature, because the water in the cream prevents the cocoa butter from fully crystallizing. At a 2:1 ratio, there is less water relative to fat, so the cocoa butter crystallizes more thoroughly, producing a firmer set.
This knowledge is practical, not just academic. If your ganache is too thick, you know to add more cream — more water to disrupt the fat crystals. If it is too thin, you add more chocolate — more fat to shift the balance toward firmness. Once you think of ganache as a spectrum rather than a fixed recipe, you can adjust it on the fly to suit any purpose.
The Optional Butter Addition
A tablespoon of softened butter stirred into warm ganache adds noticeable sheen and a silkier mouthfeel. The butter also helps stabilize the emulsion, making the ganache less likely to split as it cools. I include it whenever I am making a glaze because the extra glossiness is dramatic, but I skip it for truffles where I want a firmer set.
Flavor Variations
Espresso ganache: Stir 1 teaspoon of instant espresso powder into the hot cream before pouring it over the chocolate. Coffee deepens chocolate flavor beautifully.
Orange ganache: Add 1 teaspoon of orange extract or 2 tablespoons of Grand Marnier to the finished ganache. The citrus cuts through the richness and adds sophistication.
Salted caramel ganache: Replace 1/4 cup of the cream with salted caramel sauce. The result is rich, salty-sweet, and addictive. This pairs wonderfully with my fudge recipe.
Spiced ganache: Add 1/4 teaspoon of cinnamon and a pinch of cayenne to the hot cream. The warmth sneaks up on you and adds complexity.
Mint ganache: Steep 2 tablespoons of fresh mint leaves in the hot cream for 10 minutes before straining and pouring over the chocolate. This creates a naturally minty ganache that is far more sophisticated than using extract.
Storage
At room temperature: Ganache keeps in an airtight container at room temperature for up to 2 days. It will be soft and spreadable.
In the refrigerator: Store in an airtight container for up to 2 weeks. It will firm up significantly. To re-use, microwave in 15-second intervals, stirring between each, until it reaches your desired consistency.
In the freezer: Freeze for up to 3 months. Thaw overnight in the refrigerator, then gently reheat.
Choosing the Right Chocolate for Ganache
Not all chocolate is created equal, and the quality of your chocolate determines the quality of your ganache more than any other factor. Here is what to look for:
Cacao percentage matters. For a balanced ganache that is rich but not bitter, I recommend 54 to 65 percent cacao for the 1:1 ratio. Going higher — 70 percent or above — produces a more intense, darker ganache that works beautifully for truffles but can be overwhelming as a frosting or glaze. Lower percentages produce a sweeter, milder ganache.
Read the ingredients. Good chocolate for ganache should list cocoa mass (or cocoa liquor), cocoa butter, and sugar as the primary ingredients. Avoid chocolates that list vegetable fats, artificial flavors, or excessive emulsifiers. These additives can interfere with the emulsion and produce a greasier, less stable ganache.
Couverture versus regular chocolate. Couverture chocolate contains a higher percentage of cocoa butter, which makes it melt more smoothly and produces a glossier, more fluid ganache. Professional chocolatiers almost exclusively use couverture. It is available online and at specialty baking stores, and the difference in the finished ganache is noticeable.
Store chocolate properly. Chocolate absorbs odors from its environment and degrades when exposed to moisture, light, or temperature fluctuations. Store it tightly wrapped in a cool, dark, dry place — not in the refrigerator, where condensation can form. Well-stored chocolate keeps for a year or more.
Final Thoughts
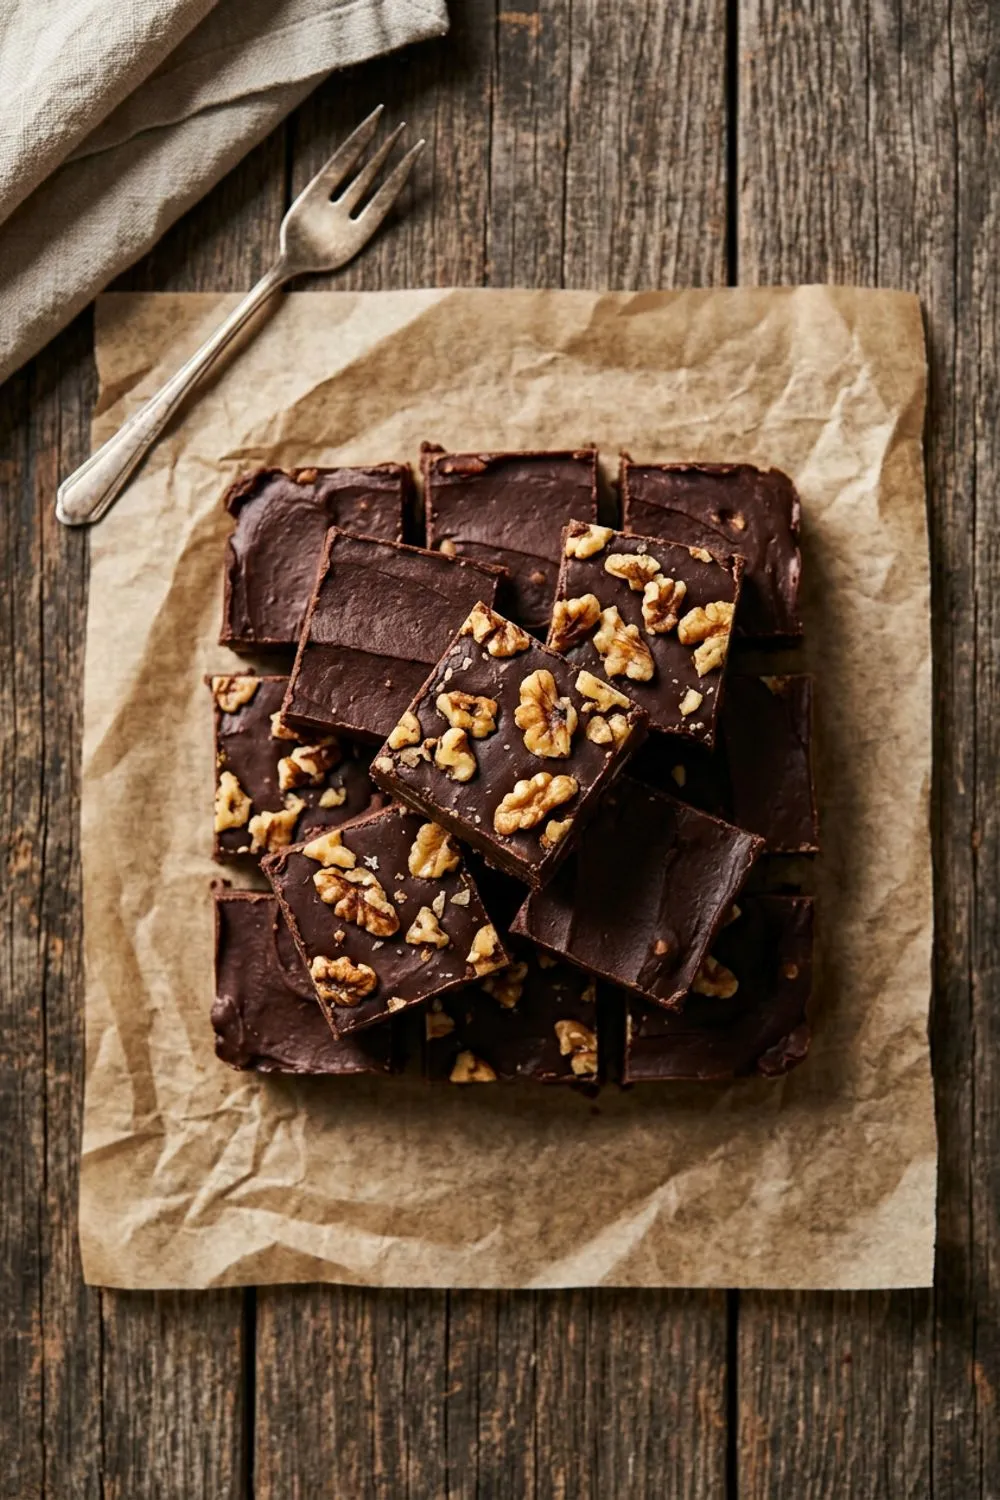
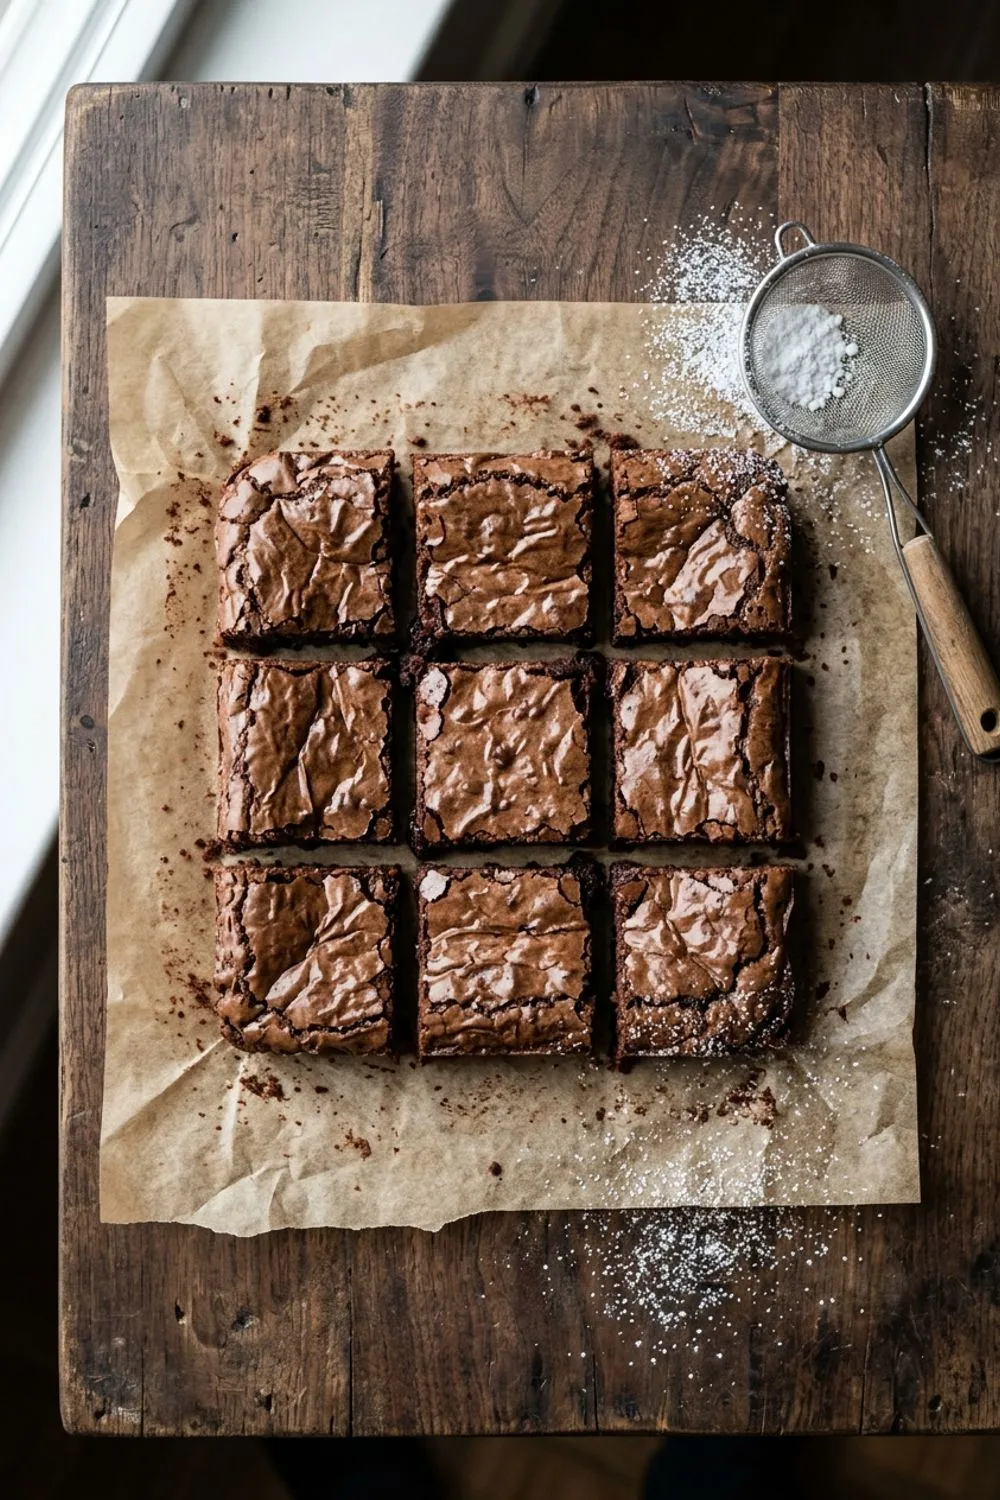
Ganache is one of those foundational recipes that pays dividends far beyond its simplicity. Once you are comfortable with the basic technique, you will find yourself reaching for it constantly — glazing cakes, filling cookies, drizzling it over brownies, dipping fruit. It is the kind of recipe that makes you look like a far more accomplished baker than the 10 minutes of effort would suggest, and that is a beautiful thing.
Never Miss a Sweet Recipe
Join 5,000+ home bakers and get new recipes straight to your inbox.
Ingredients
Basic Ganache (Glaze Ratio 1:1)
Thick Ganache (Frosting Ratio 2:1)
Instructions
- 1
Chop the Chocolate
Finely chop the chocolate into uniform small pieces, about the size of chocolate chips or smaller. Uniform size ensures even melting. Place the chopped chocolate in a large heatproof bowl. If using chocolate chips, you can skip the chopping.
- 2
Heat the Cream
Pour the heavy cream into a small saucepan and heat over medium heat until it just begins to simmer — you will see small bubbles forming around the edges and wisps of steam. Do not let it reach a full boil, which can scorch the cream and affect the flavor.
- 3
Combine and Wait
Pour the hot cream directly over the chopped chocolate. Do not stir immediately. Let it sit undisturbed for 3–5 minutes. The heat from the cream will begin melting the chocolate from the outside in.
- 4
Stir Until Smooth
Starting from the center and working outward in small circles, stir gently with a spatula or whisk. The mixture will look broken and messy at first — this is normal. Continue stirring slowly and steadily, and within 1–2 minutes it will come together into a glossy, perfectly smooth ganache.
- 5
Add Optional Extras
If using butter, add it now while the ganache is still warm, stirring until fully melted and incorporated. The butter adds extra shine and a silkier texture. Add vanilla extract and stir to combine. For a pourable glaze, use immediately. For frosting, let cool to room temperature, then refrigerate until spreadable, about 1 hour.
- 6
Use or Store
For a glaze: pour warm ganache over cakes, cookies, or pastries. For frosting: let the ganache cool and thicken at room temperature, then whip with an electric mixer until fluffy and lightened in color. For truffles: refrigerate the 2:1 ratio ganache until firm, then scoop and roll into balls.
Nutrition Information
Per serving (serves 16). Values are approximate.
| Calories | 110 calories |
| Total Fat | 8g |
| Saturated Fat | 5g |
| Carbohydrates | 10g |
| Sugar | 8g |
| Protein | 1g |
| Sodium | 10mg |
| Fiber | 1g |
* Percent Daily Values are based on a 2,000 calorie diet. Your daily values may be higher or lower depending on your calorie needs. Nutritional information is an estimate and may vary.
Frequently Asked Questions
Why did my ganache turn grainy or split?
This usually happens when the cream was too hot (boiling) or the chocolate was stirred too aggressively before it had time to melt. If it splits, add 1 tablespoon of warm cream and stir gently from the center until it re-emulsifies. Repeat if needed.
Can I use milk chocolate or white chocolate?
Yes, but adjust the ratio. Milk chocolate ganache works best at 2:1 (chocolate to cream) for glaze consistency. White chocolate needs a 3:1 ratio because it contains more cocoa butter and melts into a thinner consistency.
How long does ganache last?
Stored in an airtight container, ganache keeps in the refrigerator for up to 2 weeks and in the freezer for up to 3 months. Reheat gently in the microwave in 15-second intervals or over a double boiler to return it to a pourable state.
What kind of chocolate should I use?
Use good-quality chocolate that you enjoy eating. Couverture chocolate or baking bars from brands like Ghirardelli, Valrhona, or Callebaut produce the best results. Avoid chocolate candy bars, which contain additives that can affect the texture.

Reader Reviews
Based on 234 reviews