Cookies & Bars
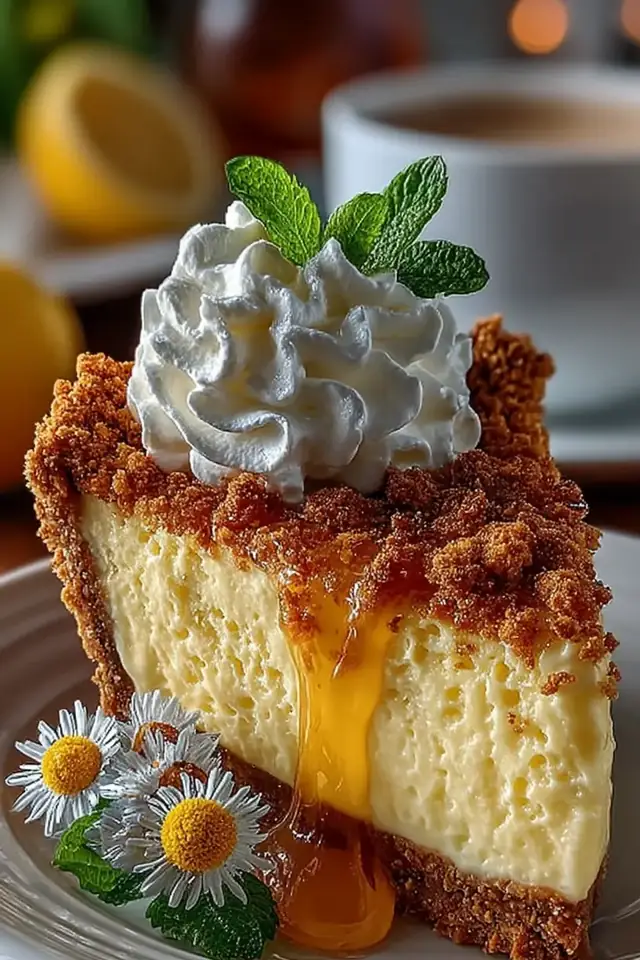
Classic Cheesecake Recipe
Learn how to make the perfect classic cheesecake with a buttery graham cracker crust and creamy filling. Step-by-step instructions included.
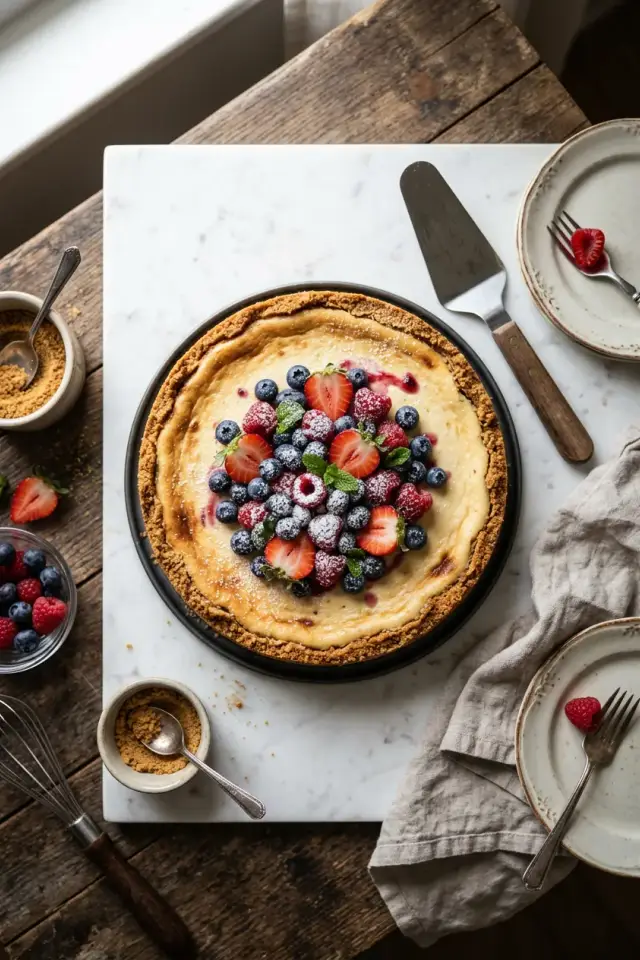
The Dessert That Wins Every Dinner Party
There’s something magical about serving a slice of homemade cheesecake—the way your guests’ eyes light up when they taste that creamy, dreamy filling. This classic cheesecake recipe is the one I return to again and again, whether I’m impressing company or simply treating myself to something special. It’s elegant enough for celebrations but simple enough that you’ll want to make it all year long.
Notes from My Kitchen
- Room temperature is non-negotiable here. Cold cream cheese and eggs won’t blend smoothly, leading to lumps. Pull everything out 30 minutes before you start baking.
- Don’t skip the water bath. It’s the secret to that silky, crack-free texture. The gentle, moist heat creates the perfect environment for even cooking.
- Resist the urge to open the oven door while baking. Every peek lets heat escape and can cause cracks. Trust the timing and resist!
Variations
- Chocolate Swirl Cheesecake: Drizzle melted chocolate over the filling before baking and swirl with a knife for a marbled effect.
- Lemon Cheesecake: Add 2 tablespoons of fresh lemon juice and 1 tablespoon of lemon zest to the filling for a bright, tangy twist.
- Salted Caramel Cheesecake: Top the cooled cheesecake with homemade or store-bought salted caramel sauce and a sprinkle of fleur de sel.
If you love this recipe, you’ll also enjoy my chocolate cheesecake for a decadent variation.
Ingredients
Crust
Filling
Instructions
- 1
Prepare the Pan
Preheat oven to 325°F (163°C). Wrap the outside of a 9-inch springform pan with heavy-duty foil, ensuring it covers the sides completely to prevent water from seeping in during the water bath.
- 2
Make the Crust
Combine graham cracker crumbs, melted butter, and sugar in a bowl, stirring until the mixture resembles wet sand. Press firmly into the bottom of the prepared pan, using the bottom of a measuring cup to create an even layer.
- 3
Beat the Filling
In a large bowl, beat cream cheese and sugar together for 2-3 minutes until smooth and fluffy. Add flour and vanilla, mixing until just combined. Add eggs one at a time, beating on low speed after each addition. Fold in sour cream gently until no streaks remain.
- 4
Pour and Bake
Pour the filling over the crust, smoothing the top with a spatula. Place the springform pan inside a larger roasting pan. Pour hot water into the roasting pan until it reaches halfway up the sides of the springform pan.
- 5
Bake Low and Slow
Bake for 50-55 minutes. The cheesecake is done when the edges are set but the center still jiggles slightly when you gently shake the pan—about a 2-inch diameter circle in the middle should wobble.
- 6
Cool Gradually
Turn off the oven and crack the door open 4 inches. Leave the cheesecake in the oven for 1 hour. This gradual cooling prevents cracks from forming.
- 7
Chill Completely
Remove from the oven and water bath. Cool to room temperature, then refrigerate for at least 6 hours or overnight before serving. Run a thin knife around the edges before releasing the springform.
Nutrition Information
Per serving (serves 12). Values are approximate.
| Calories | 385 calories |
| Total Fat | 28g |
| Saturated Fat | 17g |
| Carbohydrates | 32g |
| Sugar | 26g |
| Protein | 7g |
| Sodium | 285mg |
| Fiber | 0g |
* Percent Daily Values are based on a 2,000 calorie diet. Your daily values may be higher or lower depending on your calorie needs. Nutritional information is an estimate and may vary.
Never Miss a Sweet Recipe
Join 5,000+ home bakers and get new recipes straight to your inbox.
Frequently Asked Questions
Why did my cheesecake crack?
Cracks usually happen from rapid temperature changes or overbaking. Make sure to use room-temperature ingredients, avoid overmixing the batter, and always use a water bath. The gradual cooling step is crucial—don't skip it!
Can I make this cheesecake ahead of time?
Absolutely! Cheesecake actually tastes better the next day once flavors have settled. You can make it up to 3 days ahead and store it covered in the refrigerator. You can also freeze it for up to 3 months—just thaw overnight in the fridge before serving.
What if I don't have a water bath?
A water bath is really important for even, gentle cooking, but if you don't have a roasting pan, you can use any larger baking dish. As a last resort, you can bake without one, but expect a higher chance of cracks and a less creamy texture.

Reader Reviews
Based on 460 reviews