Cookies & Bars
Classic Chocolate Chip Cookies
Why This Is the Only Chocolate Chip Cookie Recipe You Need
I have baked more chocolate chip cookies than I can reasonably count. There was a period in my twenties when I was making at least two batches a week, tweaking and adjusting, chasing something I could not quite name. The perfect cookie. The one that would make someone close their eyes after the first bite, pause, and then reach for another without saying a word. After years of sticky countertops, mountains of parchment paper, and a truly embarrassing number of butter wrappers, I finally landed on this recipe. And I stopped searching.
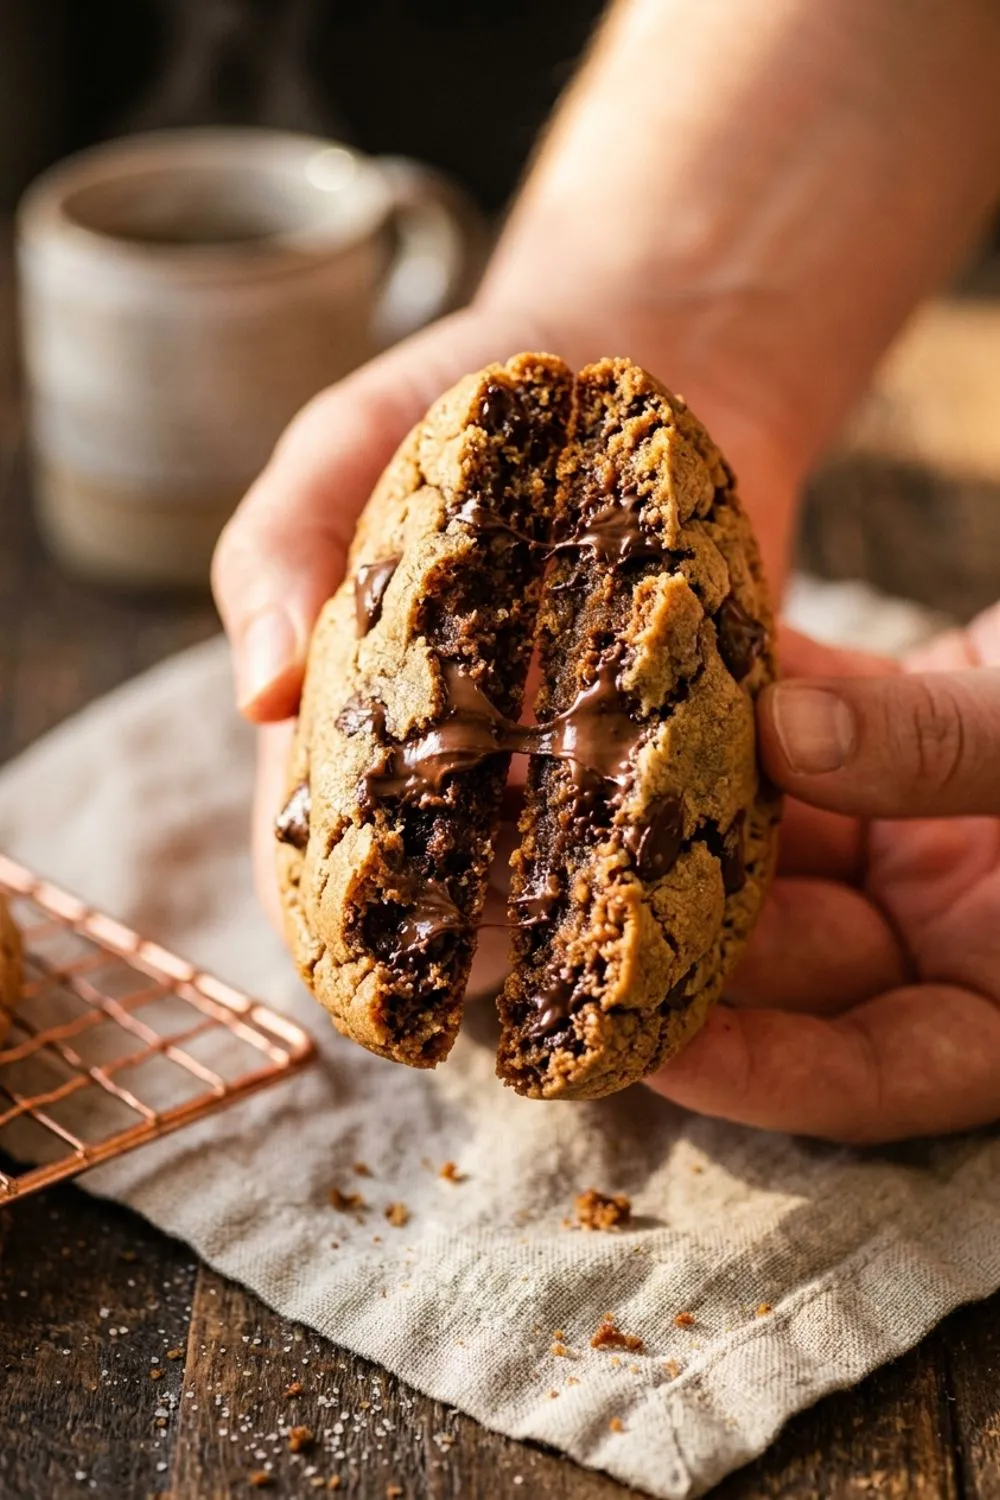
What makes this recipe different from the thousands of chocolate chip cookie recipes floating around the internet? Honestly, it is not one single thing. It is the accumulation of small, deliberate decisions — the ratio of brown sugar to white, the moment you pull the sheet from the oven, the temperature of the butter when it hits the bowl. Each of these details is minor on its own, but together they produce a cookie that is crispy around the edges, impossibly chewy in the center, and studded with pools of melted chocolate that stretch when you pull the cookie apart. That is the cookie I spent years trying to perfect, and this is the recipe that gets me there every single time.
I am not going to pretend this is some revolutionary invention. Chocolate chip cookies have been around since Ruth Wakefield accidentally created them at the Toll House Inn in 1938. But what I can tell you is that I have obsessed over the details so you do not have to. Every measurement, every instruction, every tip in this recipe exists because I tested the alternative and it was not as good. So whether you are a first-time baker or someone who has been making cookies for decades, trust the process. It works.
The Science of Butter Temperature
Let me be direct about something: butter temperature is the single most important variable in this entire recipe. I know that sounds dramatic, but I have ruined more batches of cookies with improperly tempered butter than with any other mistake.
When a recipe says “softened to room temperature,” what it really means is that the butter should be around 65 to 68 degrees Fahrenheit (18 to 20 degrees Celsius). At this temperature, butter is pliable enough to cream with sugar, trapping air bubbles that give your cookies lift and structure. Press your finger into it — it should leave a clean indent without feeling greasy or collapsing entirely. If the butter feels cold and firm, it will not cream properly and your cookies will be dense. If it is too warm, soft, or — worst of all — melted, those air bubbles never form and your cookies will spread into thin, flat discs on the baking sheet.
The best way to soften butter is also the most boring way: leave it on the counter for 45 minutes to an hour before you start baking. I know, it requires planning ahead. If you are in a hurry, cut the butter into small cubes and spread them on a plate. They will soften in about 15 to 20 minutes. Whatever you do, do not microwave the butter. Microwaves heat unevenly and you will end up with a stick that is partially melted and partially still cold. I have tried it dozens of times hoping for a different result. It never works.
There is one exception to the soft-butter rule, and I will get into that in the variations section: browned butter cookies deliberately melt the butter first for a completely different texture and flavor profile. But for this classic version, softened butter is non-negotiable.
Brown Sugar vs. White Sugar: The Ratio That Matters
Every chocolate chip cookie recipe uses some combination of granulated white sugar and brown sugar, and the ratio between them determines whether your cookies lean crispy or chewy. Here is why.
White sugar is pure sucrose. In the oven, it melts, spreads, and then re-crystallizes as the cookie cools, creating those gorgeous crackly tops and crispy edges. Brown sugar is white sugar with molasses mixed back in. That molasses adds moisture, acidity, and a deeper caramel flavor. Cookies made with more brown sugar are softer, chewier, and more moist. They also brown faster because of the molasses content.
This recipe uses equal parts — three-quarters of a cup of each. I landed on this ratio after testing everything from all-white to all-brown and many points between. Equal parts gives you the best of both worlds: crispy edges from the granulated sugar and a chewy, almost fudgy center from the brown sugar. The flavor is balanced too — sweet without being one-note, with just enough caramel depth to keep things interesting.
One thing worth noting: always pack your brown sugar firmly into the measuring cup. Loosely scooped brown sugar can mean as much as two tablespoons less per cup, which throws off the moisture balance and affects the final texture. If you are using a kitchen scale, even better. Weigh out 165 grams and you will get consistent results every time.
The Great Chilling Debate
I list chilling as “optional but recommended” in the instructions, and I stand by that phrasing. You can absolutely skip it and still get a great cookie. But if you have the patience, chilling the dough for at least 30 minutes — or ideally overnight — transforms these cookies from great to extraordinary.
Here is what happens when dough chills. First, the butter solidifies. Cold butter melts more slowly in the oven, which means the cookies spread less and end up thicker. Second, the flour has time to fully hydrate, absorbing moisture from the eggs and butter. This creates a drier dough surface that browns more evenly, giving you deeper color and more complex flavor. Third, and this is the part that surprises most people, the flavors actually develop and concentrate during chilling. The sugars break down slightly, the vanilla permeates more fully, and the overall taste becomes richer and more nuanced.
I tested this side by side — cookies baked immediately versus cookies chilled for 24 hours from the same batch of dough. The difference was unmistakable. The chilled cookies were taller, chewier, and had a more pronounced butterscotch flavor. My family unanimously preferred them, and so did every person I have served them to since.
If you are planning ahead, make the dough the night before and let it sit in the fridge overnight. When you are ready to bake, let the dough sit at room temperature for about 10 minutes so it is scoopable, then proceed as directed.
Tips for Absolutely Perfect Cookies Every Time
After baking literally hundreds of batches, here are the tips that make the biggest difference:
Do not overmix after adding flour. This is probably the second most common mistake after butter temperature. Once the flour hits the wet ingredients, mix on low speed just until the dry streaks disappear. Overmixing develops gluten, which turns your tender, chewy cookies into tough, bready pucks. A few tiny pockets of flour are fine — they will incorporate when you fold in the chocolate chips.
Use parchment paper, not greased baking sheets. Greased sheets cause cookies to spread more because the fat on the pan essentially fries the bottom of the dough. Parchment provides a non-stick surface without adding extra fat. It also makes cleanup effortless, which matters when you are baking multiple batches.
Pull them out early. The cookies should look slightly underdone when you take them out of the oven — puffy, pale in the center, with golden edges. They will continue baking on the hot sheet for another few minutes as they cool. If they look perfectly done in the oven, they will be overdone by the time they cool. Trust me on this one. It feels wrong the first time, but the results speak for themselves.
Use a cookie scoop for consistent sizing. A standard cookie scoop (about 1.5 tablespoons) ensures every cookie is the same size, which means they all bake at the same rate. No more pulling a sheet from the oven where half the cookies are perfect and the other half are burnt.
Rotate the baking sheet halfway through. Most ovens have hot spots. Rotating the sheet 180 degrees at the halfway point ensures even browning across the entire batch.
Variations Worth Trying
Once you have mastered the base recipe, there are several variations that are absolutely worth exploring.
Browned butter chocolate chip cookies. Instead of softened butter, melt the butter in a saucepan over medium heat until it turns golden amber and smells nutty. Let it cool to room temperature, then refrigerate until it solidifies to a soft, scoopable consistency. The browned milk solids add an incredible toffee-like depth that makes these cookies taste more sophisticated without any extra ingredients. This is my personal favorite variation and the one I make most often for dinner parties.
Dark chocolate and sea salt. Swap the semi-sweet chips for chopped bittersweet chocolate (70 percent cacao or higher) and sprinkle flaky Maldon sea salt over the tops of the cookies right after they come out of the oven. The contrast between the bitter chocolate, sweet dough, and crunchy salt is extraordinary. If you love the interplay of sweet and salty, you absolutely need to try my peanut butter cookies — they hit that same balance from a completely different angle.
Stuffed cookies. Flatten a tablespoon of dough, place a square of your favorite chocolate bar or a spoonful of Nutella in the center, then top with another tablespoon of dough. Seal the edges and bake as directed, adding one to two minutes to the baking time. When you break these open, the center is molten and absolutely decadent.
Brown butter and miso. This one sounds unusual, but stay with me. Add one tablespoon of white miso paste to the browned butter variation. The miso adds umami depth and a subtle savory quality that makes the cookies taste incredibly complex. People will not be able to identify what makes them different, but they will keep reaching for more.
Espresso chocolate chip. Dissolve one tablespoon of instant espresso powder into the vanilla extract before adding it to the dough. The coffee does not make the cookies taste like coffee — it amplifies the chocolate flavor and adds warmth. This is particularly good with dark chocolate chips.
Storing Your Cookies
Proper storage makes the difference between cookies that stay wonderful for days and cookies that turn into hockey pucks overnight.
At room temperature: Place cooled cookies in an airtight container with a slice of white bread. The cookies will absorb moisture from the bread, staying soft and chewy for up to five days. Replace the bread every two days if they last that long. Avoid storing different types of cookies together — the moisture levels equalize and soft cookies become stale while crispy ones become limp.
In the freezer: Baked cookies freeze beautifully for up to three months. Layer them between sheets of parchment paper in a freezer-safe container. To thaw, leave them at room temperature for 30 minutes or warm them in a 300 degree Fahrenheit (150 degree Celsius) oven for five minutes. They taste nearly as good as fresh-baked.
Freezing the dough: This is honestly my preferred approach. Scoop the dough into balls, freeze them on a lined baking sheet until solid (about two hours), then transfer to a freezer bag. When a cookie craving strikes, pull out however many you want, place them on a parchment-lined sheet, and bake at 375 degrees Fahrenheit (190 degrees Celsius) for 11 to 13 minutes — just a couple of minutes longer than the fresh dough. Having frozen cookie dough on hand is one of the great luxuries of life.
Troubleshooting Common Problems
Cookies are too flat: Your butter was too warm. Next time, make sure it is properly softened but not greasy. Also check that your baking soda is fresh — it loses potency over time. If your baking soda has been open for more than six months, replace it.
Cookies are too cakey: You likely added too much flour. Measure flour by spooning it into the cup and leveling with a knife rather than scooping directly from the bag, which packs the flour and can add up to 30 percent more than intended. Alternatively, use a scale: 280 grams is what you want.
Cookies are too crunchy all the way through: You overbaked them. Pull the cookies when the centers still look slightly underdone and puffy. They firm up significantly as they cool on the sheet. Also consider chilling your dough before baking, which helps the cookies stay thicker and retain more moisture.
Cookies spread into each other: Your dough balls were too close together, or you used too much butter. Space dough balls at least two inches apart on the baking sheet. If you measured everything correctly and they still spread too much, try chilling the dough for an hour before baking.
Uneven browning: Rotate your baking sheet 180 degrees halfway through the baking time. If one side of your oven consistently runs hotter, you may also want to invest in an oven thermometer to verify the actual temperature matches what you set.
Recipes That Go with Everything
If you love these cookies, there are a few other recipes on this site that I think you will enjoy just as much. My double chocolate brownies scratch a similar itch but with a denser, fudgier texture that chocolate lovers go absolutely wild for. For something with a little more personality, the snickerdoodles are coated in cinnamon sugar and have this wonderful tanginess from the cream of tartar that sets them apart from every other cookie on the plate.
If you want to stay in cookie territory but branch out a bit, the oatmeal raisin cookies are one of the most underrated recipes on this site. I know oatmeal raisin has a reputation as the boring choice, but these are anything but — they are thick, chewy, warmly spiced, and genuinely delicious. And of course, the peanut butter cookies are an all-time classic that pairs beautifully with a tall glass of cold milk, just like these chocolate chip cookies do.
Baking is one of those rare activities that is simultaneously precise and forgiving. Follow the measurements and the technique, and you will get a fantastic cookie. But even if you make a small mistake here or there, you will still end up with something worth eating. That is the beauty of chocolate chip cookies — even a slightly imperfect batch disappears just as fast as a perfect one. So preheat that oven, soften that butter, and make yourself a batch. You will be glad you did.
Never Miss a Sweet Recipe
Join 5,000+ home bakers and get new recipes straight to your inbox.
Ingredients
Instructions
- 1
Cream butter and sugars
In a large bowl, beat the softened butter, granulated sugar, and brown sugar with an electric mixer on medium speed for 3-4 minutes until light, fluffy, and noticeably lighter in color. Scrape down the sides of the bowl as needed.
- 2
Add eggs and vanilla
Beat in the eggs one at a time, mixing well after each addition. Add the vanilla extract and mix until fully incorporated. The mixture should be smooth and creamy.
- 3
Mix dry ingredients
In a separate bowl, whisk together the flour, baking soda, and salt. Add to the butter mixture in two additions, mixing on low speed until just combined after each. Stop as soon as no dry streaks remain — overmixing makes tough cookies.
- 4
Fold in chocolate chips
Using a rubber spatula, fold in the chocolate chips (and walnuts if using) until evenly distributed throughout the dough.
- 5
Chill the dough (optional but recommended)
For thicker, chewier cookies, cover the bowl with plastic wrap and refrigerate for 30 minutes to 24 hours. This step is optional but makes a noticeable difference in texture and flavor.
- 6
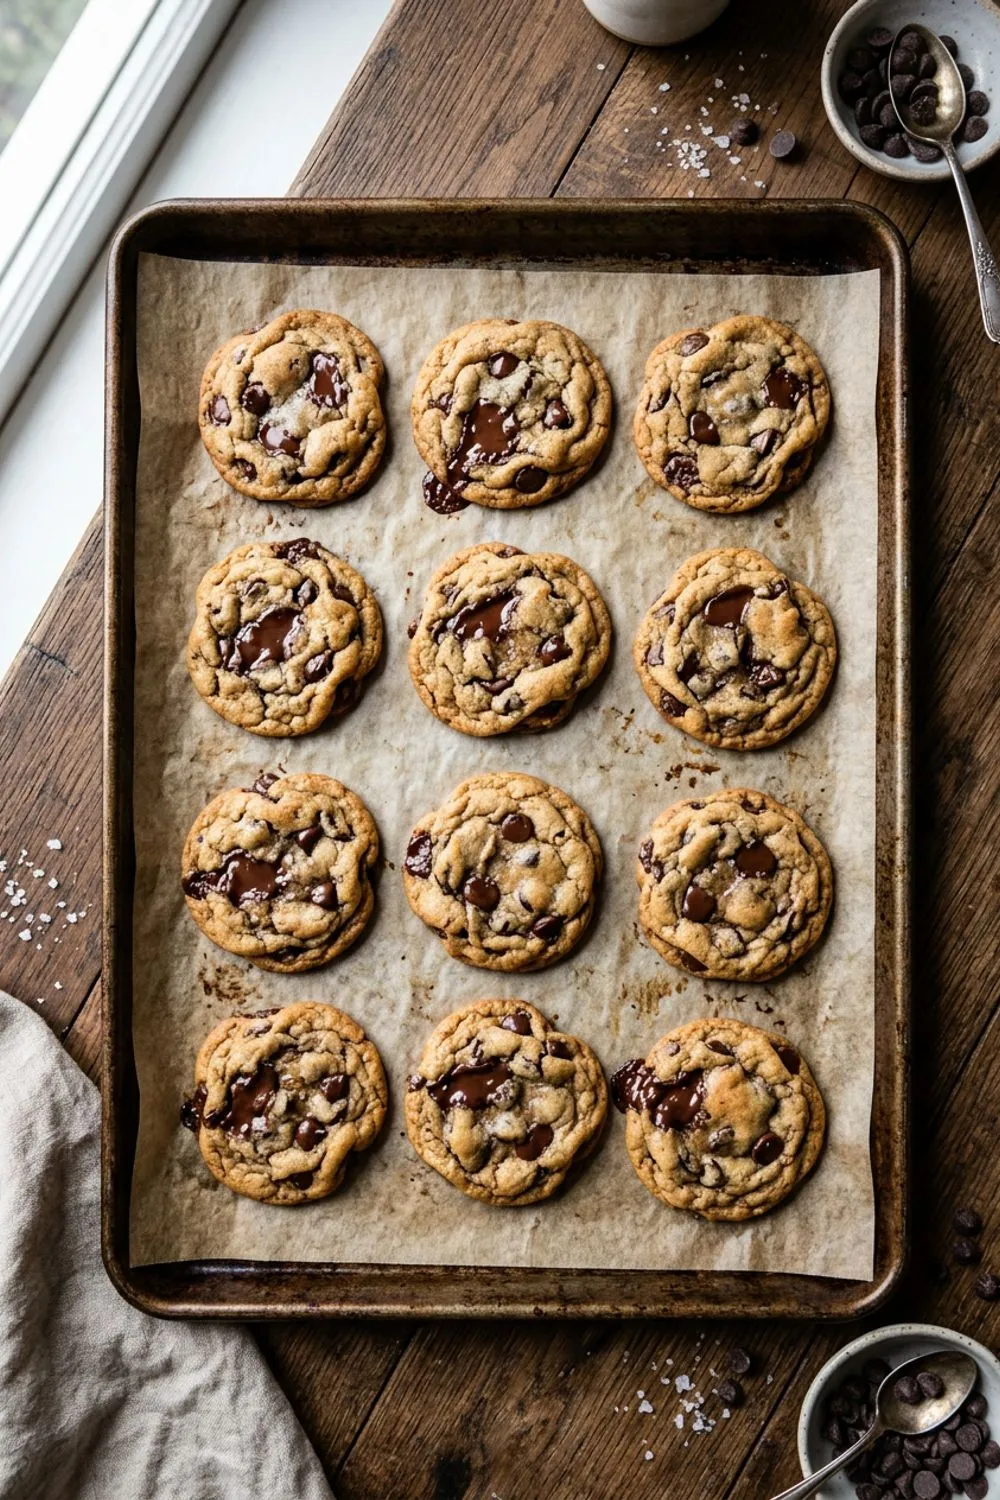
Bake
Preheat oven to 375°F (190°C). Line baking sheets with parchment paper. Drop rounded tablespoons of dough about 2 inches apart. Bake for 9-11 minutes until the edges are golden brown but the centers still look slightly underdone and puffy.
- 7
Cool
Let cookies cool on the baking sheet for 5 minutes — they'll continue to set from residual heat. Then transfer to a wire rack to cool completely. Or eat them warm, because life is short.
Nutrition Information
Per serving (serves 36). Values are approximate.
| Calories | 195 calories |
| Total Fat | 10g |
| Saturated Fat | 6g |
| Carbohydrates | 25g |
| Sugar | 16g |
| Protein | 2g |
| Sodium | 130mg |
| Fiber | 1g |
* Percent Daily Values are based on a 2,000 calorie diet. Your daily values may be higher or lower depending on your calorie needs. Nutritional information is an estimate and may vary.
Frequently Asked Questions
Why chill chocolate chip cookie dough?
Chilling solidifies the butter, which means the cookies spread less during baking — giving you thicker, chewier cookies. It also lets the flour fully hydrate and the flavors develop. Even 30 minutes makes a difference, but overnight is ideal.
Why are my cookies flat?
Flat cookies usually mean the butter was too warm (melted or very soft), too little flour, or expired baking soda. Make sure butter is softened but still holds its shape when pressed. Measure flour by spooning into the cup and leveling off.
What's the best chocolate for chocolate chip cookies?
Semi-sweet chocolate chips are the classic choice. For a more complex flavor, use a mix of semi-sweet chips and chopped dark chocolate bars. The irregular chunks from chopped chocolate create pockets of melted chocolate that are irresistible.
Can I freeze cookie dough?
Yes! Scoop dough into balls, freeze on a sheet pan until solid, then transfer to a freezer bag. They keep for 3 months. Bake from frozen at 375°F for 11-13 minutes — add 2 minutes to the regular baking time.
How do I keep cookies soft?
Store in an airtight container with a slice of bread — the cookies absorb moisture from the bread, staying soft for days. Don't store crispy cookies and soft cookies together, or the soft ones will dry out.

Reader Reviews
Based on 347 reviews