Pies & Tarts
French Silk Pie
Chocolate Decadence Without Apology
There are chocolate desserts that whisper, and there are chocolate desserts that make a grand entrance and refuse to leave the room. French silk pie is the latter. It is unapologetically rich, impossibly smooth, and so deeply chocolatey that one slim slice is all you need — though you will absolutely want a second.
The first time I made French silk pie was for a dinner party, and I almost did not include it because the recipe seemed too simple to be special. Butter, sugar, chocolate, eggs. No flour, no cream cheese, no gelatin. How could four ingredients produce something extraordinary? But when I took the first bite of that chilled filling — the way it dissolved on my tongue in this cool, velvety wave of pure chocolate — I understood. French silk pie is not about complexity. It is about technique. The way you handle those four ingredients determines whether you end up with something remarkable or something ordinary.
The name “French silk” has nothing to do with France. The recipe originated in America in the 1950s, winning the Pillsbury Bake-Off contest and quickly becoming a classic. The “silk” part, however, is perfectly accurate. The filling has a texture that is closer to chocolate mousse than to pudding — light, airy, and so smooth it seems to melt before you can even chew it. That texture comes entirely from the beating technique, which I will explain in detail below.
The Key Technique: Extended Beating
Everything in this recipe is straightforward except for one step that you must not rush: beating the eggs into the chocolate mixture. Each of the four eggs gets beaten into the filling for a full 3 minutes on medium-high speed. That is 12 minutes of total beating time, and every second matters.
What happens during this beating is essentially the same process that makes a mousse airy. The eggs are being whipped while simultaneously being incorporated into the chocolate-butter base. The mechanical action of the beater creates millions of tiny air bubbles, which are stabilized by the proteins in the eggs. As the filling chills, these air bubbles set in place, giving you a texture that is simultaneously rich and light — dense with chocolate flavor but ethereal in mouthfeel.
If you shortchange the beating time, the filling will be dense and fudgy rather than silky and mousse-like. It will still taste good, but you will miss the defining characteristic of French silk pie. Set a timer. Let the mixer do its work. The transformation from thick and heavy to light and billowy is visible, and it is worth every minute.
Why Pasteurized Eggs Matter
Traditional French silk pie recipes use raw eggs, which are beaten into the filling but never cooked. In the 1950s, this was standard practice and nobody thought twice about it. Today, with greater awareness of food safety, I strongly recommend using pasteurized eggs. They have been heat-treated to eliminate salmonella while remaining functionally identical to regular eggs — they whip, emulsify, and set exactly the same way.
Pasteurized eggs are widely available in most grocery stores, usually in the same section as regular eggs. They may cost slightly more, but in a recipe where the eggs are the structural backbone and are never cooked, the peace of mind is worth it.
Building the Oreo Crust
An Oreo crust is absurdly easy and provides a chocolate foundation that amplifies the filling. Process the cookies — filling and all — until you have fine, uniform crumbs. The filling in the Oreos actually helps bind the crust together, so do not bother scraping it out.
Mix the crumbs with melted butter and press firmly into your pie dish. I use the flat bottom of a heavy measuring cup, working from the center outward and then pressing the mixture up the sides. The key word is firmly — a loosely packed crust will crumble when you try to slice the pie.
Eight minutes in a 350°F oven sets the crust without burning it. Oreos contain sugar that can scorch quickly, so do not walk away from the oven. The crust should smell toasty and feel firm to the touch when it comes out. Let it cool completely before adding the filling — warm crust will start melting the butter in the filling and compromise the texture.
The Chocolate Matters
Use good bittersweet chocolate in the 60 to 70 percent cacao range. Milk chocolate is too sweet and does not have enough chocolate intensity. Unsweetened chocolate makes the filling bitter and chalky. Bittersweet in that 60 to 70 percent sweet spot gives you a filling that is deeply chocolatey with a pleasant, grown-up bitterness that balances the sugar.
I have tested this recipe with both bar chocolate and chocolate chips. Bar chocolate, chopped into small pieces, melts more evenly. Chips contain stabilizers that prevent them from melting smoothly, so they can leave small lumps in the filling. If chips are all you have, they work, but chopped bar chocolate produces a noticeably silkier result.
Melt the chocolate slowly in a double boiler, stirring gently. The most important thing is cooling it to room temperature before adding it to the creamed butter. Hot or even warm chocolate will melt the butter on contact, destroying the light, creamy texture you worked to create. Let the melted chocolate sit for 15 to 20 minutes, stirring occasionally. It should be liquid and pourable but feel neutral or slightly cool when you touch it.
The Creaming Stage
Creaming butter and sugar for 4 to 5 minutes might seem excessive if you are used to the quick mix typical of many recipes. But this extended creaming is doing important work. The sharp edges of the sugar crystals are cutting into the soft butter, creating thousands of tiny air pockets. These pockets, combined with the air from the later egg-beating stage, are what give the filling its remarkably light texture.
The creamed mixture should be almost white in color and significantly increased in volume. If it still looks yellow and dense after 3 minutes, keep going. The transformation is gradual but unmistakable — you will know when it is right because the mixture will look like fluffy frosting rather than softened butter.
Assembly and Chilling
Spoon the filling into the cooled crust and smooth the top. The filling should mound slightly in the center — it will level out as it chills. Resist the temptation to pack it down or spread it too aggressively, which can deflate some of those carefully incorporated air bubbles.
Three hours of chilling is the minimum, but four hours or overnight is ideal. The filling transitions from a soft, mousse-like texture to something firmer and more sliceable. It should still feel creamy when you bite into it, but it should hold a clean edge when cut.
The Whipped Cream Crown
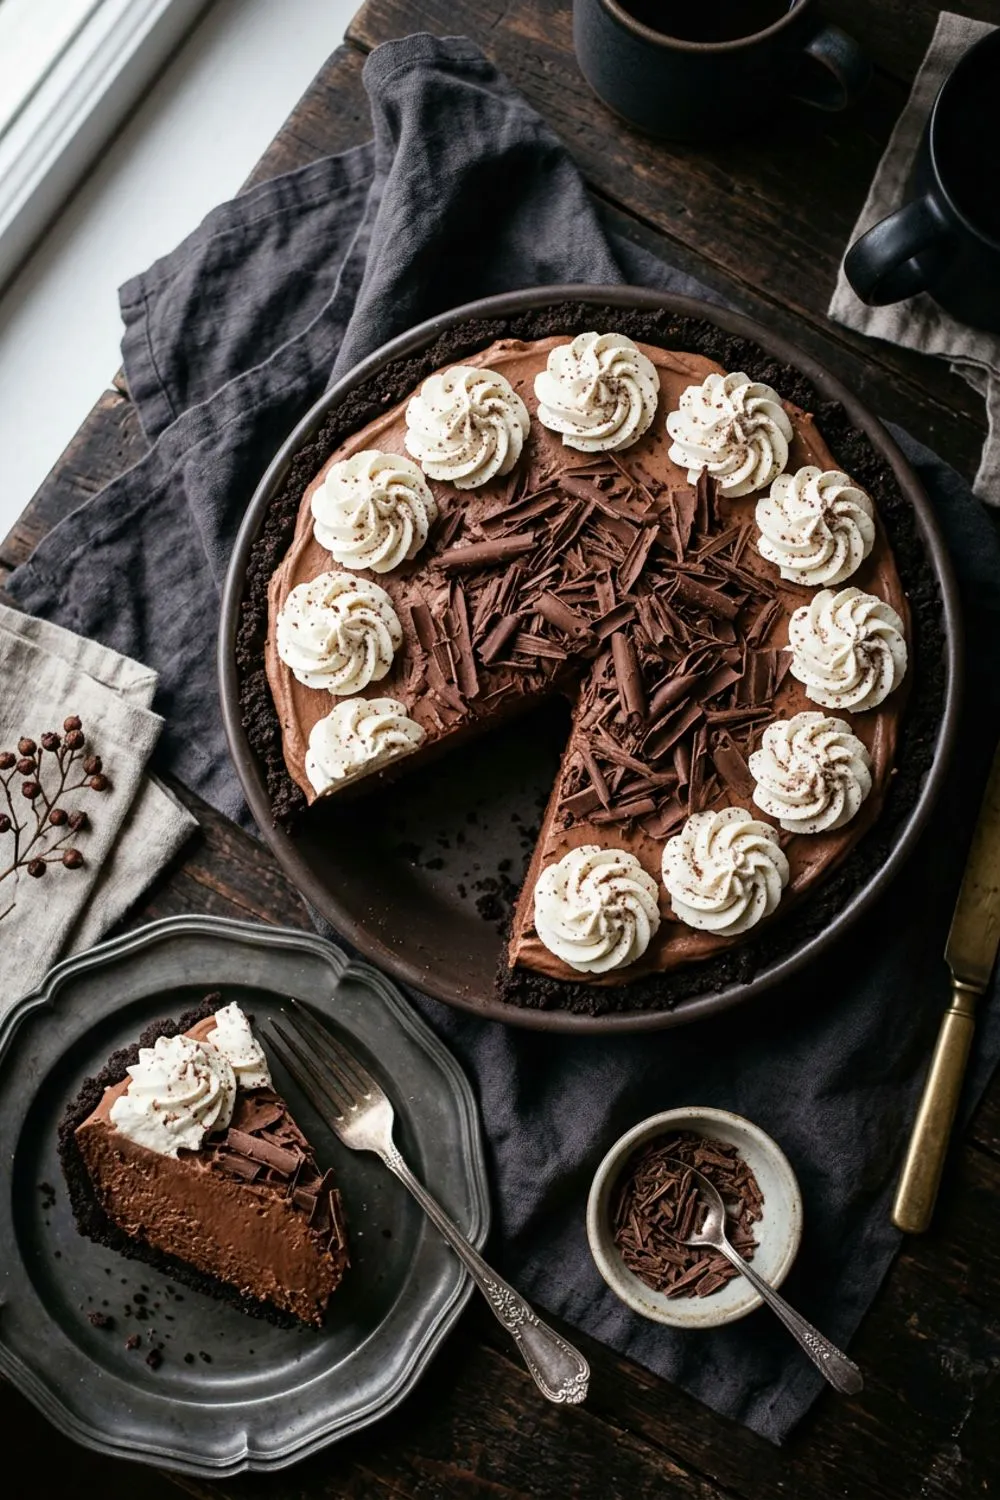
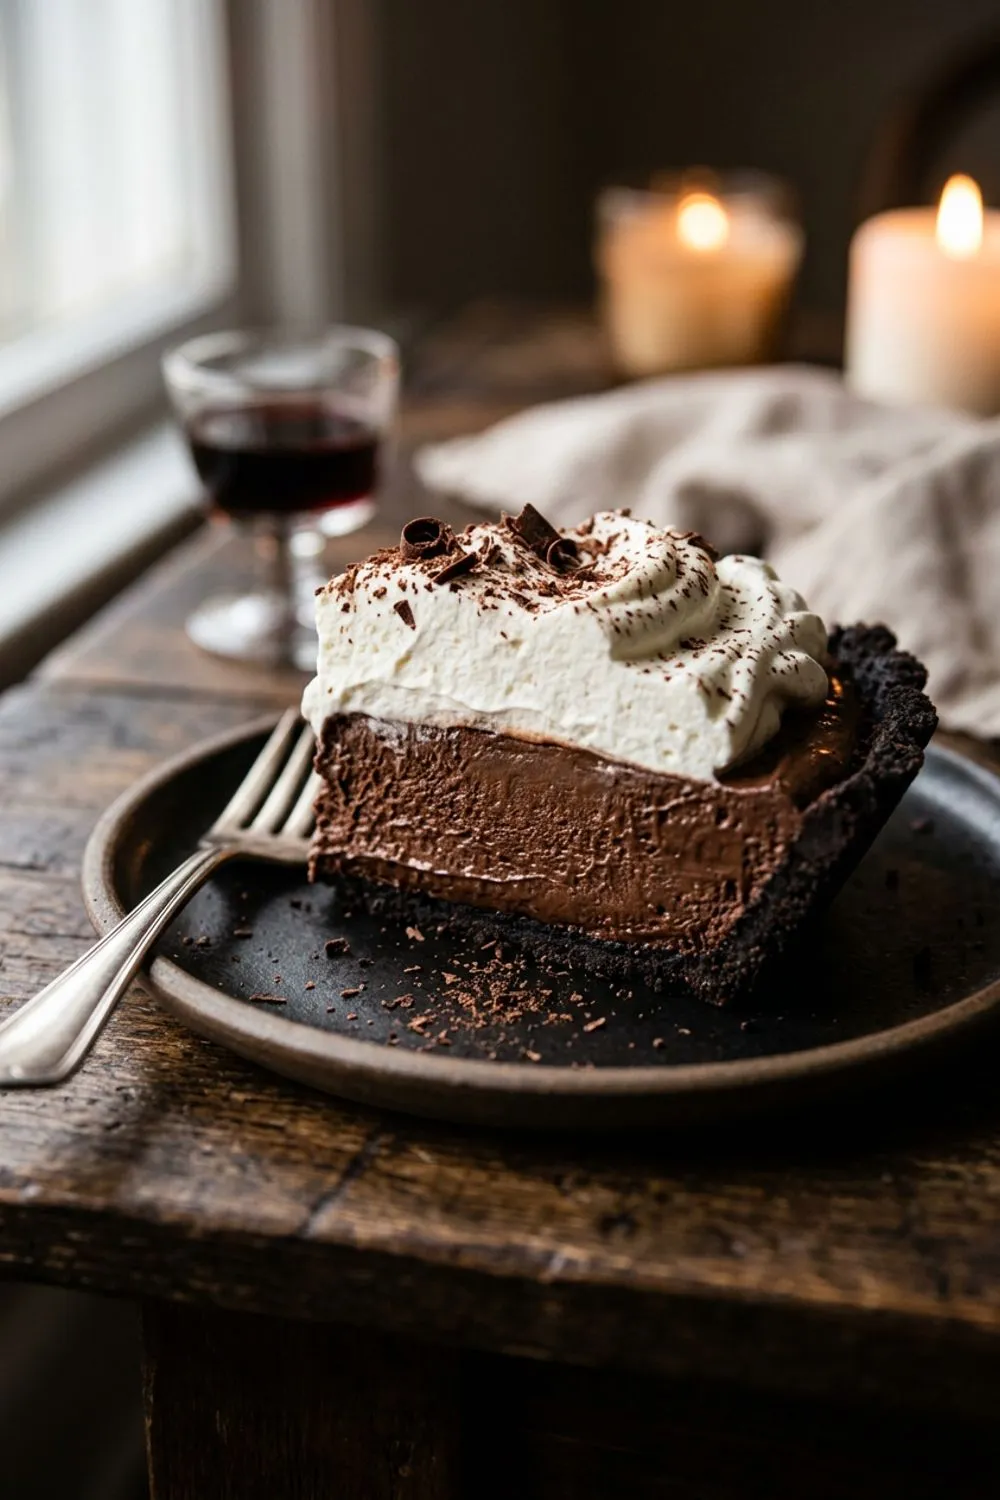
French silk pie demands whipped cream. The filling is so intensely chocolate that you need something light and gently sweet to provide contrast and prevent palate fatigue. Whip cold heavy cream with powdered sugar and vanilla to soft peaks. Spread it over the set filling in a thick, even layer or pipe it in decorative swirls.
Top with chocolate shavings or curls. To make curls, run a vegetable peeler along the edge of a slightly warm chocolate bar. For shavings, use a microplane grater. A light dusting of cocoa powder through a fine sieve adds a professional finishing touch.
Understanding the Texture
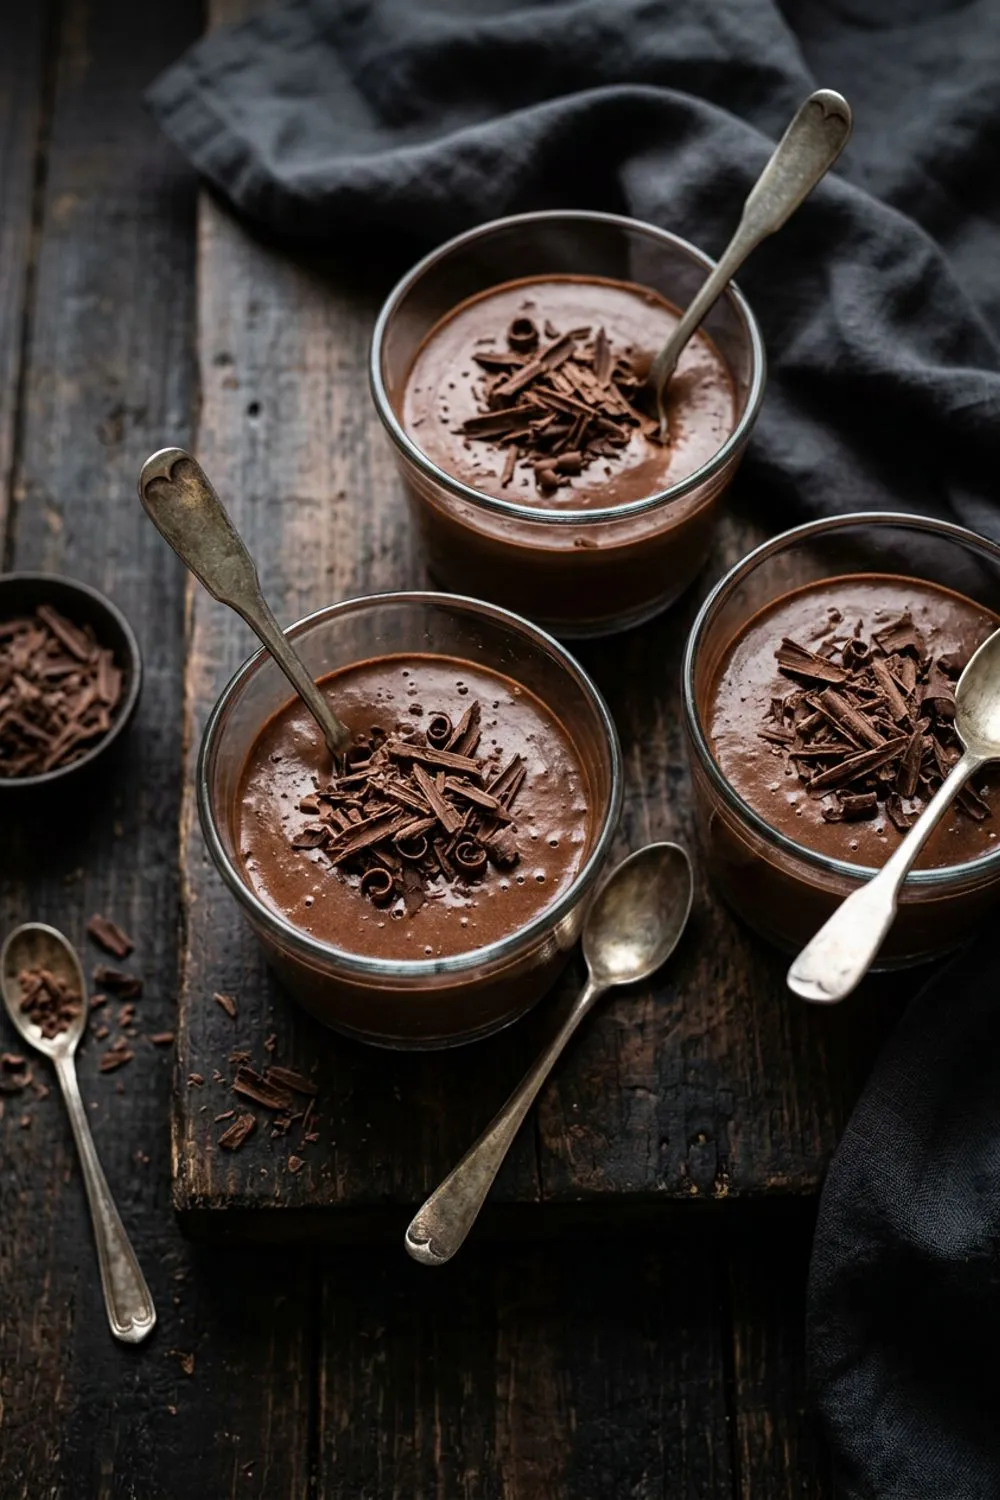
French silk pie filling exists in a fascinating middle ground between mousse and buttercream. It has the airiness and melt-on-your-tongue quality of a chocolate mousse, but the richness and stability of a buttercream frosting. This unique texture comes from three elements working together.
First, the creamed butter and sugar base provides the structural foundation. The sugar crystals cut into the softened butter during creaming, creating a network of tiny air pockets that form the skeleton of the filling. Second, the melted chocolate adds density, richness, and flavor while also contributing cocoa butter, which helps the filling set firmly when chilled. Third, the beaten eggs provide additional protein structure and — most importantly — billions of additional air bubbles that make the filling light despite its rich ingredients.
The chilling period is when everything comes together. At refrigerator temperature, the cocoa butter in the chocolate and the butterfat in the butter both solidify, trapping the air bubbles in place permanently. This is why the filling changes from soft and mousse-like at room temperature to firm and sliceable when cold, but still melts instantly on your tongue because body heat re-liquefies those fats.
If you have ever had a French silk pie that was dense and fudgy rather than light and silky, insufficient beating was almost certainly the cause. The air incorporation is the entire secret. Without enough air, you essentially have chocolate butter, which tastes good but misses the defining character of the dessert.
Variations to Consider
Espresso French Silk Pie
Dissolve 2 teaspoons of instant espresso powder into the melted chocolate while it is still warm. Coffee and chocolate are natural partners, and the espresso deepens the chocolate flavor without making the pie taste like coffee. This is my personal favorite variation.
Peanut Butter French Silk Pie
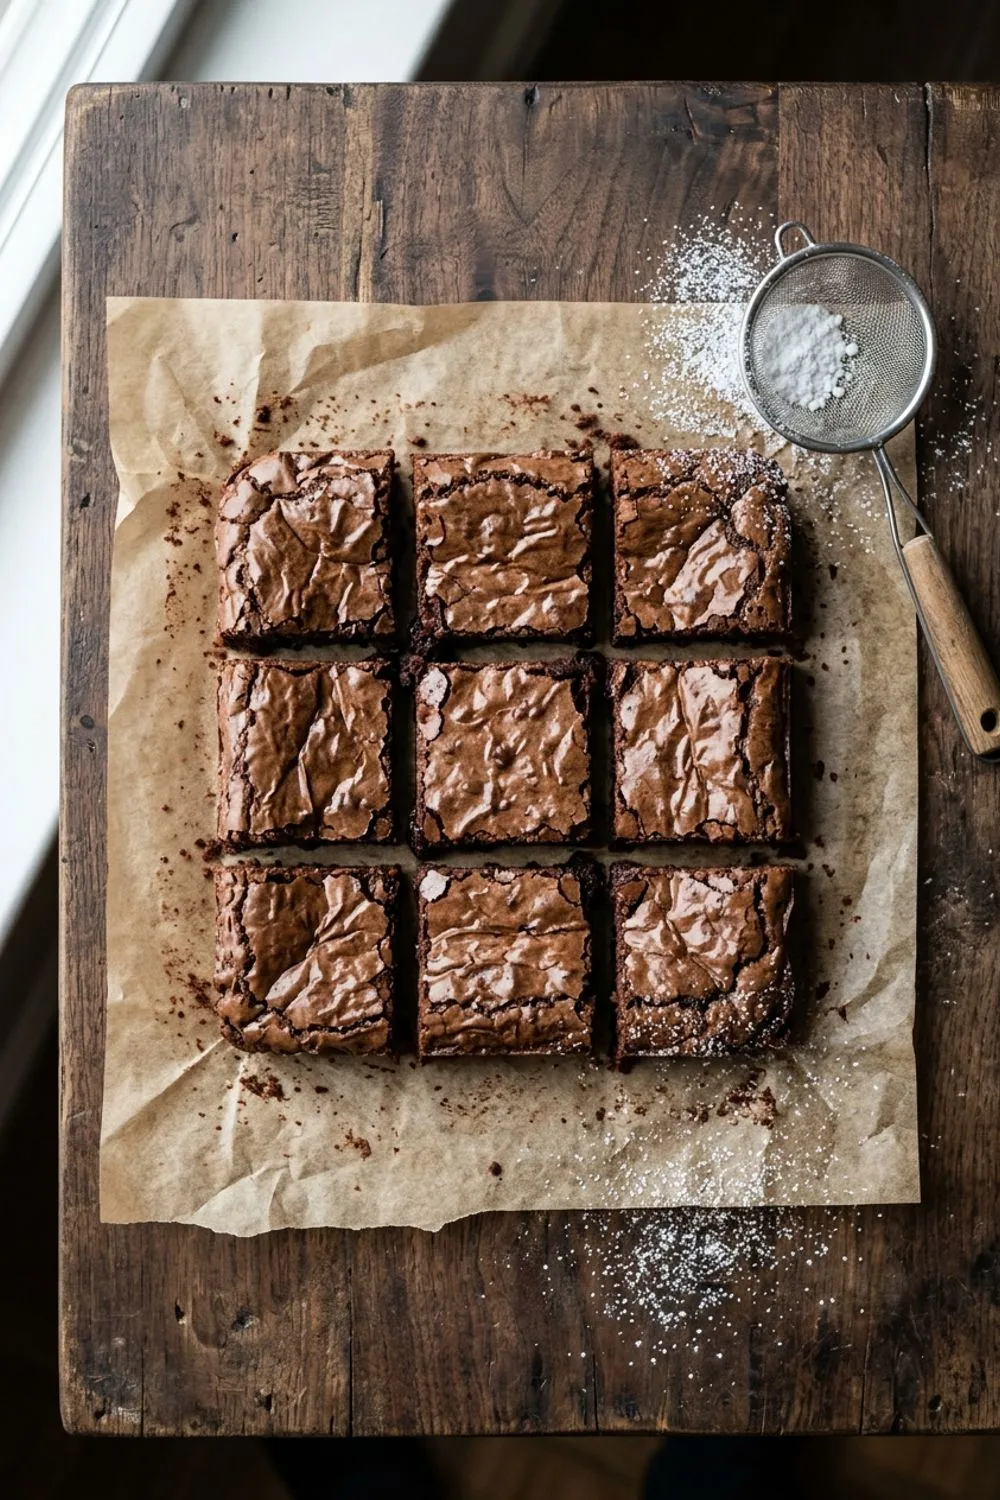
Spread 1/3 cup of smooth peanut butter over the bottom of the cooled Oreo crust before adding the chocolate filling. The peanut butter sets into a firm layer in the refrigerator, creating a delicious surprise at the bottom of each slice. For a truly indulgent version, my double chocolate brownies use a similar chocolate-peanut butter pairing.
Mint Chocolate French Silk Pie
Replace the vanilla extract with 1 teaspoon of pure peppermint extract. Use a chocolate cookie crust and garnish with crushed peppermint candies. This is stunning during the holidays.
Expert Tips
Do not rush the egg-beating stage. Three minutes per egg on medium-high speed. This is the single most important instruction in the recipe.
Softened butter, not melted. The butter should be pliable but still cool. If it is too soft or partially melted, it will not cream properly and the filling will be dense. Leave it at room temperature for about 30 minutes before starting.
Room temperature chocolate, not warm. Let the melted chocolate cool fully before combining it with the creamed butter. This prevents the butter from melting and losing the air you incorporated.
Use a stand mixer if possible. The extended beating times are manageable with a hand mixer, but a stand mixer frees your hands and produces more consistent results.
A Note on the History
Despite its name, French silk pie has no French connection whatsoever. It was created by Betty Cooper of Kensington, Maryland, who won the $50,000 first prize at the 1951 Pillsbury Bake-Off with her “Silk Pie” recipe. The original recipe was slightly different from modern versions — it called for baking chocolate rather than bittersweet and used regular eggs rather than pasteurized — but the technique of extended beating to create the silky texture was present from the beginning.
The recipe spread rapidly through church cookbooks, community recipe collections, and family tradition throughout the 1950s and 1960s. By the 1970s, it was a standard offering at diners and restaurants across the country. Today, it remains one of the most popular chocolate pie recipes in America, consistently appearing on holiday tables and restaurant dessert menus.
What Betty Cooper understood intuitively — that the technique of prolonged beating creates a texture unlike any other chocolate dessert — is the reason this pie has endured for more than seven decades. The recipe is a testament to the power of method over ingredients. Four basic components, handled with care and patience, producing something truly extraordinary.
How to Store
In the refrigerator: French silk pie must be refrigerated. Cover loosely with plastic wrap, being careful not to press it into the whipped cream. It keeps for up to 3 days, though it is best within the first 2 days.
In the freezer: Freeze without the whipped cream topping. Wrap the chilled, set pie tightly in plastic wrap and foil. Freeze for up to 1 month. Thaw overnight in the refrigerator and add fresh whipped cream before serving.
Making This Pie for Special Occasions
French silk pie is a showstopper, and it shines brightest at events where dessert matters — dinner parties, holiday gatherings, birthday celebrations, and Valentine’s Day. Its make-ahead nature is a tremendous advantage for the host. The filled pie can sit in the refrigerator for up to two days, and you add the whipped cream just before serving.
For a particularly elegant presentation, use a deep, fluted tart pan with a removable bottom instead of a traditional pie dish. The straight, fluted sides give the pie a European patisserie look that elevates it from homestyle to fine dining. The Oreo crust presses into a tart pan just as easily as a pie dish.
Serving
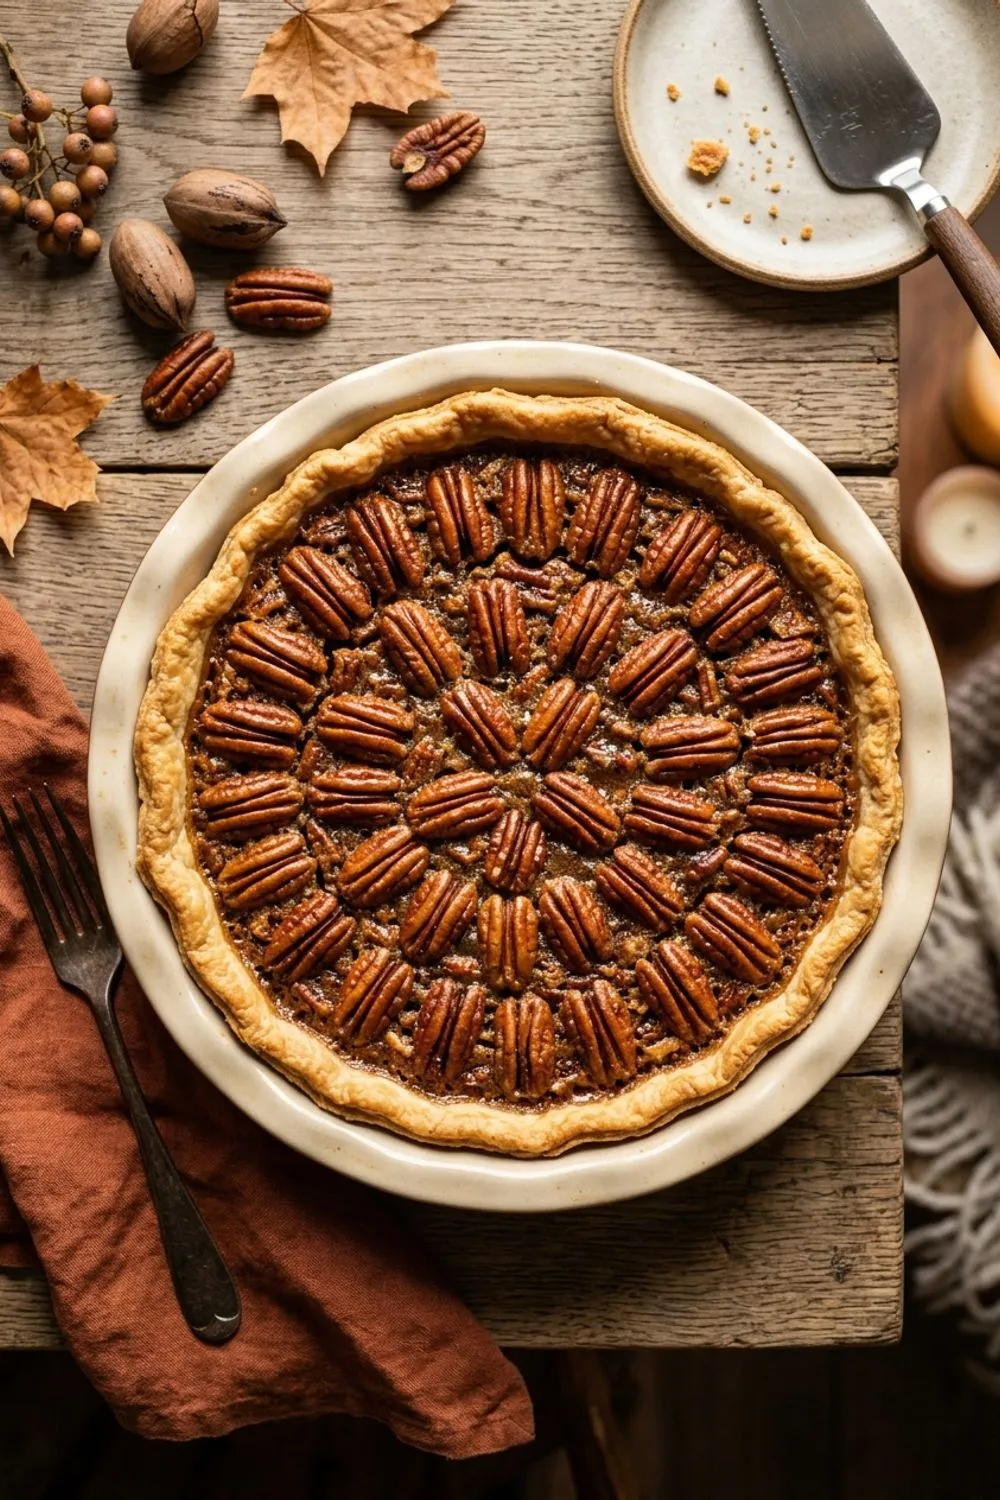
Slice this pie thin — it is incredibly rich, and 10 slices from a 9-inch pie is appropriate. Dip your knife in hot water and wipe it clean between each cut for beautifully sharp, clean slices. Serve with a cup of strong black coffee to cut through the richness. A glass of tawny port is also a magnificent pairing for after dinner. This pie alongside my pecan pie makes for an unforgettable holiday dessert table.
Never Miss a Sweet Recipe
Join 5,000+ home bakers and get new recipes straight to your inbox.
Ingredients
Oreo Cookie Crust
French Silk Filling
Whipped Cream Topping
Garnish
Instructions
- 1
Make the Oreo Crust
Preheat oven to 350°F (175°C). Pulse the Oreos (filling included) in a food processor until finely ground. Mix with the melted butter until all crumbs are moistened. Press firmly and evenly into a 9-inch pie dish, covering the bottom and sides. Bake for 8 minutes until set. Cool completely before filling.
- 2
Melt the Chocolate
Place the chopped chocolate in a heatproof bowl set over a pot of barely simmering water (double boiler). Stir gently until completely melted and smooth. Remove from heat and let cool to room temperature — the chocolate should be liquid but not warm to the touch. This takes about 15–20 minutes.
- 3
Cream the Butter and Sugar
In a large bowl or stand mixer fitted with the paddle attachment, beat the softened butter and sugar together on medium speed for 4–5 minutes until very light, fluffy, and pale in color. The mixture should be almost white and doubled in volume. Scrape down the sides of the bowl occasionally.
- 4
Add Chocolate and Vanilla
With the mixer on low speed, pour in the cooled melted chocolate and vanilla. Mix until fully incorporated, then increase speed to medium and beat for 1 minute until the mixture is uniformly dark and smooth. Scrape down the bowl to ensure no streaks of butter remain.
- 5
Beat in the Eggs
Add the pasteurized eggs one at a time, beating on medium-high speed for 3 full minutes after each addition. This extended beating is the key to the silk texture — it incorporates air and creates the mousse-like consistency. After all 4 eggs are added and beaten, the filling should be very light, fluffy, and almost doubled in volume.
- 6
Fill, Top, and Chill
Spoon the filling into the cooled Oreo crust and smooth the top with an offset spatula. Refrigerate for at least 3 hours, preferably 4, until completely set and firm. Before serving, whip the cream with powdered sugar and vanilla to soft peaks, spread over the filling, and garnish with chocolate shavings and a dusting of cocoa.
Nutrition Information
Per serving (serves 10). Values are approximate.
| Calories | 480 calories |
| Total Fat | 34g |
| Saturated Fat | 20g |
| Carbohydrates | 42g |
| Sugar | 34g |
| Protein | 5g |
| Sodium | 180mg |
| Fiber | 2g |
* Percent Daily Values are based on a 2,000 calorie diet. Your daily values may be higher or lower depending on your calorie needs. Nutritional information is an estimate and may vary.
Frequently Asked Questions
Why do you use pasteurized eggs?
The eggs in French silk pie are not cooked to a safe temperature, so pasteurized eggs eliminate the risk of salmonella while still providing the structure and airiness the filling needs. Look for them in the regular egg section — they are usually labeled clearly.
Can I use a regular pie crust instead of Oreo?
Yes, a fully blind-baked traditional pie crust works beautifully. Bake until deep golden brown and cool completely. The Oreo crust adds a chocolate-on-chocolate element, but a buttery pastry crust provides elegant contrast.
How far ahead can I make French silk pie?
The filled pie without whipped cream topping can be made up to 2 days ahead and refrigerated, well covered. Add the whipped cream within a few hours of serving for the best appearance.
My filling looks curdled after adding the eggs. Did I ruin it?
Probably not. If the chocolate was too warm when mixed with the butter, it can look slightly broken. Continue beating on medium-high speed — the extended mixing usually brings it back together into a smooth, silky consistency.

Reader Reviews
Based on 176 reviews