Cookies & Bars
How to Temper Chocolate: My Complete Guide for Perfect Results
Learn how to temper chocolate with my foolproof methods. Perfect glossy finish for cookies, truffles & more. Step-by-step guide inside!
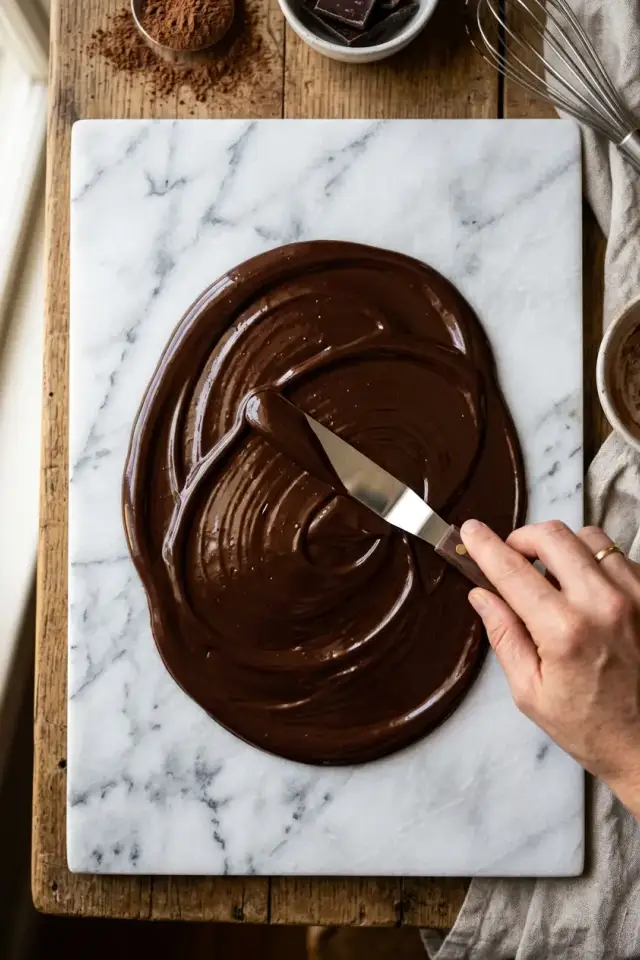
The Skill That Makes Homemade Treats Look Professional
Tempering chocolate seemed intimidating until I actually tried it. Once I understood the technique, my cookie decorating and truffle-making went from homemade-looking to bakery-polished. The glossy finish, the satisfying snap, the way it melts on your tongue — it all comes from getting those cocoa butter crystals into their most stable form. The seeding method I teach here is the most forgiving approach for home bakers.
Baker’s Tips
- Make sure every tool is completely dry before starting. Even a single drop of water will cause the chocolate to seize.
- Use real chocolate with cocoa butter listed as an ingredient (Ghirardelli, Lindt, Callebaut), not compound chocolate or chocolate chips with stabilizers.
- Monitor temperature closely with a candy thermometer. Going even 5 degrees too high during melting can damage the crystals and ruin the temper.
- Test before committing: dip a knife into the chocolate, set it on parchment, and wait 2-3 minutes. Properly tempered chocolate will be glossy and snap cleanly.
Variations
- Dark Chocolate (60-70% cacao): Heat to 115-120F, cool to 81-82F, work at 88-90F. The richest flavor and most dramatic snap.
- Milk Chocolate: Heat to 110-115F, cool to 80-81F, work at 86-88F. More forgiving and a crowd-pleaser for dipping.
- White Chocolate: Heat to 110-115F, cool to 78-80F, work at 84-86F. The most temperature-sensitive, so watch closely.
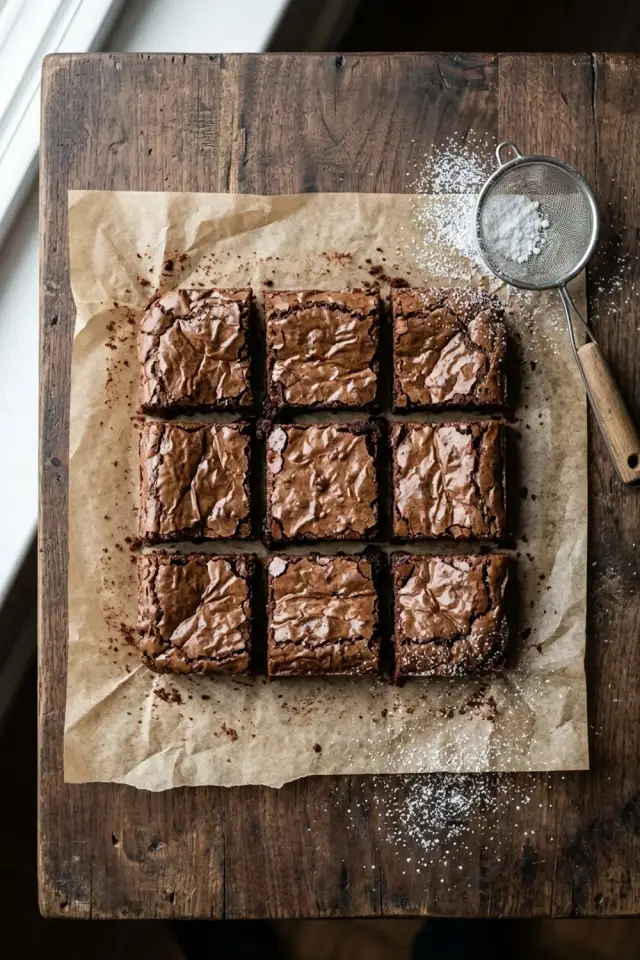
Once mastered, use tempered chocolate to coat cookies, dip strawberries, make chocolate truffles, or drizzle over double chocolate brownies.
Ingredients
Chocolate
Equipment
Instructions
- 1
Chop Your Chocolate Finely
Start by chopping your chocolate into small, uniform pieces—about the size of chocolate chips. This helps it melt evenly and more quickly. I always use a sharp knife and a cutting board, taking my time to get pieces as consistent as possible. The smaller and more uniform your pieces, the better your results will be.
- 2
Set Up Your Double Boiler
Fill a pot with about 2 inches (5cm) of water and bring it to a gentle simmer. Place a heatproof bowl on top, making sure the bottom doesn't touch the water. This indirect heat is crucial—it prevents your chocolate from seizing or burning. I like to use a glass bowl because I can see the chocolate melting from all angles.
- 3
Melt Two-Thirds of Your Chocolate
Add about two-thirds of your chopped chocolate to the bowl over the double boiler. Stir frequently with a wooden spoon or silicone spatula, keeping the temperature between 115-120°F (46-49°C) for dark chocolate, 110-115°F (43-46°C) for milk chocolate, and 110-115°F (43-46°C) for white chocolate. Use your candy thermometer to monitor closely. This is the 'heating' phase of tempering.
- 4
Add the Remaining Chocolate (Seeding)
Once your melted chocolate reaches the target temperature, remove the bowl from heat. Gradually add the remaining one-third of chopped chocolate (called 'seed' chocolate) to the melted chocolate. Stir constantly and gently. This cooler chocolate helps stabilize the cocoa butter crystals. Keep stirring until all the chocolate is melted and the temperature drops to 81-82°F (27-28°C) for dark chocolate, 80-81°F (27°C) for milk chocolate, and 78-80°F (26-27°C) for white chocolate.
- 5
Reheat to Working Temperature
Once you've reached the cooling temperature, place the bowl back over the double boiler (with heat off or very low) and gently reheat to 88-90°F (31-32°C) for dark chocolate, 86-88°F (30-31°C) for milk chocolate, and 84-86°F (29-30°C) for white chocolate. This is your working temperature. Stir gently and continuously to maintain this temperature throughout use.
- 6
Test Your Temper
Dip a knife or small spatula into the tempered chocolate and place it on parchment paper. Let it set at room temperature for about 2-3 minutes. If it hardens with a glossy finish and snaps cleanly when you bend it, your chocolate is properly tempered! If it's dull or streaky, you'll need to start over. This test gives me confidence before I coat my cookies.
- 7
Coat Your Cookies or Treats
Working quickly while your chocolate is at the proper temperature, dip your cookies, truffles, or other treats into the tempered chocolate. Use a dipping fork or two-pronged fork to help remove excess chocolate. Place dipped items on parchment paper to set. Keep your chocolate at working temperature by occasionally placing the bowl back over the warm (not hot) double boiler for 10-15 seconds if needed.
- 8
Let Set and Store
Allow your chocolate-coated treats to set at room temperature (68-72°F / 20-22°C) for 30 minutes to 1 hour, depending on thickness. Once fully set, store in an airtight container in a cool, dry place. Properly tempered chocolate will have a beautiful snap and glossy appearance that lasts for weeks!
Nutrition Information
Per serving (serves 24). Values are approximate.
| Calories | 85 calories |
| Total Fat | 5g |
| Saturated Fat | 3g |
| Carbohydrates | 10g |
| Sugar | 9g |
| Protein | 1g |
| Sodium | 5mg |
| Fiber | 0g |
* Percent Daily Values are based on a 2,000 calorie diet. Your daily values may be higher or lower depending on your calorie needs. Nutritional information is an estimate and may vary.
Never Miss a Sweet Recipe
Join 5,000+ home bakers and get new recipes straight to your inbox.
Frequently Asked Questions
Why is tempering chocolate important?
Tempering chocolate is essential because it stabilizes the cocoa butter crystals in chocolate, giving it a glossy appearance, smooth texture, and satisfying snap when you bite into it. Without tempering, chocolate becomes dull, streaky, and has a grainy texture. It also has a higher melting point, so it won't melt in your hands as quickly. I always temper chocolate when I want my cookies and treats to look professionally finished!
Can I use a microwave instead of a double boiler?
Yes, you can! Microwave tempering is faster but requires more attention. Heat your chocolate in 30-second intervals at 50% power, stirring between each interval. It's easier to overheat chocolate in the microwave, so go slowly. Once melted, follow the same seeding and temperature guidelines as the double boiler method. I prefer the double boiler for better temperature control, but the microwave works in a pinch!
What temperature should my chocolate be?
The exact temperature depends on your chocolate type. Dark chocolate: heat to 115-120°F (46-49°C), cool to 81-82°F (27-28°C), then work at 88-90°F (31-32°C). Milk chocolate: heat to 110-115°F (43-46°C), cool to 80-81°F (27°C), then work at 86-88°F (30-31°C). White chocolate: heat to 110-115°F (43-46°C), cool to 78-80°F (26-27°C), then work at 84-86°F (29-30°C). A reliable candy thermometer is your best friend here!

Reader Reviews
Based on 502 reviews