Pies & Tarts
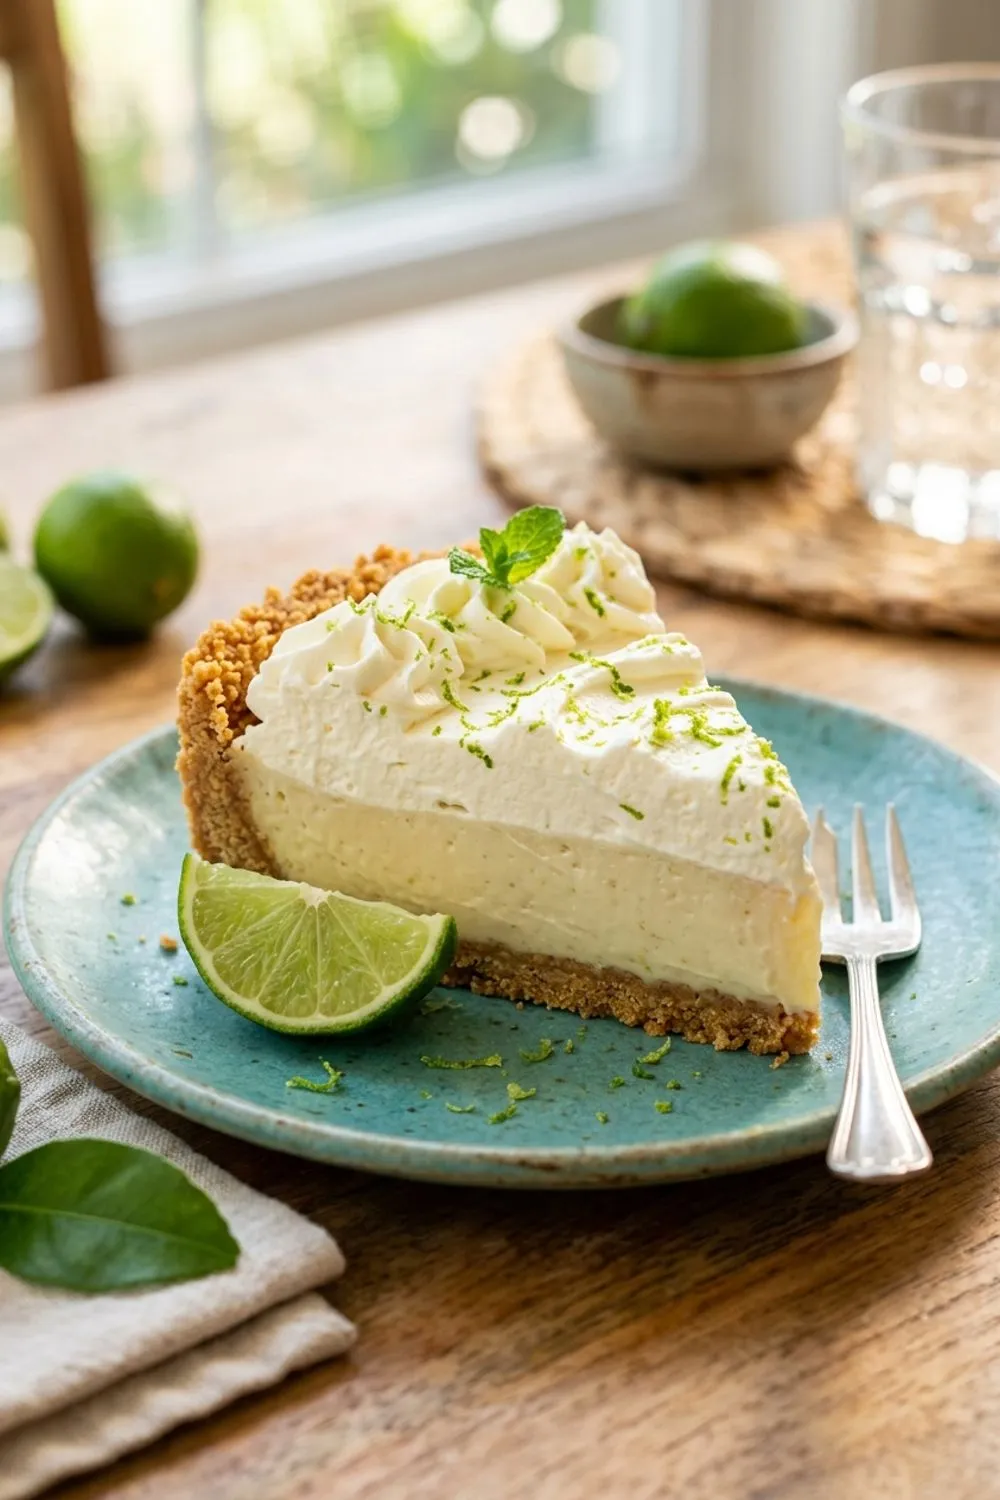
Key Lime Pie
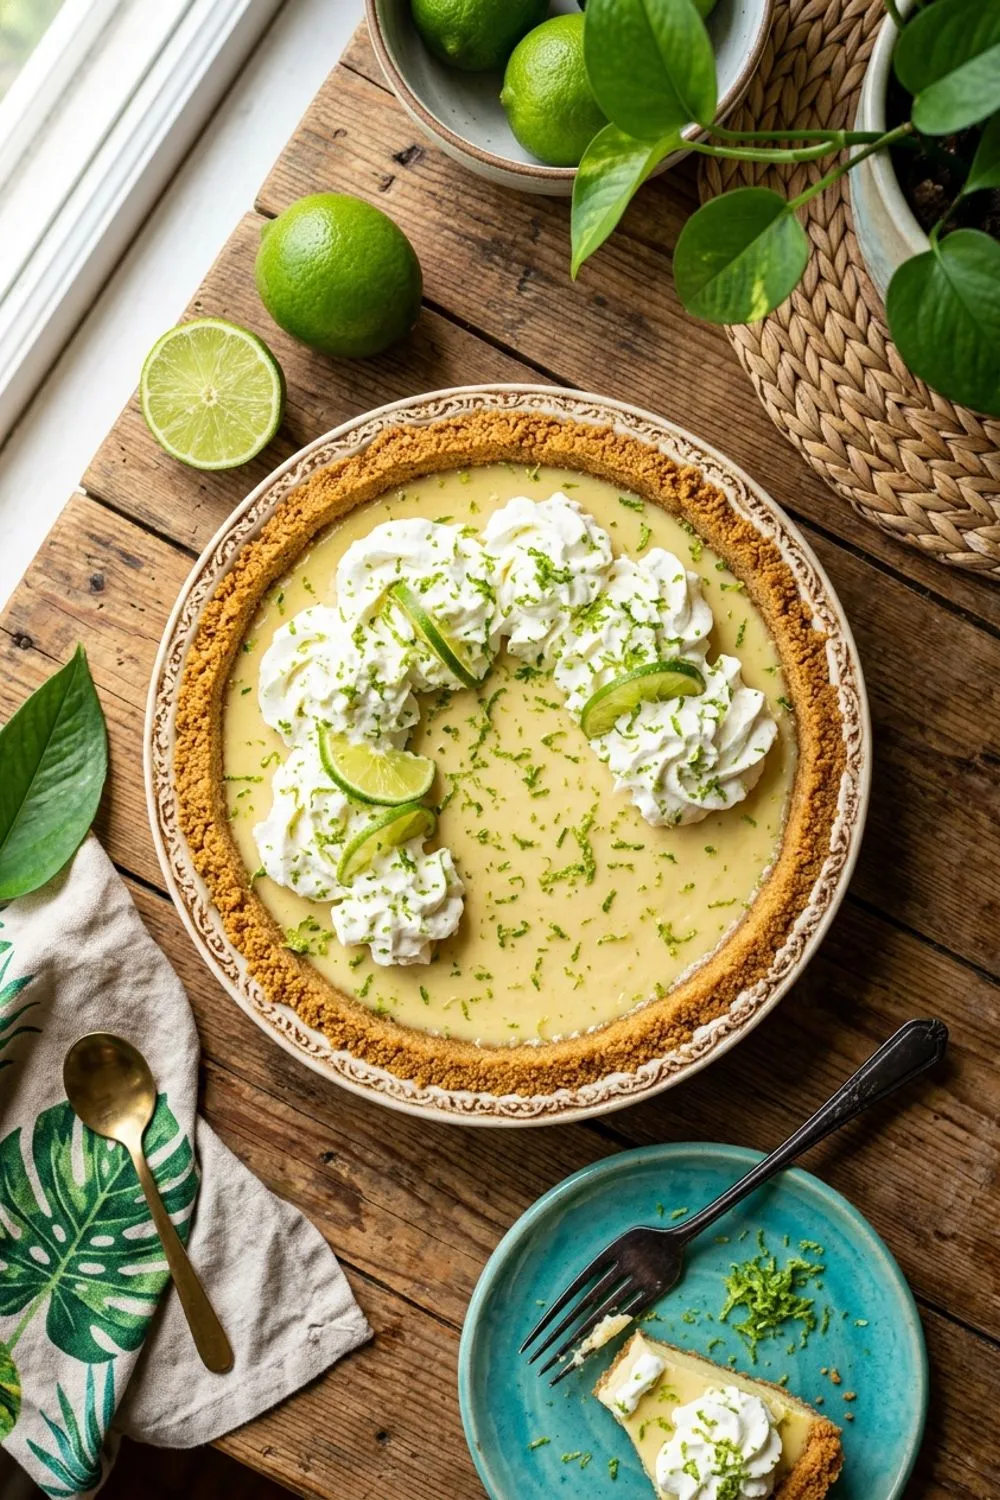
The Simplest Pie That Will Make You Look Like a Pro
If I had to choose one pie to make for the rest of my life, it might be key lime pie. I know that sounds bold when there are hundreds of pies in the world, but there is something about this one that defies its simplicity. Five main ingredients. Fifteen minutes of hands-on work. And the result is a dessert so tangy, creamy, and refreshing that people genuinely refuse to believe it was this easy to make.
Key lime pie holds a special place in American baking, rooted in the Florida Keys where key limes grow abundantly and where this pie supposedly originated in the early 1900s. The story goes that sponge fishermen, spending long stretches on boats without ovens, combined canned milk with the small, round key limes that grew wild throughout the islands. The acid in the juice thickened the condensed milk into a custard-like filling without any heat — a kind of chemical magic that still feels almost miraculous every time I watch it happen in my own kitchen.
My version adds a brief bake, which is not strictly traditional but produces a filling with a silkier, more refined texture. The graham cracker crust adds a toasty, slightly sweet base that contrasts perfectly with the bright citrus filling. And a generous pile of lightly sweetened whipped cream on top brings everything into harmony — sweet, tart, creamy, and crunchy in every single bite.
The Ingredients and Why They Matter
Sweetened Condensed Milk Is the Foundation
This is not the time for substitutions. Sweetened condensed milk is the structural backbone of key lime pie. Its high sugar content and thick, syrupy consistency give the filling its characteristic density and sweetness. When combined with the acid in lime juice, the proteins in the condensed milk begin to coagulate, thickening the mixture into something that resembles a light custard. This reaction is the science behind the pie, and it only works properly with real sweetened condensed milk.
I use two full cans, which might seem generous, but it produces a filling that is thick enough to slice cleanly and rich enough to satisfy in small portions. One can results in a thinner filling that is more like a lime pudding — pleasant, but not what we are after.
Key Limes vs. Regular Limes
Let me settle this debate: both work beautifully in this pie. Key limes are smaller, rounder, and more aromatic than regular Persian limes. They have a slightly more floral quality and a bit more tartness. But the difference in the finished pie, where the lime juice is mixed with a massive amount of sweetened condensed milk, is honestly quite subtle.
If you have access to fresh key limes and the patience to juice 20 to 25 of them (they yield very little juice each), the result is marginally more complex. If not, use regular limes or bottled key lime juice without a single moment of guilt. I have served both versions to discerning guests, and no one has ever identified which was which.
The Egg Yolks
Six egg yolks enrich the filling and help it set more firmly when baked. Whisking the yolks with the lime zest for a couple of minutes before adding the condensed milk allows the oils in the zest to infuse into the yolks, amplifying the lime flavor throughout the filling. This small step takes barely any extra time but makes a noticeable difference in the intensity of the citrus flavor.
Making the Perfect Graham Cracker Crust
A great graham cracker crust should be firm enough to slice without crumbling apart, crisp enough to provide textural contrast, and buttery enough to taste like something more than crushed crackers. The ratio that achieves all three is 1 1/2 cups of crumbs to 6 tablespoons of melted butter, with a bit of sugar and a pinch of salt.
The most common mistake is not pressing the crumbs firmly enough into the pan. You want a dense, compact layer, not a loose pile of buttered crumbs. I use the flat bottom of a dry measuring cup to really pack the mixture in, paying special attention to the corners where the sides meet the base. These spots tend to be thin and fragile if you are not deliberate about pressing them.
Bake the crust for 8 to 10 minutes until it is fragrant and very slightly darker in color. This pre-bake sets the butter and toasts the graham crackers, giving the crust more flavor and structural integrity. An unbaked crust will be sandy and crumbly once the pie is chilled.
The Filling Comes Together in Minutes
Once the crust is in the oven, you have about 10 minutes to make the filling — which is exactly how long it takes. Whisk the yolks and zest together first, then add the condensed milk, then the lime juice. Adding the lime juice last and gradually is important because the thickening reaction begins immediately. If you dump all the juice in at once, you can get lumps as certain areas thicken before you can incorporate them evenly.
Pour the filling into the warm crust straight from the oven. This allows the filling to begin setting from the bottom up, in contact with the hot crust, which gives you a slightly firmer, more custard-like layer at the base. Bake for just 15 minutes — the edges will be set and the very center will still have a gentle wobble. Resist the urge to bake longer. The filling continues to set as it cools and chills, and an overbaked key lime pie loses its signature creamy texture and becomes rubbery.
The Whipped Cream Makes It Complete
I am firmly in the whipped cream camp, not meringue. Some traditional key lime pie recipes top the filling with a tall, golden meringue, and that is a perfectly valid choice. But I find that meringue competes with the delicate lime filling for attention, while whipped cream plays a supporting role — cooling, lightening, and complementing without overpowering.
The trick to perfect whipped cream is cold everything: cold cream, cold bowl, cold whisk or beaters. I chill my metal mixing bowl in the freezer for 10 minutes before whipping. Beat the cream with powdered sugar and vanilla until it forms soft peaks — meaning the cream holds a gentle shape when you lift the beaters but still looks lush and billowy, not rigid. Over-whipped cream turns grainy and eventually becomes butter, which is not the topping we want.
Add the whipped cream to the pie within an hour of serving. It will hold reasonably well in the refrigerator for a couple of hours, but it looks and tastes best when freshly whipped. You can spread it evenly with an offset spatula for a sleek, modern look, or pile it on in dramatic swoops and swirls for a more rustic presentation. Both approaches are beautiful.
Understanding the Chemistry
One of the most fascinating things about key lime pie is the science behind the filling. When the acid in lime juice meets the proteins in sweetened condensed milk, a chemical reaction occurs that causes the mixture to thicken without any heat. The acid denatures the casein proteins in the milk, causing them to unfold and bond with each other, creating a gel-like structure.
This is why the filling thickens noticeably as soon as you add the lime juice, and why some traditional recipes skip baking entirely. The acid does the structural work. The brief 15-minute bake in my recipe serves a secondary purpose — it gently cooks the egg yolks, which adds additional stability and gives the filling a slightly silkier, more custard-like texture than the unbaked version.
This chemistry also explains why the proportions matter. Two cans of condensed milk to 3/4 cup of lime juice is the ratio that produces a filling thick enough to slice cleanly but soft enough to feel creamy on the palate. Too much lime juice makes the filling overly tart and can actually overtighten the proteins, creating a rubbery texture. Too little lime juice leaves the filling loose and overly sweet.
The egg yolks contribute richness and additional protein for structure, but they also add a beautiful pale yellow color that deepens slightly during baking. Without the yolks, the filling would be white and significantly less rich — still good, but missing the luscious quality that makes this pie special.
Variations and Ideas
Coconut Key Lime Pie
Replace 1/2 cup of the graham cracker crumbs with sweetened shredded coconut, toasted until golden. Add 1/4 cup of coconut cream to the filling for a tropical twist. Garnish with toasted coconut flakes on top of the whipped cream. This version tastes like a vacation.
Key Lime Pie Bars
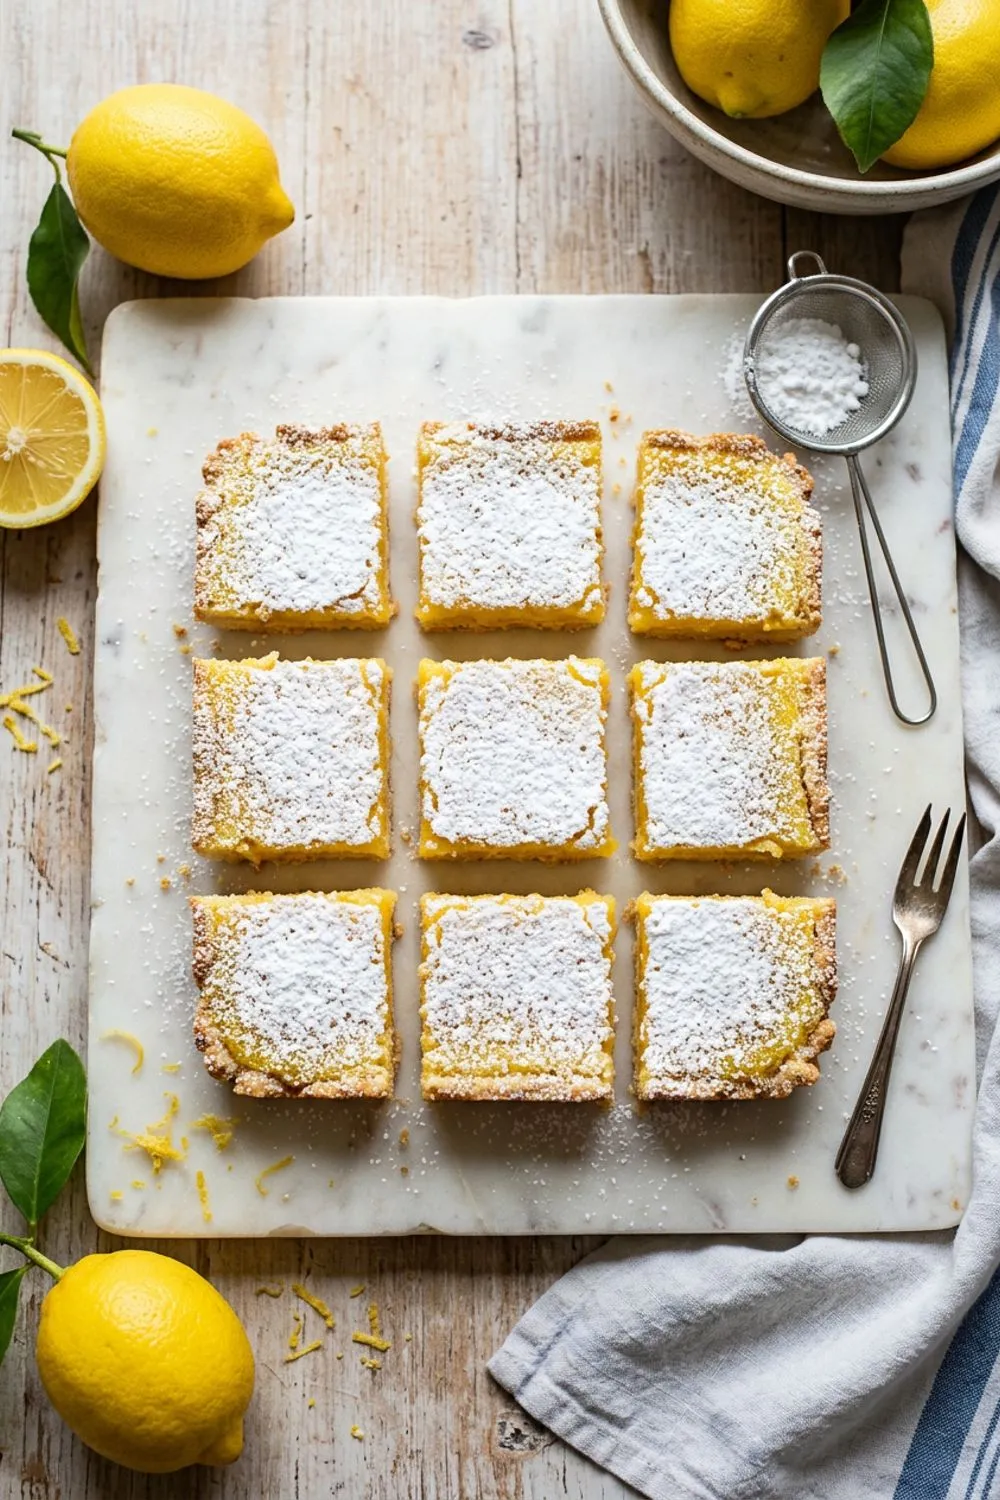
Press the crust mixture into a lined 9x13 baking pan instead of a pie dish. Pour in the filling and bake for 15 to 18 minutes. Chill, top with whipped cream, and cut into bars. These are perfect for potlucks and cookouts where slicing pie is impractical. They are also a wonderful companion to my lemon bars.
Raspberry Swirl Key Lime Pie
Puree 1/2 cup of fresh raspberries, strain out the seeds, and swirl the puree into the filling before baking. The tartness of the raspberry plays beautifully against the lime, and the color contrast is stunning.
Expert Tips for Success
Do not over-whisk the filling. Once you add the lime juice, stir just until combined. Vigorous whisking incorporates air, which can cause the filling to puff up in the oven and then collapse, leaving cracks on the surface.
Invest in a good pie dish. A deep-dish glass or ceramic pie dish gives the best results. The depth accommodates the generous filling, and glass lets you see whether the crust is golden on the bottom.
Zest before juicing. Always zest your limes before cutting and juicing them. Trying to zest a juiced lime half is frustrating and wasteful.
Let the pie chill completely. I cannot emphasize this enough. A properly chilled key lime pie slices into clean, beautiful wedges. A rushed pie that has not set fully will ooze filling across the plate. Four hours is ideal; overnight is even better.
Common Mistakes to Avoid
Wet graham cracker crust. If you do not press the crumbs firmly enough or skip the pre-bake, the crust will be sandy and crumbly rather than sturdy and crisp. Really pack those crumbs in, using the bottom of a measuring cup, and bake until the crust smells toasty and feels firm.
Over-baking the filling. Fifteen minutes is all this filling needs. It should still wobble in the center when it comes out of the oven. An over-baked key lime filling turns rubbery and loses its signature creamy smoothness. The filling continues to set during the cooling and chilling process — trust the chemistry.
Not enough lime juice. Three-quarters of a cup sounds like a lot, but this amount is calibrated to balance the intense sweetness of two cans of condensed milk. Reducing the lime juice produces a filling that tastes more like sweet cream than lime pie. Measure accurately and do not reduce.
Skipping the zest. Lime zest contains aromatic oils that provide a brightness and complexity that juice alone cannot deliver. Whisking the zest with the egg yolks allows those oils to infuse into the richest component of the filling, amplifying lime flavor throughout. Juice gives you acidity. Zest gives you aroma. You need both.
Over-whipping the cream. Whipped cream for key lime pie should be soft and billowy, not stiff and dense. Soft peaks — where the cream holds a gentle, droopy shape — provide the lightest, most elegant topping. Stiff peaks make the cream feel heavy and pasty against the already-rich filling.
Storage
In the refrigerator: Key lime pie must be refrigerated. Covered with plastic wrap or in an airtight container, it keeps for up to 4 days. The whipped cream topping will deflate after about a day, so add fresh whipped cream before serving leftovers.
In the freezer: Key lime pie freezes beautifully. Freeze without the whipped cream topping, wrapped tightly in plastic wrap and foil, for up to 2 months. Thaw overnight in the refrigerator and add fresh whipped cream before serving.
When to Serve Key Lime Pie
This pie is at its absolute best in warm weather. Something about the cold, tangy, creamy filling against a hot summer day feels almost medicinal in its refreshing quality. It is the pie I make for Fourth of July barbecues, beach house weekends, and any dinner party between May and September.
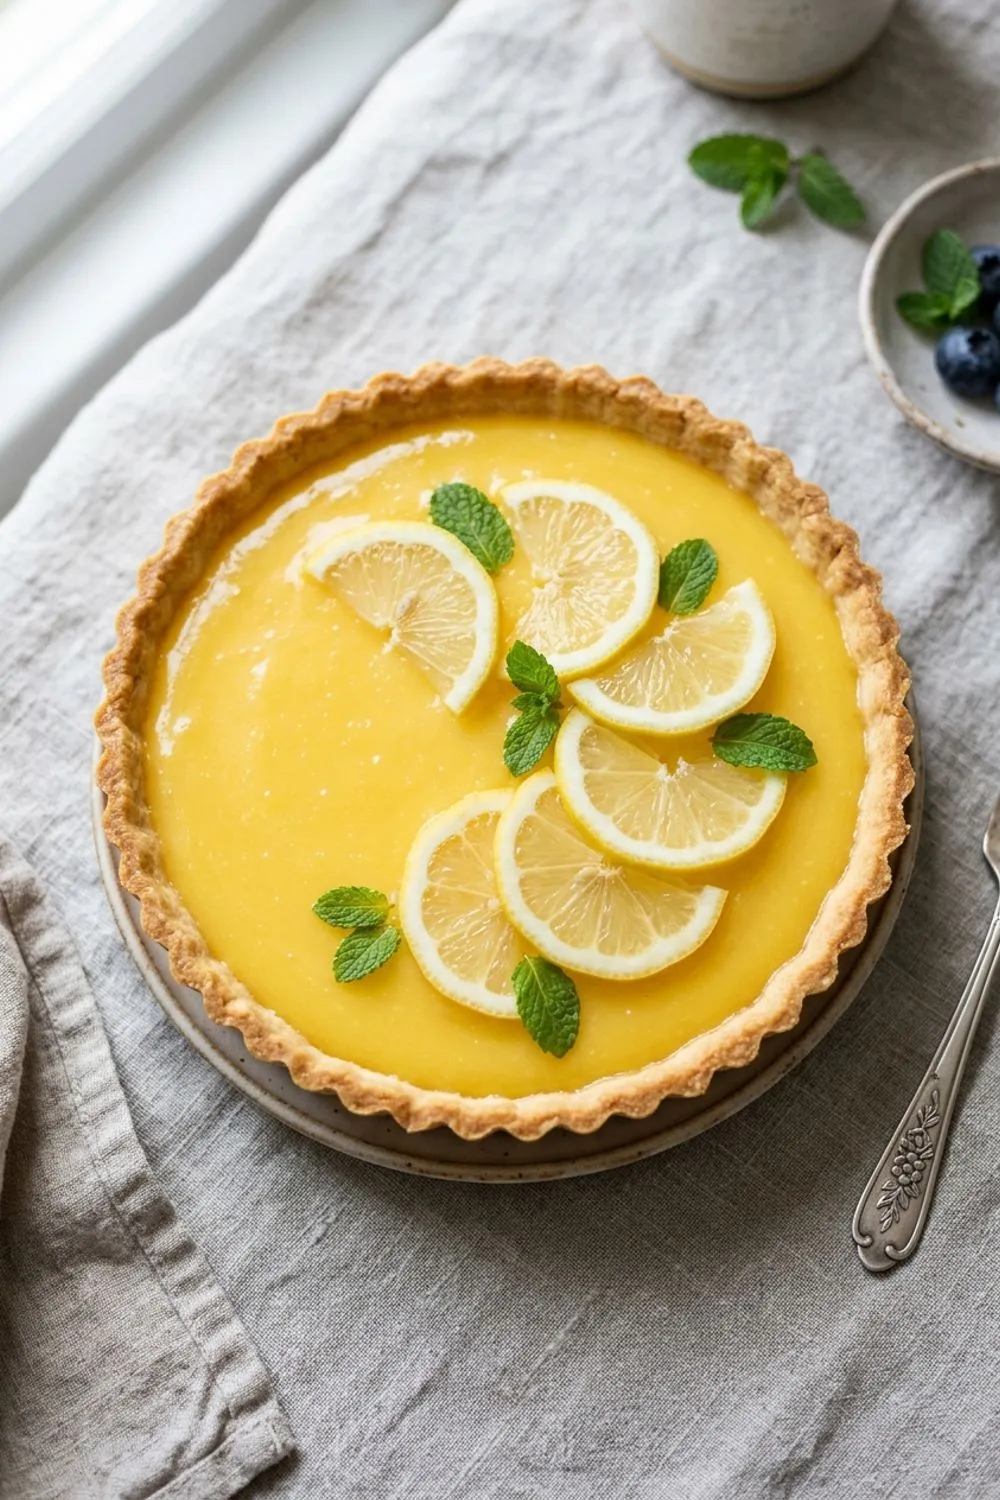
That said, it also makes a wonderful palate cleanser at a rich holiday meal. After heavy dishes and richer pies like my lemon tart, a slice of key lime pie feels like a breath of fresh air. Serve it alongside strong coffee or, for an indulgent pairing, a glass of cold Riesling or prosecco.
Never Miss a Sweet Recipe
Join 5,000+ home bakers and get new recipes straight to your inbox.
Ingredients
Graham Cracker Crust
Key Lime Filling
Whipped Cream Topping
Instructions
- 1
Make the Graham Cracker Crust
Preheat oven to 350°F (175°C). Combine graham cracker crumbs, sugar, and salt in a bowl. Pour in the melted butter and stir until every crumb is moistened. Press the mixture firmly and evenly into a 9-inch pie dish, covering the bottom and going up the sides. Use the flat bottom of a measuring cup to compact it tightly. Bake for 8–10 minutes until lightly golden and fragrant.
- 2
Mix the Filling
While the crust bakes, whisk the egg yolks and lime zest together in a large bowl until the mixture turns slightly pale, about 2 minutes. Add the sweetened condensed milk and whisk until smooth. Gradually pour in the key lime juice while stirring constantly. The mixture will thicken slightly as the acid in the lime juice reacts with the condensed milk.
- 3
Fill and Bake
Pour the filling into the warm baked crust. Return to the oven and bake for 15 minutes — the filling should be set around the edges but still have the slightest wobble in the very center. It will continue to firm up as it cools.
- 4
Cool and Chill
Let the pie cool at room temperature for 30 minutes, then transfer to the refrigerator and chill for at least 2 hours, preferably 4 hours or overnight. The filling must be completely cold and set before slicing.
- 5
Make the Whipped Cream
Just before serving, combine the cold heavy cream, powdered sugar, and vanilla in a large chilled bowl. Using an electric mixer or a whisk, beat until soft peaks form — the cream should hold its shape but still look billowy and soft, not stiff. Be careful not to over-whip.
- 6
Top and Serve
Spread or pipe the whipped cream over the chilled pie. Garnish with thin lime slices or extra zest if desired. Slice with a sharp knife dipped in hot water for the cleanest cuts. Serve immediately after adding the whipped cream.
Nutrition Information
Per serving (serves 8). Values are approximate.
| Calories | 350 calories |
| Total Fat | 17g |
| Saturated Fat | 10g |
| Carbohydrates | 44g |
| Sugar | 38g |
| Protein | 7g |
| Sodium | 190mg |
| Fiber | 0.5g |
* Percent Daily Values are based on a 2,000 calorie diet. Your daily values may be higher or lower depending on your calorie needs. Nutritional information is an estimate and may vary.
Frequently Asked Questions
Can I use regular limes instead of key limes?
Yes. Regular Persian limes work well and are much easier to juice. Key limes have a slightly more floral, aromatic flavor, but the difference in the finished pie is subtle. Use the same amount of juice either way.
Is bottled key lime juice acceptable?
Absolutely. Nellie and Joe's is the most widely available brand and produces excellent results. Fresh key limes are wonderful if you can find them, but juicing 25 tiny limes is tedious work and the bottled version is a perfectly good shortcut.
Can I make key lime pie without baking the filling?
The acid in the lime juice actually sets the filling chemically, so you can skip the baking step and just refrigerate until firm (about 4–6 hours). However, the brief bake gives the filling a slightly silkier, more custard-like texture that I prefer.
How far ahead can I make this pie?
The pie without the whipped cream topping can be made up to 2 days ahead and refrigerated. Add the whipped cream within an hour of serving for the best texture and appearance.

Reader Reviews
Based on 213 reviews