Pies & Tarts
French Lemon Tart

A Little Piece of Paris on Your Table
There is a particular kind of dessert that stops conversation. Not through size or spectacle, but through a quiet, self-assured elegance that makes everyone at the table pause, take a second bite, and then look at you with something approaching reverence. The French lemon tart is that dessert.
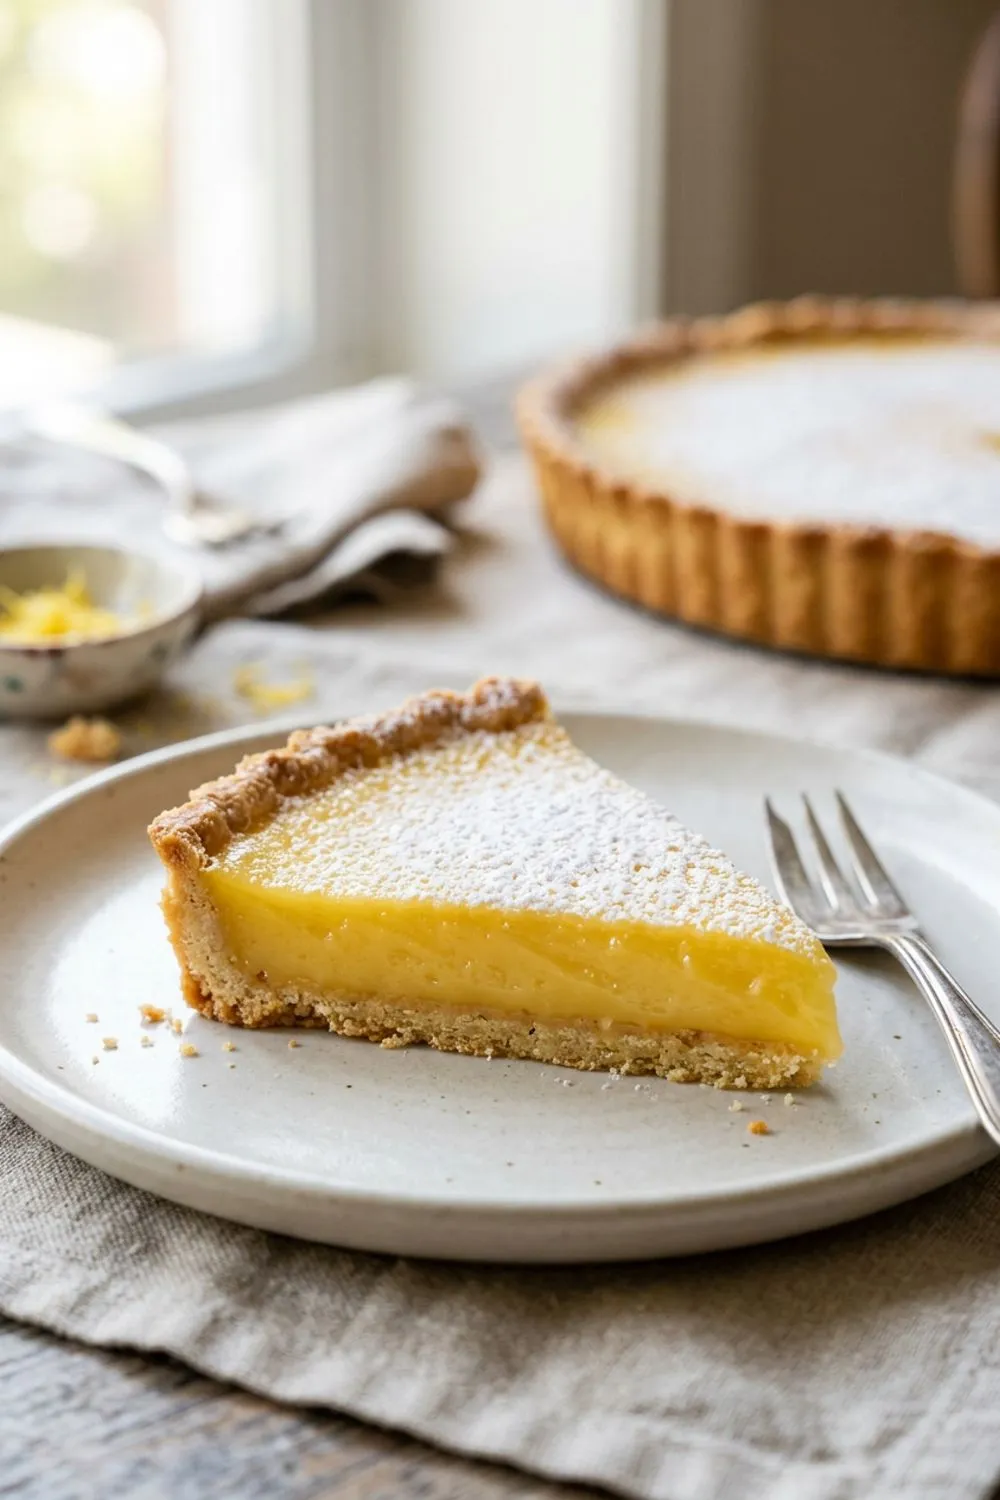
I first encountered a proper tarte au citron at a tiny patisserie on the Left Bank in Paris, the kind of place with a faded awning and a display case that looked like a jeweler’s window. Every pastry was arranged with mathematical precision, and the lemon tart sat in the corner with nothing more than a dusting of powdered sugar to announce itself. One bite and I understood why it needed no embellishment. The crust shattered like fine china, giving way to a filling so smooth and intensely lemony that it was almost electric. There was sweetness, yes, but it was in service to the lemon, never competing with it.
I spent the next several months trying to capture that experience in my own kitchen. French pastry can be intimidating — the techniques are precise, the terminology is unfamiliar, and the standards are unforgiving. But this tart, for all its sophistication, is actually one of the more approachable French pastries. The crust is pressed rather than rolled, which eliminates the stress of handling delicate dough. The filling is essentially a stovetop lemon curd, poured into the shell and chilled. No tempering, no water baths, no complicated assembly. Just good technique and excellent ingredients producing something that tastes like it belongs in a Parisian display case.
Understanding the Components
Pate Sucree: The Sweet French Tart Crust
Pate sucree is fundamentally different from American pie crust. Where pie crust relies on cold butter and minimal handling to create flaky layers, pate sucree uses softened butter that is creamed with sugar, producing a cookie-like texture that is crisp, tender, and slightly sandy. Think of it as a sophisticated sugar cookie that has been shaped into a tart shell.
The technique is closer to making cookie dough than pie dough. You cream the butter and powdered sugar until smooth, add the egg yolk and vanilla, then fold in the flour just until combined. The result is a rich, pliable dough that presses beautifully into a tart pan and bakes into a shell that holds its shape without being tough.
Powdered sugar rather than granulated is important here. It dissolves more readily into the butter, creating a smoother, more tender crumb. Granulated sugar can leave tiny pockets of crunch that disrupt the delicate texture you are looking for.
Lemon Curd: Bright, Silky, and Balanced
The lemon curd in this tart is the real star. It needs to be intensely lemony — this is not the place for subtlety. I use the juice of about 4 large lemons, which yields roughly 2/3 cup. Combined with the zest of 2 lemons, this creates a filling with real citrus power.
The butter in the curd serves two purposes. First, it enriches the texture, giving the filling a velvety, almost mousse-like quality that coats your palate. Second, it tempers the acidity of the lemon juice, rounding out the sharpness so the tart tastes bright rather than sour. Adding the butter off the heat, piece by piece, ensures it emulsifies smoothly into the curd rather than separating or creating a greasy film.
Straining the curd is a step I never skip. Even with careful cooking, there are always a few tiny bits of cooked egg that form, plus the lemon zest that has already given up its oils. Straining catches all of this, giving you a filling that is absolutely flawless in texture.
The Process in Detail
Building the Tart Shell
I prefer pressing pate sucree into the pan rather than rolling it. Rolling works, but it requires more flour on the surface, which can toughen the dough, and the dough is soft enough that it can stick and tear. Pressing is foolproof: simply break off pieces of dough and press them evenly into the pan, starting with the sides and working your way to the base.
The key is achieving uniform thickness, about 1/8 inch throughout. Too thick and the crust overwhelms the delicate filling. Too thin and it will crack or crumble when you try to unmold the tart. Run your fingers over the inside of the shell and feel for any thin spots, especially where the sides meet the base — this corner tends to be too thick if you are not careful.
After pressing the dough into the pan, prick the base thoroughly with a fork. These holes allow steam to escape during baking, preventing the crust from puffing up and distorting. Then refrigerate the shell for at least 20 minutes before baking. Cold dough holds its shape better in the oven and is less likely to shrink down the sides of the pan.
Blind Baking to Perfection
Blind baking means baking the crust without the filling, using weights to keep it flat. Line the chilled shell with parchment paper and fill it with pie weights, dried beans, or uncooked rice — anything heavy enough to hold the dough in place.
The first 15 minutes with the weights sets the structure. After removing them, the additional 8 to 10 minutes of baking without weights allows the base to dry out and turn golden. You want a deep, even golden color all over, not just on the edges. A pale crust will be soft and doughy once the wet filling goes in. A properly golden crust stays crisp for days.
If you notice any cracks in the crust after removing the weights, press them gently with the back of a spoon while the crust is still warm. The heat makes the dough pliable enough to seal itself. Small cracks are normal and easy to fix. Large cracks that go all the way through may cause the filling to leak, so patch them with a small piece of reserved raw dough pressed into the crack and returned to the oven for 3 minutes.
Cooking the Lemon Curd
Patience is the most important ingredient in lemon curd. Cook it over medium-low heat and stir constantly — not casually, not intermittently, but constantly. The eggs in the curd will scramble if they get too hot in any one spot, and once that happens, no amount of stirring will undo it.
You will know the curd is ready when it thickens enough to coat the back of a spoon and hold a line drawn through it with your finger. This happens around 170°F (77°C) if you have an instant-read thermometer, but the spoon test is just as reliable. The transformation is gradual and then suddenly obvious — one moment it seems thin, and the next it has clearly thickened.
Assembly and Setting
Pour the warm curd directly into the warm or room-temperature tart shell. Working while both components are still warm allows the curd to settle into every corner and creates a smooth, even surface. Use an offset spatula to level the top if needed, working gently to avoid disturbing the crust.
The tart needs at least 2 hours in the refrigerator to set completely. The curd will firm up from a pourable consistency to a sliceable, custard-like texture. Do not cover the tart while it is still warm — condensation will drip onto the surface and create water spots. Once it is fully chilled, you can cover it loosely with plastic wrap.
Finishing Touches
The classic French finish is a light dusting of powdered sugar applied just before serving. Use a fine-mesh sieve held about 8 inches above the tart and tap it gently. The sugar should look like a light snowfall, not a heavy blizzard. Some bakers use a kitchen torch to lightly caramelize the sugar on top, creating a crackly brulee effect. This is beautiful and delicious, though not traditional.
Fresh raspberries arranged around the edge of the tart add color and a complementary tartness. Thin candied lemon slices make a stunning garnish for special occasions. But honestly, this tart is so elegant on its own that any garnish should be minimal and intentional.
Variations to Explore
Lemon Meringue Tart
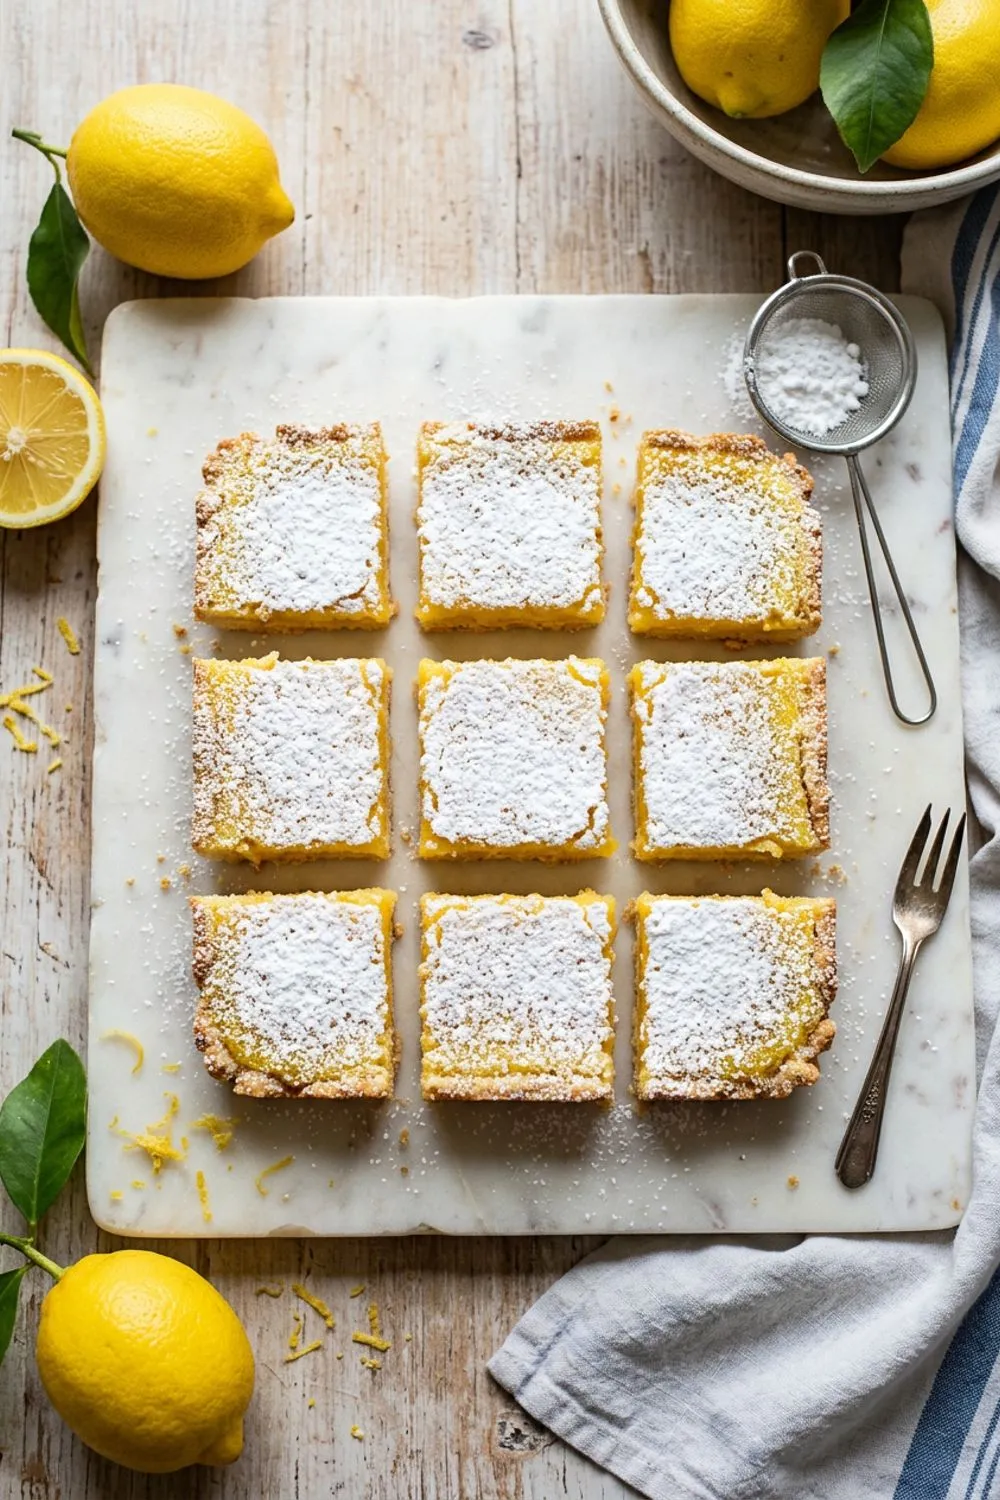
Top the set lemon curd with a Swiss meringue — whisk egg whites and sugar over a double boiler until the sugar dissolves and the mixture reaches 160°F, then whip to stiff, glossy peaks. Pile it onto the tart and toast with a kitchen torch. The sweet meringue against the tart curd is spectacular, and it is closely related to my lemon bars in flavor profile.
Blood Orange Tart
Replace the lemon juice with blood orange juice and the lemon zest with orange zest for a gorgeous ruby-colored tart with a sweeter, more floral citrus flavor. Reduce the sugar to 1/2 cup since blood oranges are less acidic than lemons.
Lavender Lemon Tart
Steep 1 tablespoon of dried culinary lavender in the cream or butter as the curd heats for a Provencal twist. Strain out the lavender before adding the butter to the curd. The floral notes complement the lemon beautifully without overpowering it.
Expert Tips
Use room temperature eggs for the curd. Cold eggs take longer to cook and increase the risk of curdling because the pan has to be on the heat longer. Room temperature eggs thicken more evenly and predictably.
Zest before juicing. It is much easier to zest a whole lemon than a juiced one. Use a microplane for the finest zest — larger pieces can create bitter pockets in the curd.
Weigh your flour. This matters more in pastry than in almost any other type of baking. A cup of flour can vary by as much as 30 grams depending on how you scoop it. At 156 grams, you get a crust that is crisp but tender. Too much flour makes it tough; too little makes it fragile.
Do not skip the chilling steps. Both the dough and the finished tart need adequate chilling. Warm dough is difficult to work with and shrinks in the oven. Warm curd will not slice cleanly and will ooze across the plate.
How to Store
In the refrigerator: Store the assembled tart in the refrigerator for up to 3 days. The crust will soften slightly over time, but the flavor remains excellent. Keep it uncovered or loosely tented with foil to prevent the top from getting sticky.
In the freezer: The baked tart shell can be frozen without the filling for up to 1 month. The assembled tart does not freeze well — the curd can become watery and grainy after thawing.
Bring to cool room temperature before serving. The curd tastes best when it has lost the refrigerator chill but is not warm. About 15 minutes out of the fridge is ideal.
Common Mistakes and How to Fix Them
Curd that is too thin. If your curd does not thicken after 10 minutes of stirring, the heat is too low. Increase to medium and continue stirring constantly. The curd should coat the back of a spoon and hold a line drawn through it with your finger. If it passes this test, it will set firmly once chilled.
Curd that scrambles. The heat was too high or you stopped stirring. If you notice small lumps forming, immediately remove the pan from the heat and whisk vigorously. Strain the curd through a fine-mesh sieve, which will catch any cooked egg bits. The strained curd will be perfectly smooth.
Crust that shrinks down the sides. This happens when the dough was not chilled enough before baking, or when it was stretched rather than pressed into the pan. Always chill the lined tart pan for at least 20 minutes before blind baking, and press the dough into the pan rather than pulling or stretching it.
Filling that does not set. Either the curd was not cooked long enough on the stovetop or the tart was not refrigerated long enough. The curd should be noticeably thick before it goes into the shell, and the filled tart needs a full 2 hours in the refrigerator. If it still seems soft after 2 hours, give it another hour.
Crust that is too thick. Pate sucree should be about 1/8 inch thick. Any thicker and the crust overwhelms the delicate lemon filling, throwing off the balance between buttery shell and bright citrus. If you have excess dough after lining the pan, bake the trimmings as small cookies — they are delicious.
Serving This Tart
Unmold the tart by setting the pan on a tall can or glass and letting the outer ring drop away. Transfer to a flat serving plate or board. Use a sharp, thin knife dipped in hot water and wiped dry between each cut for perfect slices.
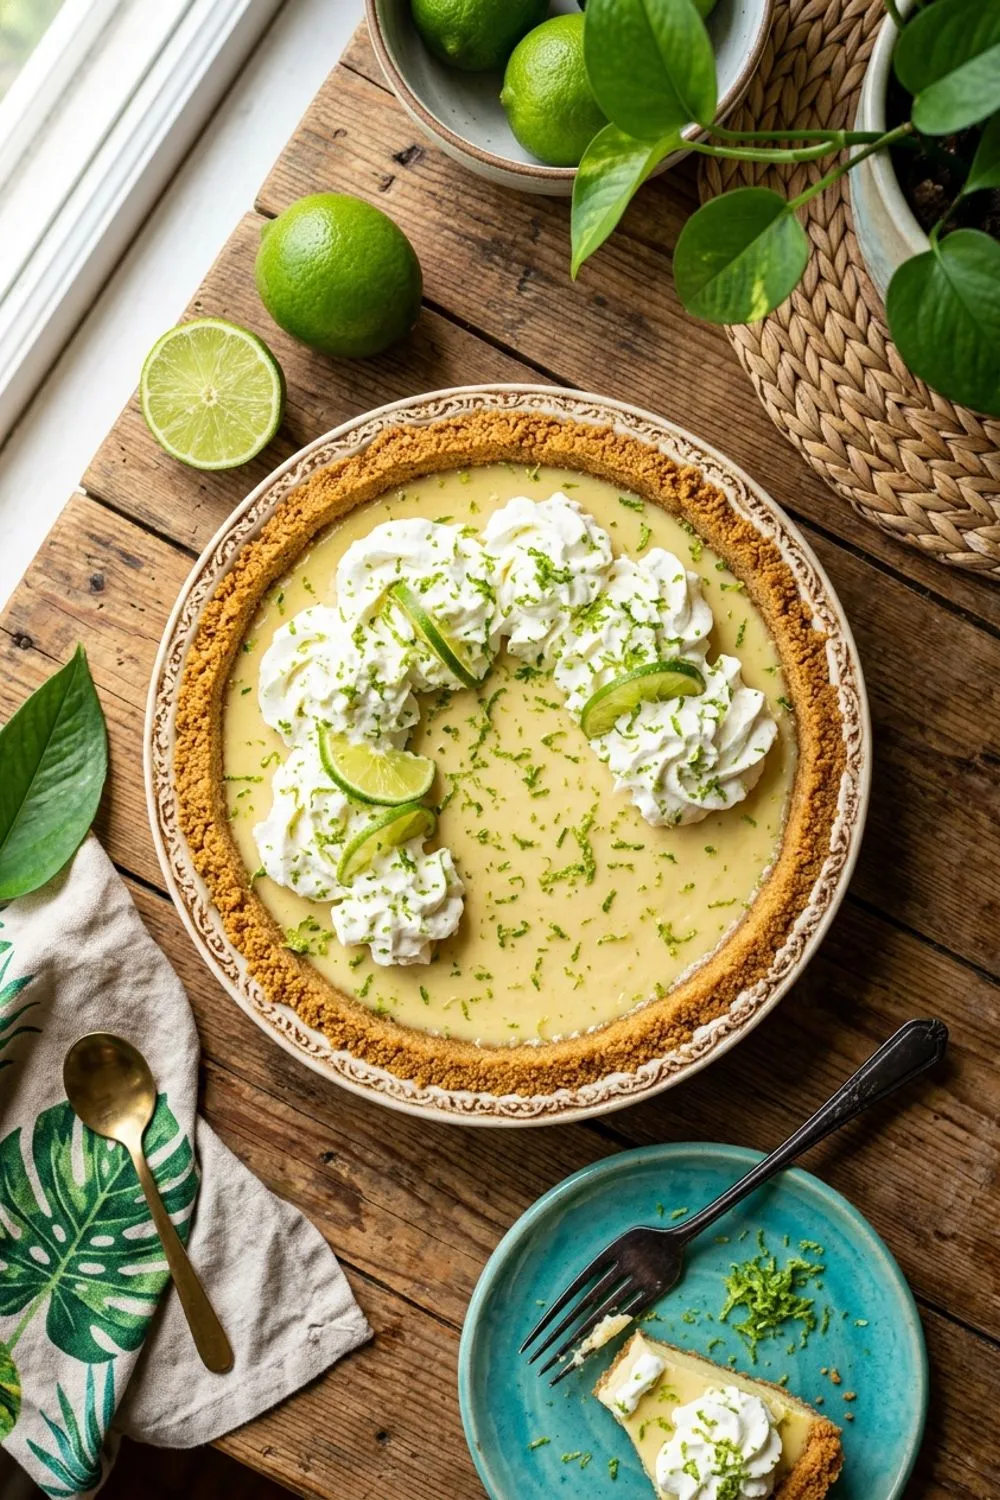
This tart pairs beautifully with a simple cup of espresso or a glass of cold Sauternes. For a composed dessert plate, add a small scoop of raspberry sorbet and a few fresh berries. If you love citrus desserts, try it alongside my key lime pie for a citrus-themed dessert spread that will delight your guests.
Never Miss a Sweet Recipe
Join 5,000+ home bakers and get new recipes straight to your inbox.
Ingredients
Pate Sucree (Sweet Tart Crust)
Lemon Curd Filling
For Finishing
Instructions
- 1
Make the Pate Sucree
Beat the softened butter and powdered sugar together until smooth and creamy, about 2 minutes. Mix in the egg yolk, vanilla, and salt. Add the flour all at once and stir until the dough just comes together — do not overmix. Press the dough into a flat disc, wrap in plastic, and refrigerate for at least 30 minutes.
- 2
Line the Tart Pan
Press the chilled dough evenly into a 9-inch fluted tart pan with a removable bottom. Start by pressing dough up the sides, then fill in the base. The dough should be about 1/8 inch thick throughout, with no thin spots or cracks. Prick the base all over with a fork and refrigerate for 20 minutes.
- 3
Blind Bake the Shell
Preheat the oven to 375°F (190°C). Line the chilled tart shell with parchment paper and fill with pie weights or dried beans. Bake for 15 minutes, then remove the weights and parchment. Continue baking for 8–10 minutes more until the crust is golden all over. If any cracks form, press them gently with the back of a spoon while the crust is still warm.
- 4
Prepare the Lemon Curd
While the crust bakes, whisk the eggs and sugar together in a medium saucepan. Add the lemon juice, lemon zest, and salt. Cook over medium-low heat, stirring constantly with a wooden spoon or silicone spatula, until the mixture thickens enough to coat the back of a spoon, about 8–10 minutes. Do not let it boil.
- 5
Finish the Curd
Remove the saucepan from the heat and add the butter cubes one at a time, stirring until each piece is fully melted and incorporated. Strain the curd through a fine-mesh sieve into a bowl to remove the zest pieces and any bits of cooked egg. This step ensures a perfectly silky texture.
- 6
Fill and Set
Pour the warm lemon curd into the baked tart shell. Smooth the top gently with an offset spatula. Let the tart cool at room temperature for 30 minutes, then refrigerate for at least 2 hours until the filling is completely set. Dust with powdered sugar just before serving.
Nutrition Information
Per serving (serves 8). Values are approximate.
| Calories | 310 calories |
| Total Fat | 18g |
| Saturated Fat | 11g |
| Carbohydrates | 34g |
| Sugar | 22g |
| Protein | 5g |
| Sodium | 120mg |
| Fiber | 0.5g |
* Percent Daily Values are based on a 2,000 calorie diet. Your daily values may be higher or lower depending on your calorie needs. Nutritional information is an estimate and may vary.
Frequently Asked Questions
Can I use bottled lemon juice?
Fresh lemon juice makes a noticeable difference in this recipe. Bottled juice has a flatter, slightly metallic taste that comes through clearly in a tart where lemon is the star. Fresh juice provides brighter, more complex citrus flavor.
Why did my lemon curd turn lumpy?
The heat was likely too high, which caused the eggs to scramble. Cook over medium-low heat and stir constantly. If it does get lumpy, straining through a fine-mesh sieve will catch any cooked egg bits and give you a smooth result.
Can I make this tart ahead of time?
Yes. The baked tart shell can be stored at room temperature for up to 2 days. The assembled tart keeps in the refrigerator for up to 3 days. Dust with powdered sugar just before serving.
What can I use instead of a tart pan with removable bottom?
A regular 9-inch pie dish works, though you will not get the same elegant presentation. The straight sides and removable bottom of a tart pan make unmolding easy and give the tart its classic French bakery appearance.

Reader Reviews
Based on 156 reviews