Chocolate
Molten Chocolate Pudding
The Dessert That Always Gets a Standing Ovation
I have made hundreds of desserts over the years, from elaborate multi-layered cakes to delicate French pastries, and none of them — not a single one — gets a reaction quite like molten chocolate pudding. When you unmold it onto a plate and someone cuts into it with their spoon, watching that river of warm, liquid chocolate flow from the center, the table goes silent for a moment. Then comes the collective intake of breath, followed by sounds of satisfaction that I find deeply gratifying every single time.
Molten chocolate pudding is the kind of dessert that seems impossibly sophisticated and restaurant-exclusive, which makes it all the more delightful when you discover it takes 15 minutes to prepare and 15 minutes to bake. Thirty minutes from start to table. Less time than it takes to order delivery, and the result is a warm, intensely chocolatey dessert with a cakey exterior that gives way to a flowing, molten center — the kind of thing you pay good money for at fine restaurants and wonder how on earth they make it.
In Britain, where this dessert has deep roots, it is called a pudding — which, for anyone unfamiliar with British dessert terminology, does not mean the wobbly, set custard Americans think of. British pudding is a general term for dessert, and this particular one has been a staple of British restaurant menus since the 1980s. It crossed the Atlantic and became known as chocolate lava cake in American kitchens, but I prefer the original name. There is something honest and comforting about calling it a pudding, even though the experience of eating it is anything but ordinary.
The Science of the Molten Center
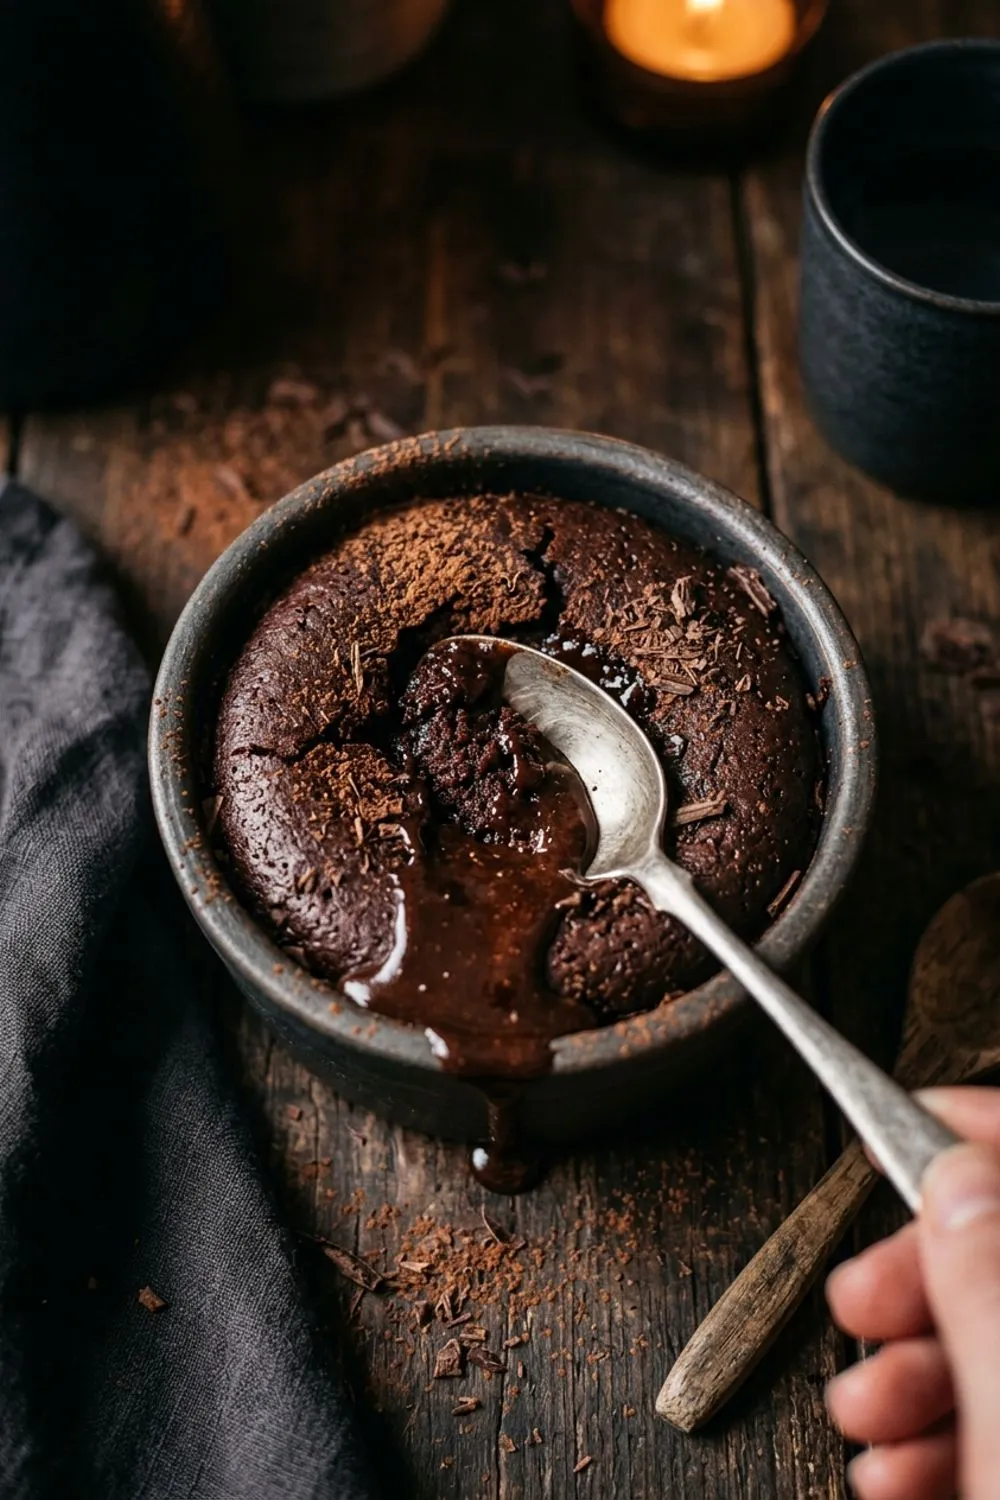
Understanding what creates the molten center helps you nail the timing, which is everything in this recipe. The batter is essentially a very rich, very moist chocolate cake batter with a high ratio of chocolate and butter to flour. When it goes into a hot oven, the outside of each ramekin heats up first, cooking the batter from the edges inward.
At 12 to 14 minutes, the outer ring of batter has set into a tender, fudgy cake, but the center has not yet reached the temperature needed for the eggs and flour to set. Pull it at this moment and you have the magic: a firm exterior encasing a pool of warm, flowing chocolate that was never fully cooked. Leave it even 2 minutes too long and that center solidifies into cake, which tastes fine but misses the entire point.
This is why oven accuracy and timing are critical. I recommend doing a test run with one ramekin before committing to all four, especially if you are unfamiliar with your oven. Every oven runs slightly differently, and the difference between a 12-minute pudding and a 14-minute pudding can be the difference between perfection and disappointment.
Ingredients That Matter
The Chocolate
This is not the place for compromise. Use the best dark chocolate you can find, ideally 70 percent cacao. The pudding contains very little flour and sugar relative to the amount of chocolate, so the chocolate’s flavor is front and center. A mediocre chocolate will produce a mediocre pudding.
I prefer Valrhona Guanaja (70%) or Lindt Excellence for this recipe. Both melt beautifully and have a deep, complex chocolate flavor with just enough bitterness to prevent the pudding from being cloying. Avoid chocolate with less than 60 percent cacao — the filling will be too sweet and will not have that intense, adult chocolate character.
The Butter
Half a cup of butter might seem extravagant for four small puddings, and it is. That is why they taste so extraordinary. The butter, combined with the chocolate, creates the fluid center. Without enough fat, the center would set into cake rather than flowing when cut. Use the best unsalted butter you can find — European-style butters with higher butterfat content produce a richer, silkier result.
The Eggs
Three eggs for four puddings provides the structure that holds the exterior together while keeping the center loose. The whisking technique — beating the eggs and sugar until pale and ribbony — incorporates air that gives the exterior its light, almost soufflé-like texture. Do not skip or rush this step.
Preparing the Ramekins
The butter-and-cocoa coating inside each ramekin is not decorative — it is functional. The butter creates a non-stick surface, and the cocoa powder adds an additional release layer while contributing to the chocolate flavor. If you used flour instead of cocoa (as you would for most cake pans), you would end up with a white, floury film on the outside of your dark chocolate pudding, which looks terrible.
Be thorough with the coating. Every surface needs coverage, including the rim, where the batter tends to grip as it rises. I use a pastry brush for the butter and then tap the cocoa around like I am coating a bundt pan, turning the ramekin to coat all sides before inverting and tapping out the excess.
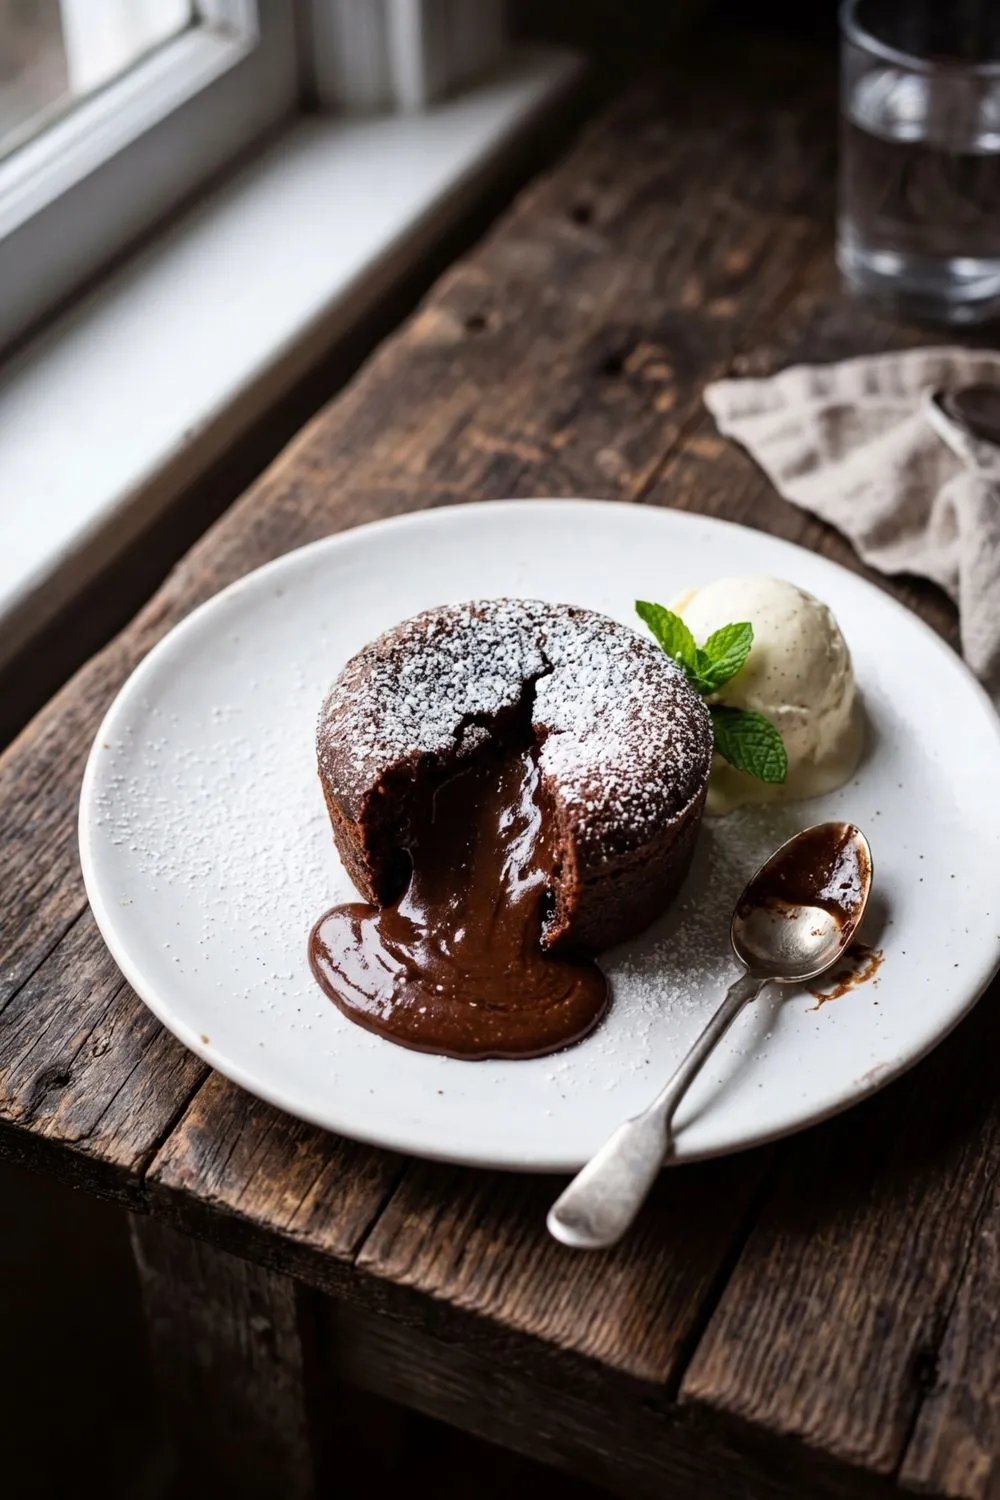
The Unmolding Moment
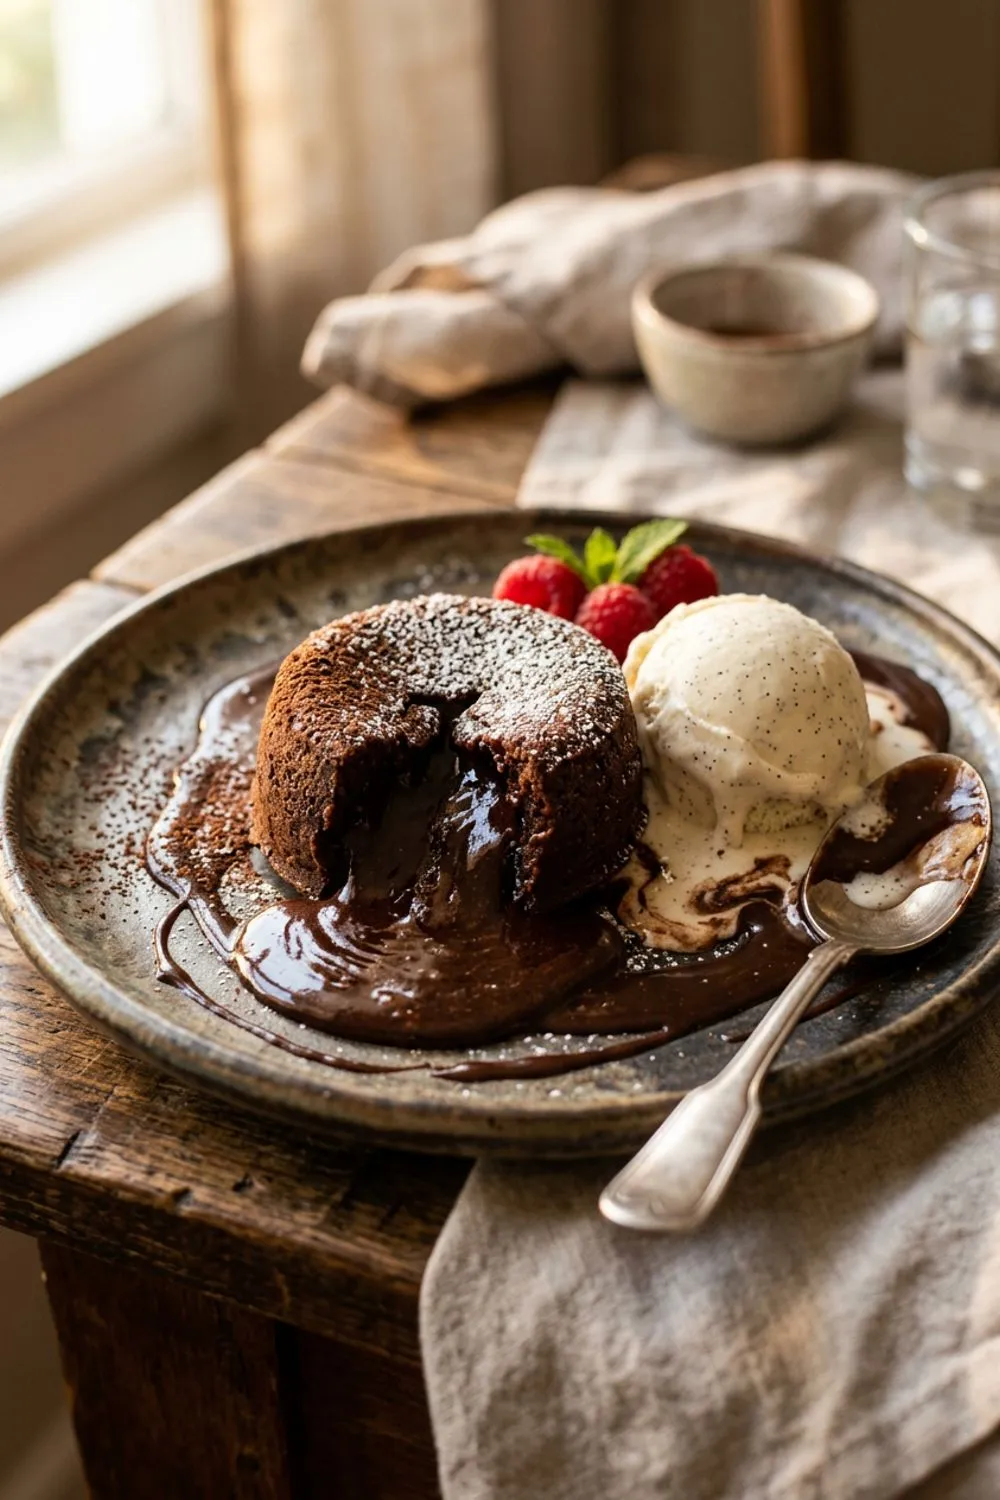
This is the theatrical climax of the whole enterprise, and it is less scary than it seems. After removing the puddings from the oven, let them rest in the ramekins for exactly 1 minute. This brief rest allows the edges to pull away from the ramekin slightly, making unmolding easier.
Run a thin knife — a paring knife or butter knife — around the inside edge of each ramekin. Place a serving plate face-down on top of the ramekin. In one confident motion, flip the whole assembly over. Pause for a moment with the ramekin sitting upside-down on the plate, then lift it straight up. The pudding should slide out cleanly, looking like a small, elegant dome with a slightly cracked top.
If it does not come out, it is probably sticking at one point. Set the ramekin back on top and run the knife around the edge again, then try once more. And if all else fails, simply serve the pudding in the ramekin — it tastes exactly the same and many fine restaurants present it this way deliberately.
The Make-Ahead Secret
Here is information that changed my life: you can prepare the batter, fill the ramekins, cover them with plastic wrap, and refrigerate them for up to 24 hours before baking. This means you can do all the prep work the day before a dinner party and simply pop the ramekins into the oven while you clear the main course plates.
Cold batter takes a couple of extra minutes in the oven — 14 to 16 minutes instead of 12 to 14. The end result is identical. This make-ahead capability is what makes molten chocolate pudding practical for entertaining, because the last thing you want to be doing between courses is measuring ingredients and melting chocolate.
You can even freeze the filled ramekins. Wrap each one tightly in plastic wrap and freeze for up to a month. Bake from frozen, adding about 5 minutes to the baking time. This is genuinely magical — dinner party dessert pulled from the freezer at a moment’s notice, with a molten center, in under 20 minutes.
What to Serve Alongside
Warm Custard
The British classic. Warm vanilla custard poured around the base of the pudding is traditional and wonderful. The cool custard against the warm pudding creates a temperature contrast that is deeply satisfying. You can use homemade custard or a good store-bought variety.
Vanilla Ice Cream
The American standard. A scoop of high-quality vanilla ice cream melting slowly against the warm pudding creates its own sauce. The cold against the hot, the vanilla against the chocolate — it is a combination that never fails.
Pouring Cream
The simplest option and often the best. A small jug of cold pouring cream at the table lets each person add as much or as little as they like. The cream cuts through the richness and adds a clean, dairy freshness.
Fresh Raspberries
A small scatter of fresh raspberries provides tartness that balances the intense chocolate. The color contrast is beautiful too — ruby red against dark brown with a dusting of white powdered sugar.
Tips for Consistent Results
Know your oven. Every oven has hot spots and temperature inaccuracies. If you have never made molten chocolate pudding before, sacrifice one ramekin as a test. Bake it for 12 minutes, unmold it, and cut it open. If the center is liquid, that is your baseline. If it is too set, reduce the time by a minute next round. Once you have dialed in the timing for your oven, you will nail it every time.
Use an oven thermometer. Many home ovens run 25 to 50 degrees off from the displayed temperature. Since timing is everything in this recipe, an inaccurate oven temperature can mean the difference between molten perfection and solid cake. A cheap oven thermometer hanging from the rack gives you the true temperature.
Weigh your ingredients. Baking by weight rather than volume is more precise, and precision matters here. An extra tablespoon of flour will absorb moisture from the filling and can prevent the center from staying liquid. A scale eliminates the variability of measuring cups and ensures consistent results batch after batch.
Do not open the oven door early. Every time the door opens, the oven temperature drops by 25 to 50 degrees. This disrupts the delicate balance between cooking the exterior and keeping the center molten. Use the oven light to check progress, and only open the door when you expect the puddings to be done.
Have everything ready before you start. The process moves quickly once the batter is in the ramekins. Make sure your oven is preheated, your ramekins are prepared, your serving plates are within reach, and your accompaniments (ice cream, custard, cream) are ready to go. There is no good pause point in this recipe — once the puddings come out of the oven, you have about 2 minutes to get them onto plates and in front of your guests.
Variations
White Chocolate Center
Place a small square (about 1/2 ounce) of white chocolate in the center of each filled ramekin before baking. It melts into a contrasting white pool inside the dark chocolate pudding.
Espresso Molten Pudding
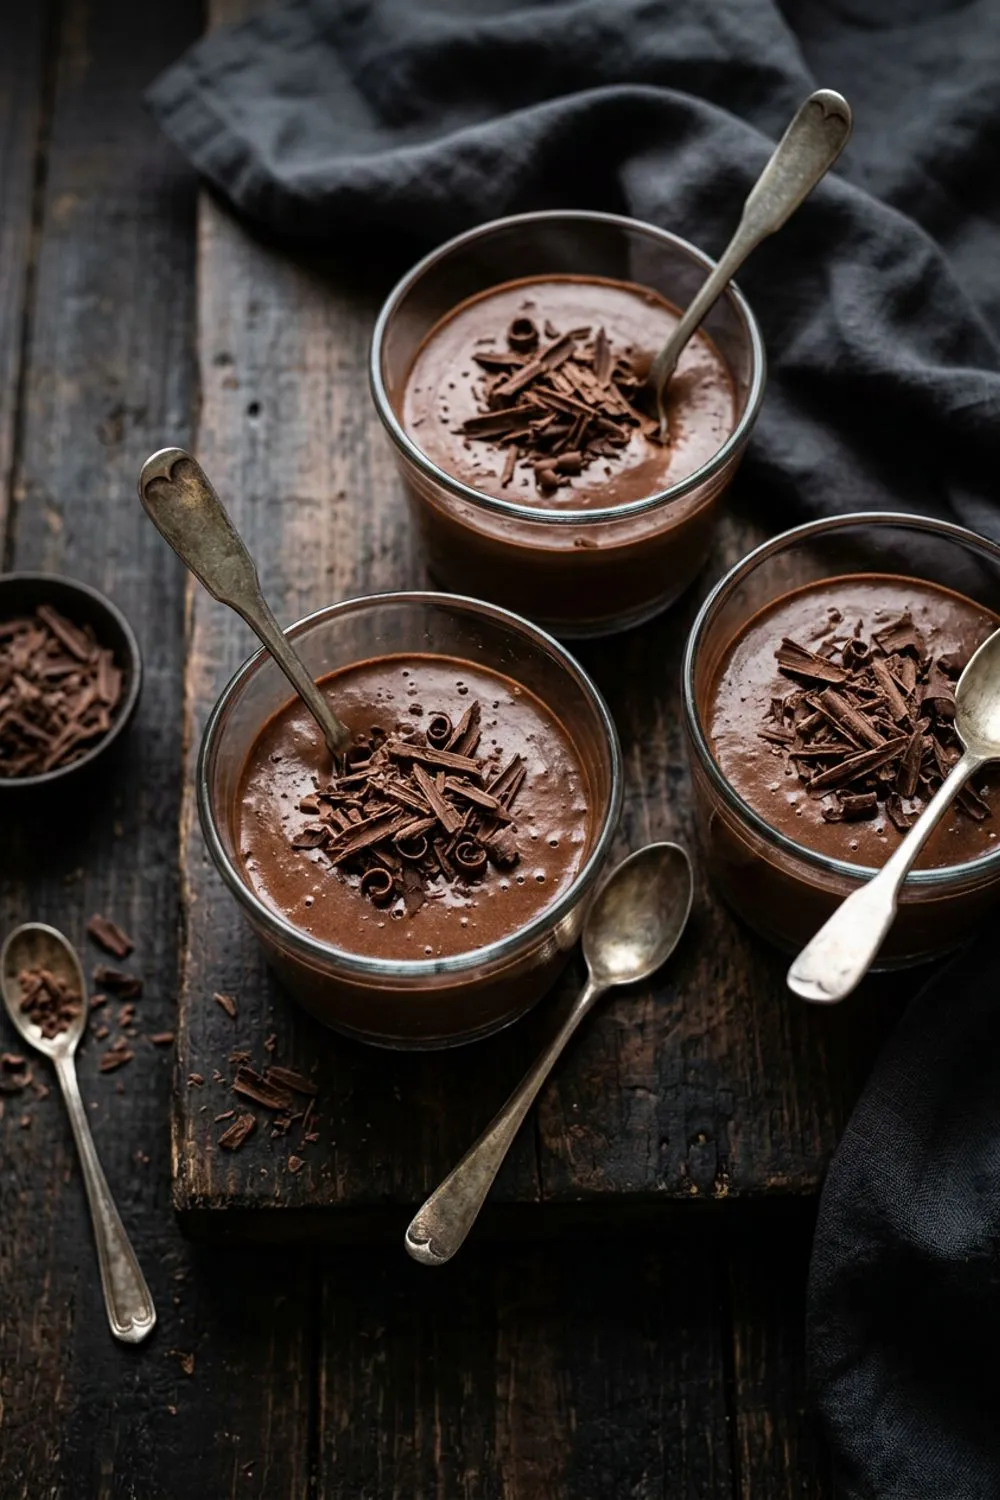
Add 1 teaspoon of instant espresso powder to the melted chocolate and butter. The coffee intensifies the chocolate flavor without making it taste like a coffee dessert. This is reminiscent of my chocolate mousse but served warm.
Salted Caramel Core
Drop a small spoonful of thick salted caramel sauce into the center of each filled ramekin. When cut open, you get both flowing chocolate and salted caramel. It is completely over the top and completely worth it.
Storage
These puddings are best served immediately after baking. They do not reheat well once baked — the molten center sets as the pudding cools and cannot be re-liquefied.
Unbaked in the refrigerator: Up to 24 hours. Add 2 to 3 minutes to baking time.
Unbaked in the freezer: Up to 1 month. Bake from frozen, adding about 5 minutes.
Leftover baked puddings: They can be eaten cold (they taste like dense brownies) or warmed in the microwave for 15 to 20 seconds per pudding. The center will not be fully molten but will be warm and soft.
Why This Is the Ultimate Dinner Party Dessert
I have served molten chocolate pudding at more dinner parties than I can count, and it has never failed to impress. The reason goes beyond the spectacular molten center, though that certainly helps. It is the practicality that makes this dessert ideal for entertaining.
First, the prep can be done entirely in advance. Fill the ramekins the morning of the party, or even the night before, and refrigerate them. When your guests are finishing their main course, simply slide the ramekins into the oven and set a timer. Fifteen minutes later, you have a restaurant-quality dessert with zero last-minute stress.
Second, the presentation is inherently dramatic. Unmolding a pudding at the table, in front of your guests, turns dessert service into a small performance. When someone cuts into the pudding and the chocolate flows out, the reaction is always the same: genuine surprise and delight. This moment of theater elevates the entire meal.
Third, the portion size is perfect. After a full dinner, most people do not want an enormous dessert. A single ramekin of molten chocolate pudding with a scoop of ice cream or a pour of cream is satisfying without being overwhelming. Guests leave the table feeling content rather than uncomfortably full.
Fourth, there are almost no dirty dishes. A saucepan, a bowl, a whisk, and four ramekins. Everything can be washed while the puddings bake, meaning your kitchen is clean before dessert hits the table. For a host, this is almost as valuable as the pudding itself.
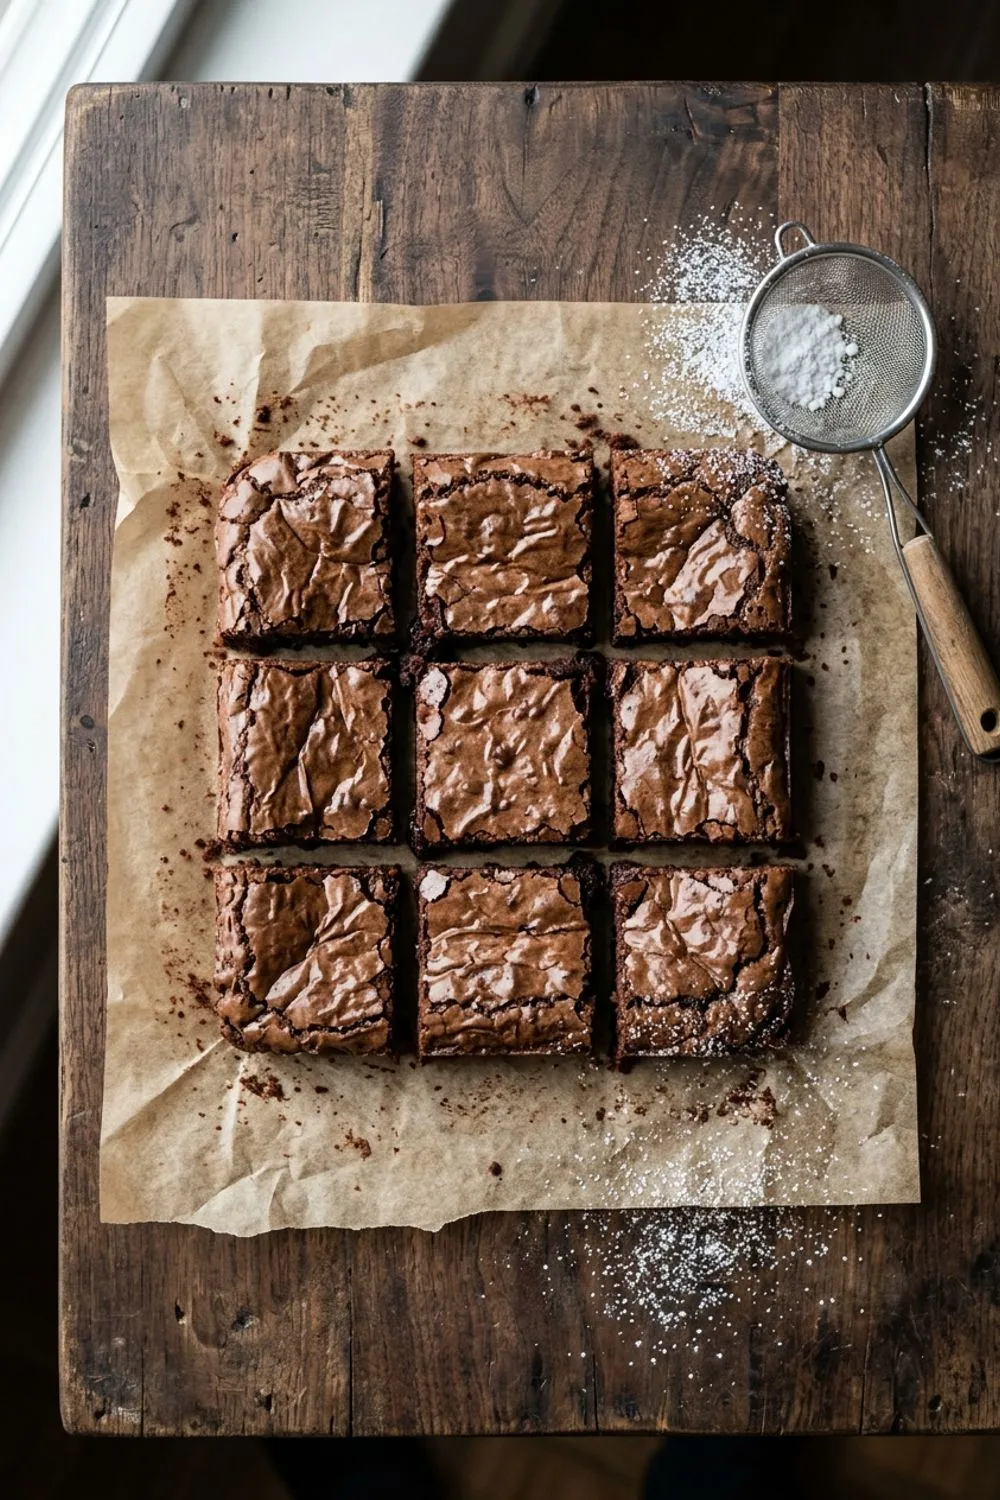
This is the dessert I make when I want to end a meal with something unforgettable. It pairs perfectly with a glass of port or a cup of espresso, and it will leave your guests talking about it for weeks. For more chocolate indulgence, try my double chocolate brownies or a silky chocolate mousse.
Never Miss a Sweet Recipe
Join 5,000+ home bakers and get new recipes straight to your inbox.
Ingredients
Pudding
For Preparing Ramekins
For Serving
Instructions
- 1
Prepare the Ramekins
Preheat oven to 425°F (220°C). Generously brush the inside of four 6-ounce (180ml) ramekins with softened butter, making sure to coat every surface including the rim. Dust each buttered ramekin with cocoa powder, turning to coat all sides, then tap out the excess. This ensures the puddings release cleanly.
- 2
Melt Chocolate and Butter
Place the chopped chocolate and butter in a heatproof bowl set over a pot of barely simmering water. Stir gently until completely melted and smooth. Remove from heat and let cool for 5 minutes — the mixture should be warm but not hot.
- 3
Whisk the Egg Mixture
In a large bowl, whisk the eggs and sugar together vigorously for about 2 minutes until the mixture is pale, slightly thickened, and falls in ribbons from the whisk. This aeration is important — it gives the pudding its light, cakey exterior.
- 4
Combine Everything
Pour the melted chocolate mixture into the egg mixture and fold gently with a spatula until just combined. Sift the flour, cocoa powder, and salt over the top, then fold in gently until no dry streaks remain. Add the vanilla and stir briefly. Do not overmix — you want to preserve the air in the batter.
- 5
Fill and Bake
Divide the batter evenly among the prepared ramekins, filling each about three-quarters full. Place the ramekins on a baking sheet and bake for 12–14 minutes. The tops should be set and slightly cracked, the edges firm, and the centers still soft and jiggly when you gently shake a ramekin.
- 6
Unmold and Serve Immediately
Let the puddings rest in the ramekins for exactly 1 minute — no more. Run a thin knife around the edge of each pudding, place a serving plate upside down on top, and flip confidently. Lift the ramekin away. The pudding should slide out with a glossy, smooth exterior. Dust with powdered sugar, add a scoop of vanilla ice cream or a pour of warm custard, and serve immediately.
Nutrition Information
Per serving (serves 4). Values are approximate.
| Calories | 380 calories |
| Total Fat | 24g |
| Saturated Fat | 14g |
| Carbohydrates | 36g |
| Sugar | 28g |
| Protein | 7g |
| Sodium | 90mg |
| Fiber | 3g |
* Percent Daily Values are based on a 2,000 calorie diet. Your daily values may be higher or lower depending on your calorie needs. Nutritional information is an estimate and may vary.
Frequently Asked Questions
How do I know when the puddings are done?
The tops should be set and slightly cracked with firm edges, but the center should still wobble noticeably when you gently shake the ramekin. Under-baking is better than over-baking — an extra minute in the oven can turn the molten center into a fully set cake.
Can I prepare these ahead and bake later?
Yes. Fill the ramekins, cover with plastic wrap, and refrigerate for up to 24 hours. Add 2–3 extra minutes to the baking time since the batter will be cold. You can also freeze the unbaked ramekins for up to 1 month — bake from frozen, adding about 5 extra minutes.
What if the pudding sticks to the ramekin?
The butter and cocoa coating was likely too thin or missed a spot. Ensure every surface is generously coated. If a pudding sticks, serve it in the ramekin instead — it tastes exactly the same and looks charming in its own right.
Is this the same as chocolate lava cake?
Very similar. Molten chocolate pudding is the British term for what Americans call chocolate lava cake. The technique and result are virtually identical — a warm, cakey exterior with a flowing chocolate center.

Reader Reviews
Based on 165 reviews