No-Bake Desserts
No-Bake Cheesecake
The Cheesecake That Skips the Oven Entirely
Let me tell you about the moment I stopped baking cheesecakes forever. I had spent three hours on a traditional New York cheesecake — water bath, slow bake, gradual cool-down with the oven door cracked — and it cracked down the middle anyway. I sat there staring at that jagged fissure through the center of an otherwise beautiful cake and thought: there has to be a better way.
There is. And it’s this recipe.
No-bake cheesecake gives you everything you love about classic cheesecake — the tangy cream cheese filling, the buttery graham cracker crust, the dense and creamy texture — without any of the anxiety. No water baths, no worrying about oven temperature, no cracks, no sunken centers. You mix, you pour, you chill. Four hours later, you have a cheesecake that’s smoother and silkier than most baked versions, and it slices like a dream.
I’ve been making this exact recipe for about five years now, and it has become my most-requested dessert. Friends who’ve had it at parties ask me for the recipe every single time. My neighbor calls me two weeks before Thanksgiving to confirm I’m making it. When my kids have a birthday, they don’t want cake — they want this cheesecake.
The secret is the combination of perfectly whipped cream, room-temperature cream cheese, and just enough gelatin to give the whole thing structure. The whipped cream makes it lighter and more mousse-like than a baked cheesecake, while the gelatin ensures it slices cleanly and holds its shape on a plate. It’s the best of both worlds.
Building the Perfect Graham Cracker Crust
A great cheesecake starts from the bottom up, and the crust is more important than most people realize. A bland, crumbly crust drags the whole dessert down. A well-made one adds buttery flavor, satisfying crunch, and structural support for the creamy filling above.
I use about 14 full graham cracker sheets, crushed into fine crumbs. You can do this in a food processor (the easiest way), or put the crackers in a zip-top bag and crush them with a rolling pin. The crumbs should be fine and uniform — big chunks will create weak spots in the crust that crumble when you slice.
The melted butter is the glue that holds everything together. Six tablespoons for two cups of crumbs gives you a crust that’s cohesive and sturdy but not greasy. Mix until the crumbs look like wet sand and hold together when you squeeze a handful. If they’re still dry and loose, add another tablespoon of melted butter.
The Pressing Technique
This is the part most people rush, and it makes a big difference. You want the crust to be tightly packed and perfectly even. I use the flat bottom of a measuring cup to press the crumbs into the bottom of the springform pan, applying firm, even pressure. Then I use the straight side of the measuring cup to press the crumbs about an inch up the sides of the pan.
Don’t skip pressing the crumbs up the sides — that border of crust around each slice is part of what makes cheesecake feel complete. It also helps contain the filling and prevents it from seeping under a bottom-only crust.
Once pressed, the crust goes into the fridge to firm up while you make the filling. This isn’t just for convenience — chilling the crust helps the butter solidify again, which gives you a much sturdier base.
The Cream Cheese Foundation
The filling lives or dies on the cream cheese, and the single most important thing I can tell you about cream cheese is this: it must be at room temperature. I cannot stress this enough. Cold cream cheese straight from the fridge will never beat completely smooth. You’ll end up with tiny lumps throughout your filling that no amount of mixing will eliminate, and they’ll show up as an unpleasant grainy texture in the finished cheesecake.
Set the cream cheese out on the counter at least one hour before you start — two hours is even better. When it’s ready, it should yield easily when you press it with your finger. If you forgot to take it out early, you can cut it into chunks and microwave for 15-20 seconds, but true room temperature is better.
I use three 8-ounce packages of full-fat cream cheese. Don’t substitute with reduced-fat or whipped cream cheese — full-fat provides the richness and structure that makes this cheesecake work. The brand matters less than the fat content, though I find that Philadelphia Original gives the most consistent results.
The Role of Lemon
A cheesecake without lemon is like a song without a melody. The two tablespoons of fresh lemon juice and teaspoon of zest don’t make the cheesecake taste lemony — instead, they provide a bright, subtle acidity that cuts through the richness of the cream cheese and keeps the flavor from becoming one-dimensional. Without it, the filling can taste flat and overly sweet.
Always use fresh lemon juice, not the bottled kind. And add the zest — it contains the aromatic oils that give lemon its true personality, which you can’t get from juice alone.
Understanding the Gelatin
Gelatin in no-bake cheesecake serves one purpose: structure. Without it, the filling would be more like a cream cheese dip than a sliceable cake. With it, you get clean slices that hold their shape on a plate while still feeling creamy and smooth on the tongue.
The amount matters. One packet (2 1/4 teaspoons) is enough to set 10 servings worth of filling without making it rubbery or bouncy. The cheesecake should feel firm when you press it but melt in your mouth when you take a bite. If it reminds you of gelatin dessert, you’ve used too much.
Bloom the gelatin in cold water first — this ensures it dissolves smoothly. After blooming, a quick 10-15 second zap in the microwave liquefies it completely. Let it cool for a minute before adding it to the cream cheese mixture — if it’s too hot, it can cause the cream cheese to soften unevenly.
When drizzling the gelatin into the cream cheese, do it slowly with the mixer running on low speed. This distributes the gelatin evenly throughout the filling. If you dump it all in at once, it can set into strings before it mixes in.
Folding in the Whipped Cream
The whipped cream is what transforms this from dense cream cheese into light, luxurious cheesecake. When properly folded in, it gives the filling an almost mousse-like quality — rich but not heavy, dense but not leaden.
Whip the cream to stiff peaks for this recipe. Unlike mousse (where soft peaks are preferred), you want a firmer cream here because the cream cheese is heavy and will deflate softer cream too much during folding.
Fold in three additions. The first third can be stirred in a bit more aggressively — its purpose is to lighten the heavy cream cheese mixture so the remaining cream incorporates more easily. The second and third additions should be folded gently with a large spatula, using the same technique as any delicate folding: cut down the center, sweep along the bottom, fold up and over, rotate the bowl, repeat.
Stop folding as soon as the mixture is uniform. Every extra fold knocks out air and makes the filling denser.
Toppings and Flavor Variations
The beauty of a plain vanilla no-bake cheesecake is its versatility. It’s a blank canvas that works with practically any topping, so you can customize it based on the season, the occasion, or your mood.
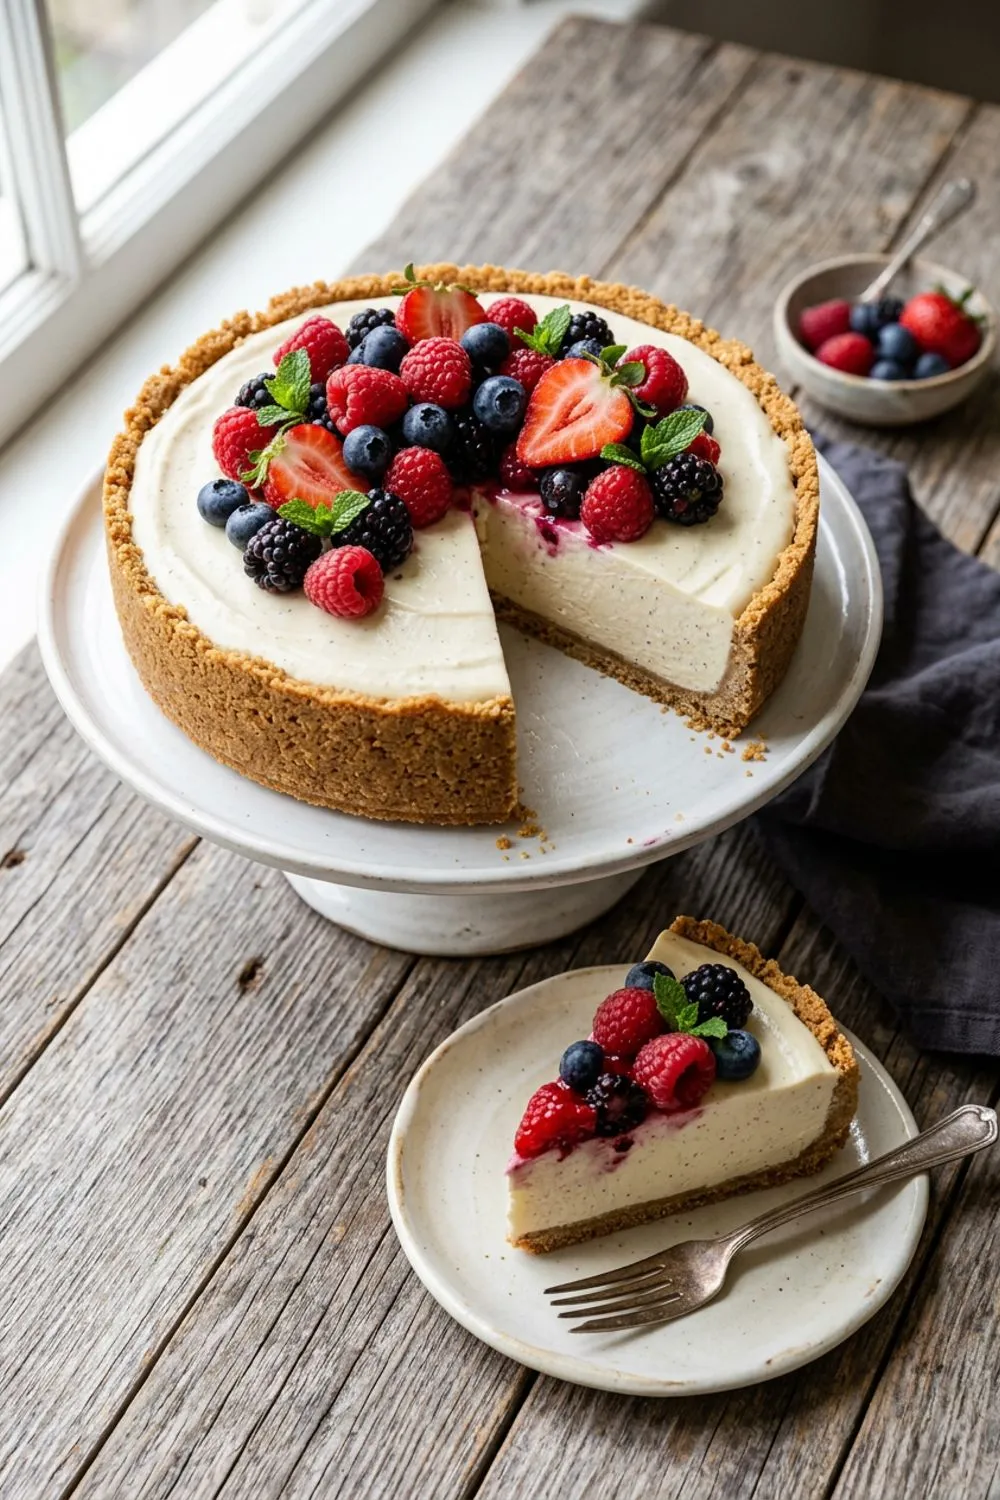
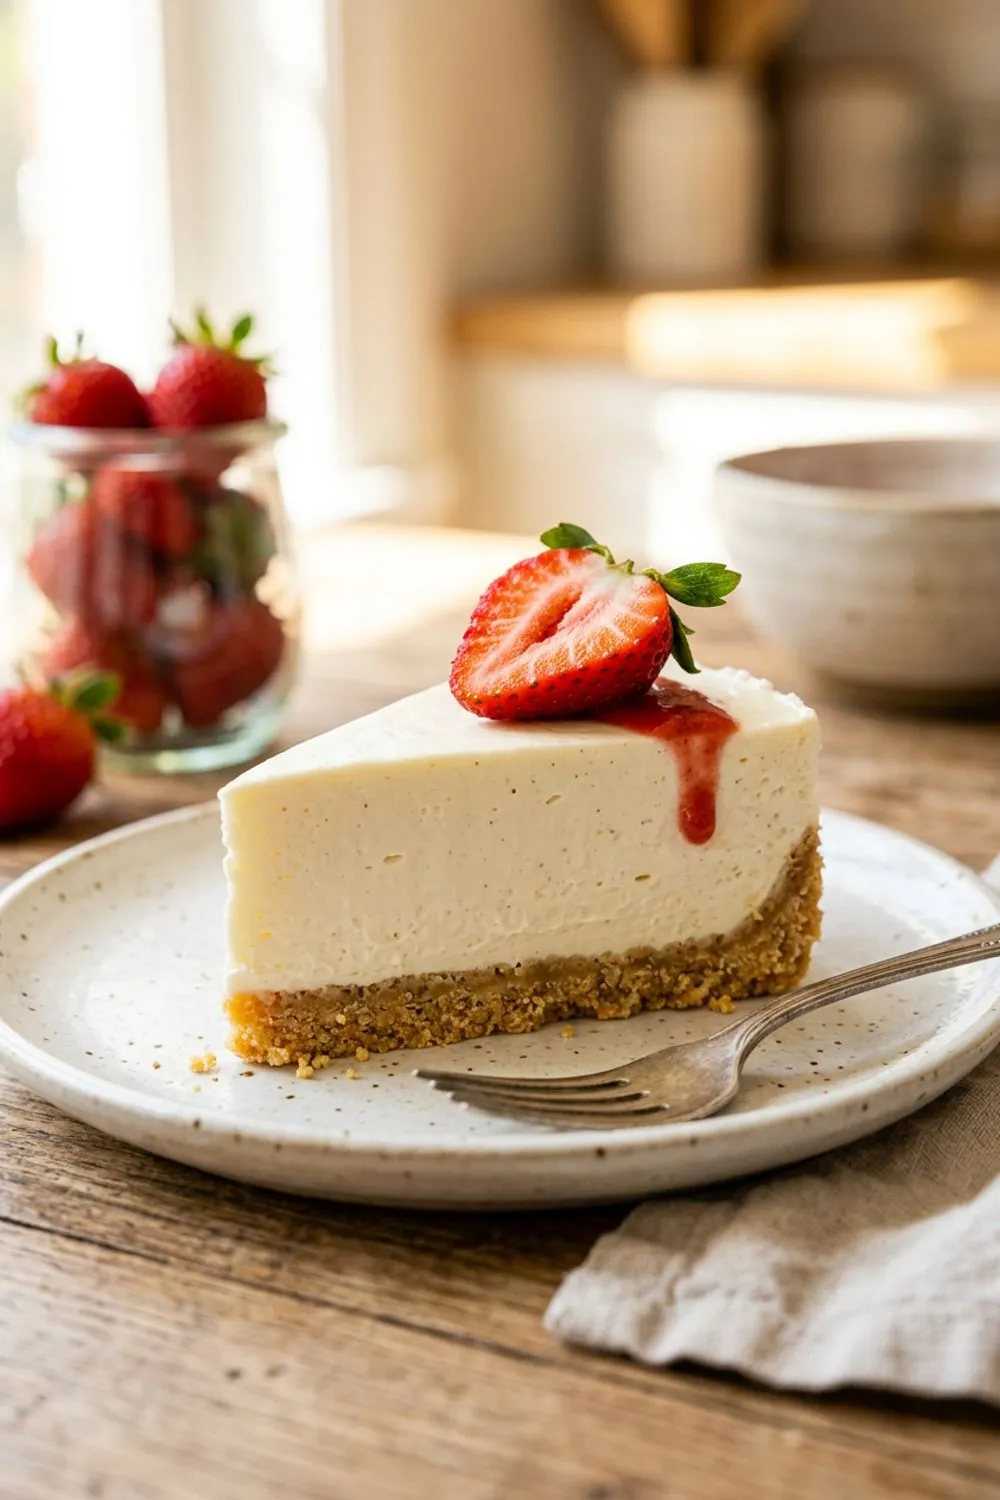
Fresh Berries: The classic for a reason. Arrange strawberries, blueberries, or raspberries over the top just before serving. A light glaze of warmed apricot jam brushed over the berries makes them glisten like jewels.
Strawberry Topping: Cook 2 cups of sliced strawberries with 1/4 cup sugar and 1 tablespoon lemon juice until jammy, about 10 minutes. Cool and spread over the cheesecake. This is my daughter’s favorite version.
Chocolate Ganache: Pour warm ganache (equal parts chocolate and cream) over the chilled cheesecake for a dramatic, glossy finish. Let it set for 30 minutes in the fridge before slicing.
Salted Caramel: Drizzle store-bought or homemade salted caramel sauce over each slice. A sprinkle of flaky sea salt on top puts it over the edge.
Cookie Butter Swirl: Before chilling, drop spoonfuls of Biscoff spread over the filling and use a toothpick to swirl it through for a marble effect. This is genuinely addictive.
Slicing Tips for Perfect Pieces
A great cheesecake deserves a great presentation, and clean slices make all the difference. Here’s my tried-and-true method:
Run a thin, sharp knife under hot water for 10 seconds, then wipe it dry. Make one cut straight across the center of the cheesecake. Rinse the knife in hot water and wipe again. Make the perpendicular cut. Continue halving sections until you have your desired number of slices, cleaning the knife between every single cut.
The hot knife melts through the filling cleanly instead of dragging and tearing. Wiping it dry prevents water droplets from marring the surface. It adds about 30 seconds to the slicing process and makes the result look bakery-professional.
Use the springform pan’s removable bottom as a serving base, or carefully slide the cheesecake off onto a flat cake stand or plate using a large offset spatula.
Storage and Make-Ahead Notes
Refrigerator: This cheesecake keeps beautifully for up to 5 days, covered with plastic wrap or in an airtight container. The texture actually improves after a full night in the fridge, as the gelatin sets completely and the flavors meld.
Freezer: No-bake cheesecake freezes exceptionally well. Wrap the whole cake (or individual slices) tightly in plastic wrap, then aluminum foil. Frozen cheesecake keeps for up to 2 months. Thaw overnight in the refrigerator — never at room temperature, which causes condensation and a soggy crust.
For parties: Make it two days ahead and keep it covered in the fridge. Add toppings the day of serving. This is hands-down one of the best party desserts because all the work happens in advance and it feeds a crowd.
Why No-Bake Often Beats Baked
I want to address something that comes up every time I share this recipe: the assumption that no-bake cheesecake is somehow inferior to baked cheesecake. That it’s a shortcut, a compromise, a lesser version of the “real thing.” I used to believe this too, until I actually made both side by side and had a dozen people taste them blind.
The results were illuminating. About half preferred the no-bake version, specifically citing its lighter, silkier texture and the way it melted on the tongue instead of sitting heavy in the stomach. The other half preferred the denser, more custard-like quality of the baked version. Neither was “better” — they’re genuinely different desserts that happen to share a name.
Baked cheesecake gets its structure from eggs cooked in a water bath. The proteins in the eggs coagulate during baking, creating a dense, sturdy matrix. No-bake cheesecake gets its structure from whipped cream and a small amount of gelatin. The result is lighter, more mousse-like, and somehow both richer and less heavy at the same time.
There are also practical advantages that no-bake devotees appreciate. No risk of cracking (the bane of every cheesecake baker). No water bath to fuss with. No monitoring oven temperature or worrying about over-baking. No waiting for the cake to cool gradually in the oven to prevent sinking. The no-bake method eliminates every single anxiety point of traditional cheesecake-making and replaces them with: mix, pour, chill.
And here’s a secret that cheesecake purists don’t want you to know — the cream cheese flavor actually comes through more strongly in the no-bake version. Without the egg-custard flavor that baking introduces, the tanginess of the cream cheese is front and center, exactly where it belongs.
Troubleshooting Common Issues
Filling is too soft to slice: This usually means not enough chilling time, or the gelatin didn’t dissolve completely. Make sure you bloom the gelatin properly and give the cake at least 6 hours, ideally overnight. If it’s still too soft after a full night, the cream may not have been whipped stiffly enough.
Crust is soggy: This can happen if the crust wasn’t pressed firmly enough or wasn’t chilled before adding the filling. A well-pressed, chilled crust creates a barrier that stays crunchy for days. You can also brush a thin layer of melted white chocolate over the crust before adding the filling — this creates a waterproof seal.
Cream cheese lumps in the filling: The cream cheese wasn’t at room temperature. Next time, let it sit out for at least an hour and beat it by itself until completely smooth before adding any other ingredients. For this batch, you can strain the filling through a fine-mesh sieve, though it’s labor-intensive.
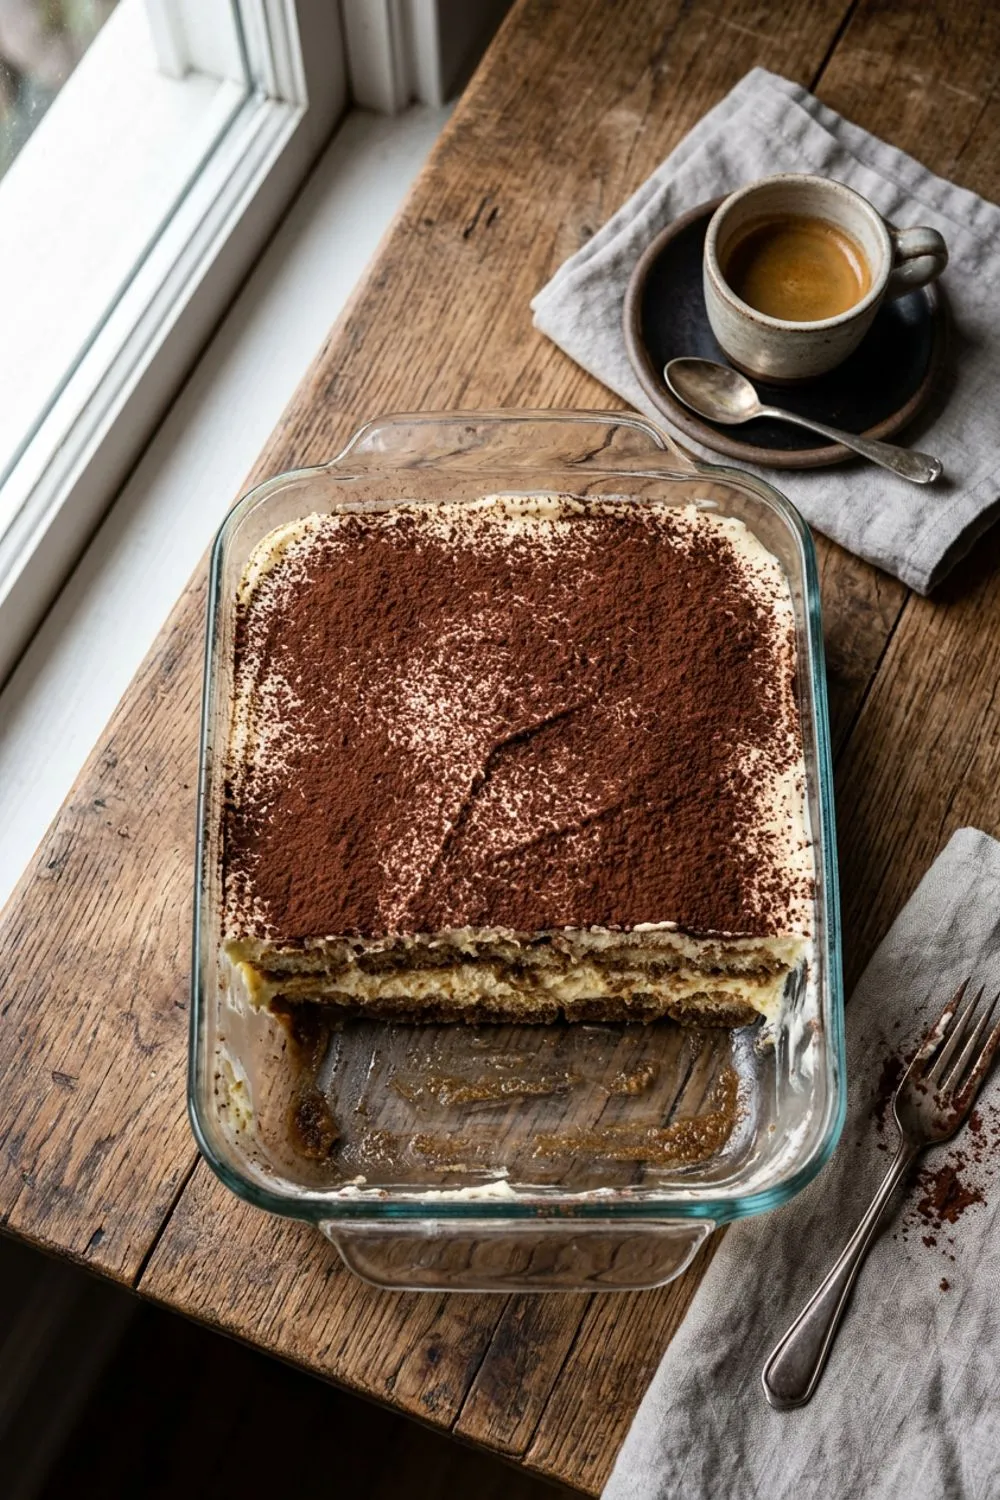
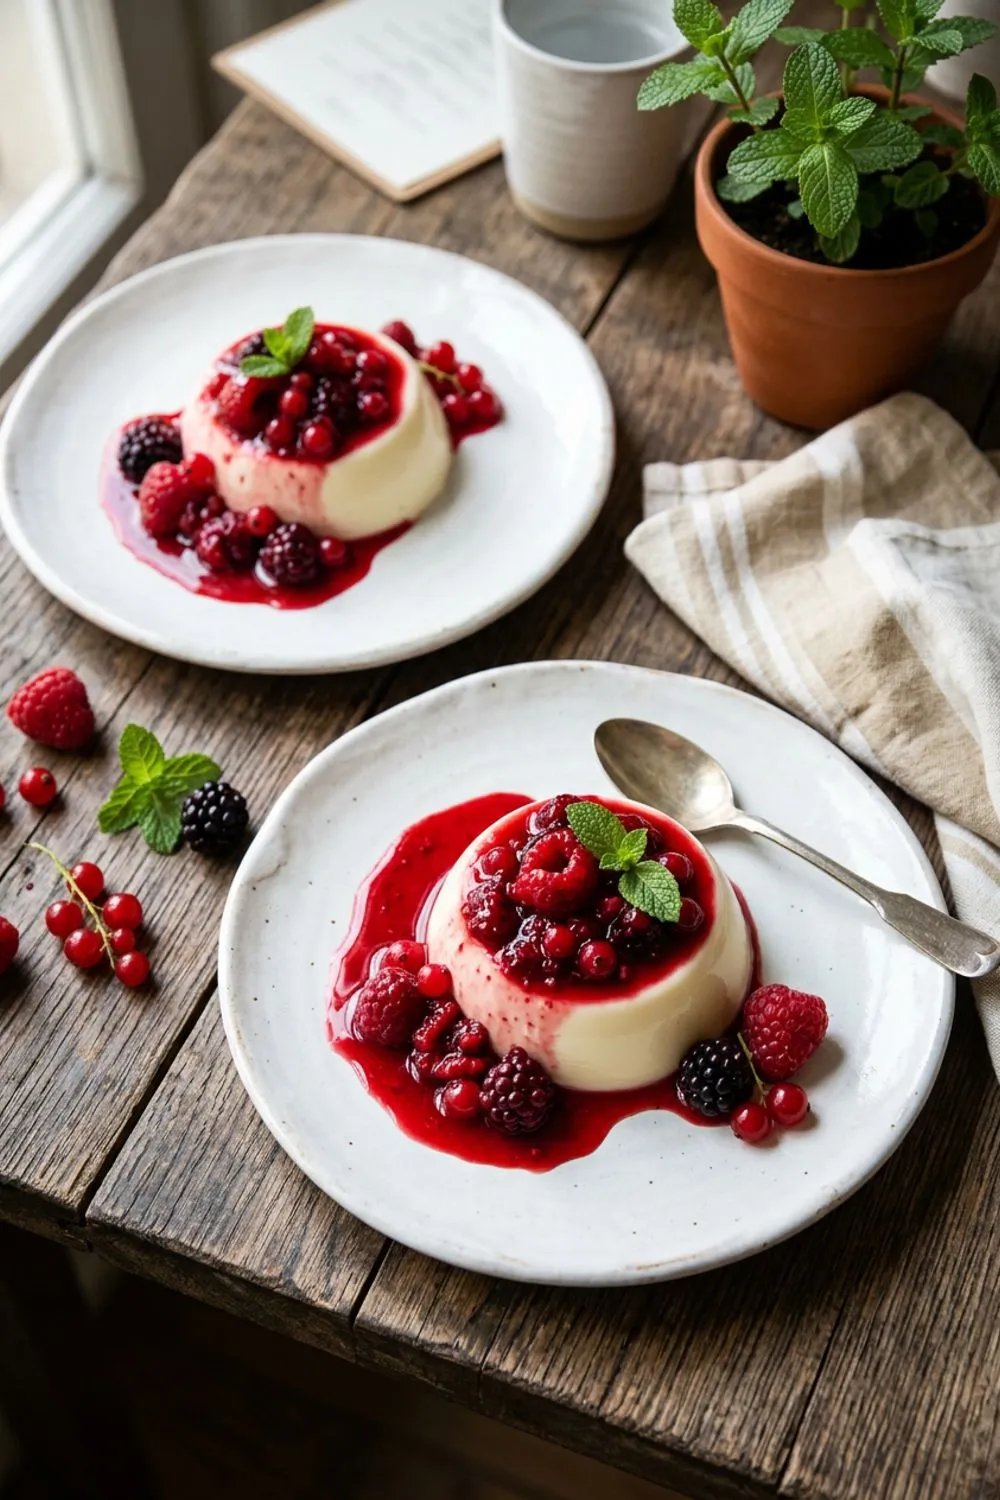
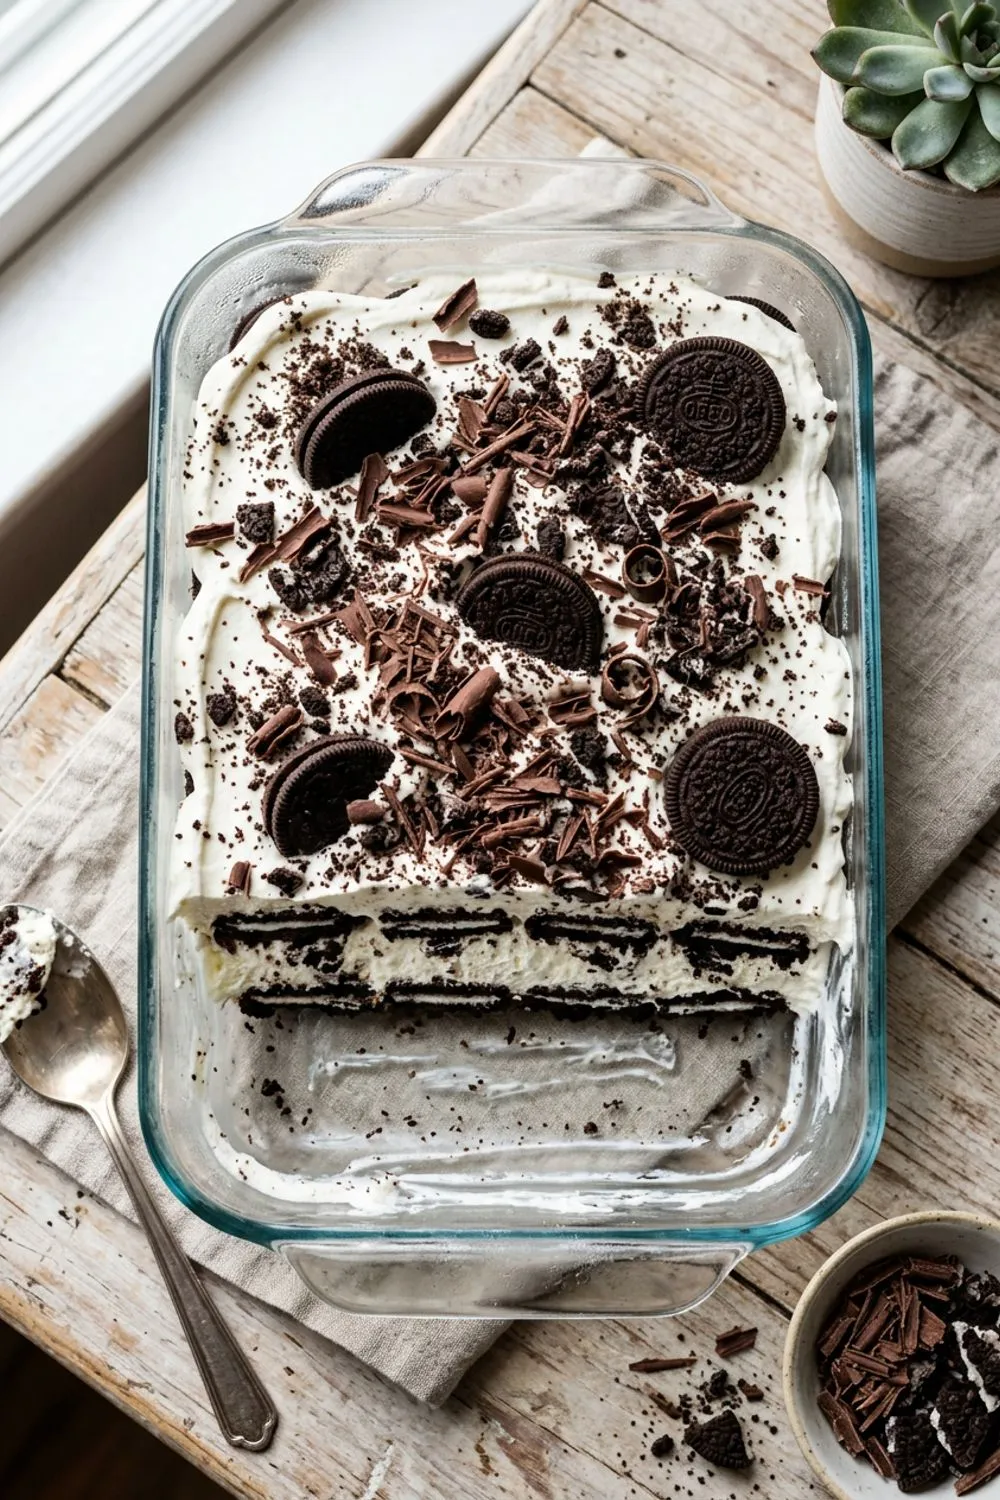
If you loved this, try my vanilla panna cotta for another elegant cream-based dessert, or go full Italian with the classic tiramisu — both share the same no-bake philosophy and make-ahead convenience. For something lighter and more refreshing, check out the Oreo icebox cake which is another crowd pleaser that requires zero oven time.
Never Miss a Sweet Recipe
Join 5,000+ home bakers and get new recipes straight to your inbox.
Ingredients
For the graham cracker crust
For the cheesecake filling
Instructions
- 1
Make the crust
In a medium bowl, stir together the graham cracker crumbs, melted butter, sugar, and salt until the mixture resembles wet sand and holds together when pressed. Transfer to a 9-inch springform pan and press firmly and evenly across the bottom and about 1 inch up the sides using the flat bottom of a measuring cup or glass. Refrigerate while you make the filling.
- 2
Bloom the gelatin
Pour the cold water into a small microwave-safe bowl and sprinkle the gelatin evenly over the surface. Let it sit undisturbed for 5 minutes until it absorbs the water and becomes spongy. Then microwave for 10-15 seconds until the gelatin melts into a clear liquid. Let it cool slightly — it should be liquid but not hot.
- 3
Beat the cream cheese
In a large bowl, beat the room-temperature cream cheese with an electric mixer on medium speed until completely smooth and fluffy, about 3 minutes. Scrape down the sides of the bowl frequently. Add the powdered sugar, vanilla extract, lemon juice, and lemon zest, and beat on medium until fully incorporated and silky smooth, about 2 more minutes.
- 4
Add the gelatin
With the mixer running on low speed, slowly drizzle the melted gelatin into the cream cheese mixture. Beat until fully combined, about 30 seconds. The gelatin will help the cheesecake set firmly enough to slice cleanly.
- 5
Whip and fold the cream
In a separate cold bowl, whip the heavy cream with an electric mixer on medium-high speed until stiff peaks form, about 3-4 minutes. Using a large spatula, fold about one-third of the whipped cream into the cream cheese mixture to lighten it. Then gently fold in the remaining whipped cream in two additions until no white streaks remain. Be careful not to deflate the cream.
- 6
Assemble and chill
Pour the filling over the chilled crust and smooth the top with an offset spatula or the back of a spoon. Tap the pan gently on the counter a few times to release any air bubbles. Cover with plastic wrap (don't let it touch the surface) and refrigerate for at least 4 hours, or preferably overnight, until completely firm.
- 7
Unmold and serve
Run a thin knife dipped in hot water around the edge of the pan before releasing the springform ring. Transfer to a serving plate. Slice with a sharp knife dipped in hot water between cuts for the cleanest slices. Top with fresh berries, fruit compote, whipped cream, or chocolate shavings as desired.
Nutrition Information
Per serving (serves 10). Values are approximate.
| Calories | 380 calories |
| Total Fat | 28g |
| Saturated Fat | 17g |
| Carbohydrates | 28g |
| Sugar | 20g |
| Protein | 5g |
| Sodium | 290mg |
| Fiber | 0.5g |
* Percent Daily Values are based on a 2,000 calorie diet. Your daily values may be higher or lower depending on your calorie needs. Nutritional information is an estimate and may vary.
Frequently Asked Questions
Why does my no-bake cheesecake taste grainy?
This almost always means the cream cheese wasn't at room temperature when you beat it. Cold cream cheese doesn't smooth out completely, leaving tiny lumps throughout the filling. Set it out on the counter for at least an hour before starting, and beat it thoroughly before adding other ingredients.
Can I skip the gelatin?
You can, but the cheesecake won't slice as cleanly and will be softer and more mousse-like. If you skip gelatin, make sure to chill overnight and keep the cheesecake very cold until serving. The slices will be more rustic but still delicious.
How long does no-bake cheesecake last?
Stored in the refrigerator covered with plastic wrap or in an airtight container, no-bake cheesecake keeps for up to 5 days. It can also be frozen for up to 2 months — thaw overnight in the refrigerator.
Can I use a different crust?
Absolutely! Oreo cookies (with the filling), digestive biscuits, Nilla wafers, or even gingersnaps all make excellent crusts. Use the same ratio: about 2 cups of crumbs to 6 tablespoons of melted butter. Each variation gives the cheesecake a different personality.
Why did my cheesecake crack on top?
No-bake cheesecakes rarely crack since there's no baking involved. If you see surface cracks, it's likely from the filling being slightly over-mixed or from rapid temperature changes. This is purely cosmetic — cover with whipped cream or berries and no one will know.

Reader Reviews
Based on 195 reviews