no-bake-oreo-cheesecake
No-Bake Oreo Cheesecake
Easy no-bake Oreo cheesecake with a crunchy cookie crust and creamy filling. No oven needed—perfect for summer entertaining!
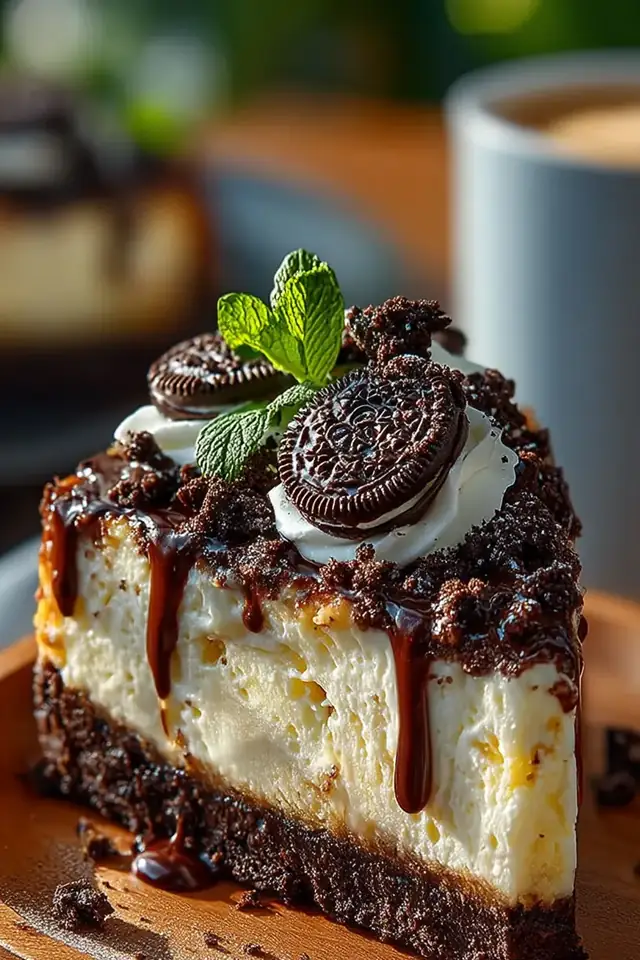
When Summer Calls for No-Bake Bliss
There’s something magical about pulling a showstopping dessert from the fridge without ever turning on your oven. This no-bake Oreo cheesecake has become my go-to recipe for warm-weather entertaining—it’s cool, creamy, and absolutely irresistible. With just 20 minutes of hands-on work and four hours of chilling time, you’ll have an elegant dessert that tastes like you spent all day in the kitchen.
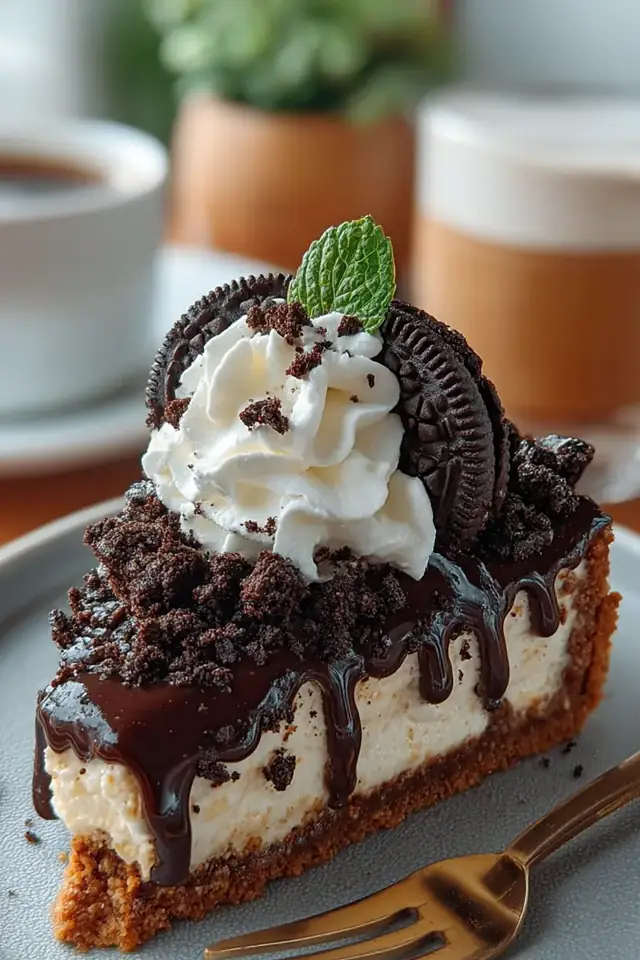
What I Have Learned
- Don’t skip the softening step for cream cheese—lumpy filling is the most common mistake. Let it sit on the counter for 30 minutes before you start beating.
- Fold, don’t stir, when combining the whipped cream with the cream cheese mixture. Stirring deflates all those air bubbles and results in a denser, heavier cheesecake.
- Use a springform pan lined with parchment paper on the bottom—it prevents leaks and makes removing the cheesecake clean and easy.
Variations
- Mini No-Bake Oreo Cheesecakes: Layer the crust and filling in individual mason jars or dessert cups for easy, elegant single servings.
- Cookies and Cream Swirl: Add a chocolate ganache layer in the middle or create a marbled effect by swirling melted chocolate through the filling before chilling.
- Peanut Butter Oreo Cheesecake: Mix one-half cup of creamy peanut butter into the cream cheese filling for a classic flavor combination that’s absolutely addictive.
If you love creamy no-bake desserts, try my chocolate cheesecake mousse for an even lighter option.
Ingredients
Crust
Filling
Topping
Instructions
- 1
Make the Crust
Combine Oreo crumbs and melted butter in a bowl, mixing until the texture resembles wet sand. Press firmly into the bottom of a 9-inch springform pan. Refrigerate while you prepare the filling.
- 2
Beat the Cream Cheese
Using an electric mixer, beat softened cream cheese with sugar and vanilla extract for 2-3 minutes until smooth and fluffy. Scrape down the bowl frequently to avoid lumps.
- 3
Whip the Cream
In a separate bowl, whip heavy cream to stiff peaks using clean beaters. This takes about 3-4 minutes.
- 4
Fold Together
Gently fold the whipped cream into the cream cheese mixture in two additions, being careful not to deflate the cream. Then fold in the crushed Oreos.
- 5
Assemble
Pour the filling over the crust and smooth the top with a spatula. Refrigerate for at least 4 hours, or overnight for best results.
- 6
Garnish and Serve
Top with whole Oreos and dollops of whipped cream just before serving. Run a warm knife around the edges and remove the springform ring carefully.
Nutrition Information
Per serving (serves 12). Values are approximate.
| Calories | 425 calories |
| Total Fat | 28g |
| Saturated Fat | 17g |
| Carbohydrates | 42g |
| Sugar | 34g |
| Protein | 4g |
| Sodium | 285mg |
| Fiber | 0g |
* Percent Daily Values are based on a 2,000 calorie diet. Your daily values may be higher or lower depending on your calorie needs. Nutritional information is an estimate and may vary.
Never Miss a Sweet Recipe
Join 5,000+ home bakers and get new recipes straight to your inbox.
Frequently Asked Questions
Can I make this cheesecake ahead of time?
Absolutely! This cheesecake is actually better when made a day or two in advance. The flavors meld together beautifully, and it stays perfectly chilled in the refrigerator for up to 3 days. Just cover it loosely with plastic wrap.
Can I freeze a no-bake Oreo cheesecake?
Yes, you can freeze it for up to 2 months. Wrap it well in plastic wrap and then foil before freezing. Thaw overnight in the refrigerator before serving. The texture remains creamy and delicious.
What if my cream cheese is too cold?
Cold cream cheese will be lumpy and difficult to mix. Always let it sit on the counter for 30 minutes before beating. You can also cut it into smaller chunks to speed up softening.

Reader Reviews
Based on 379 reviews