No-Bake Desserts
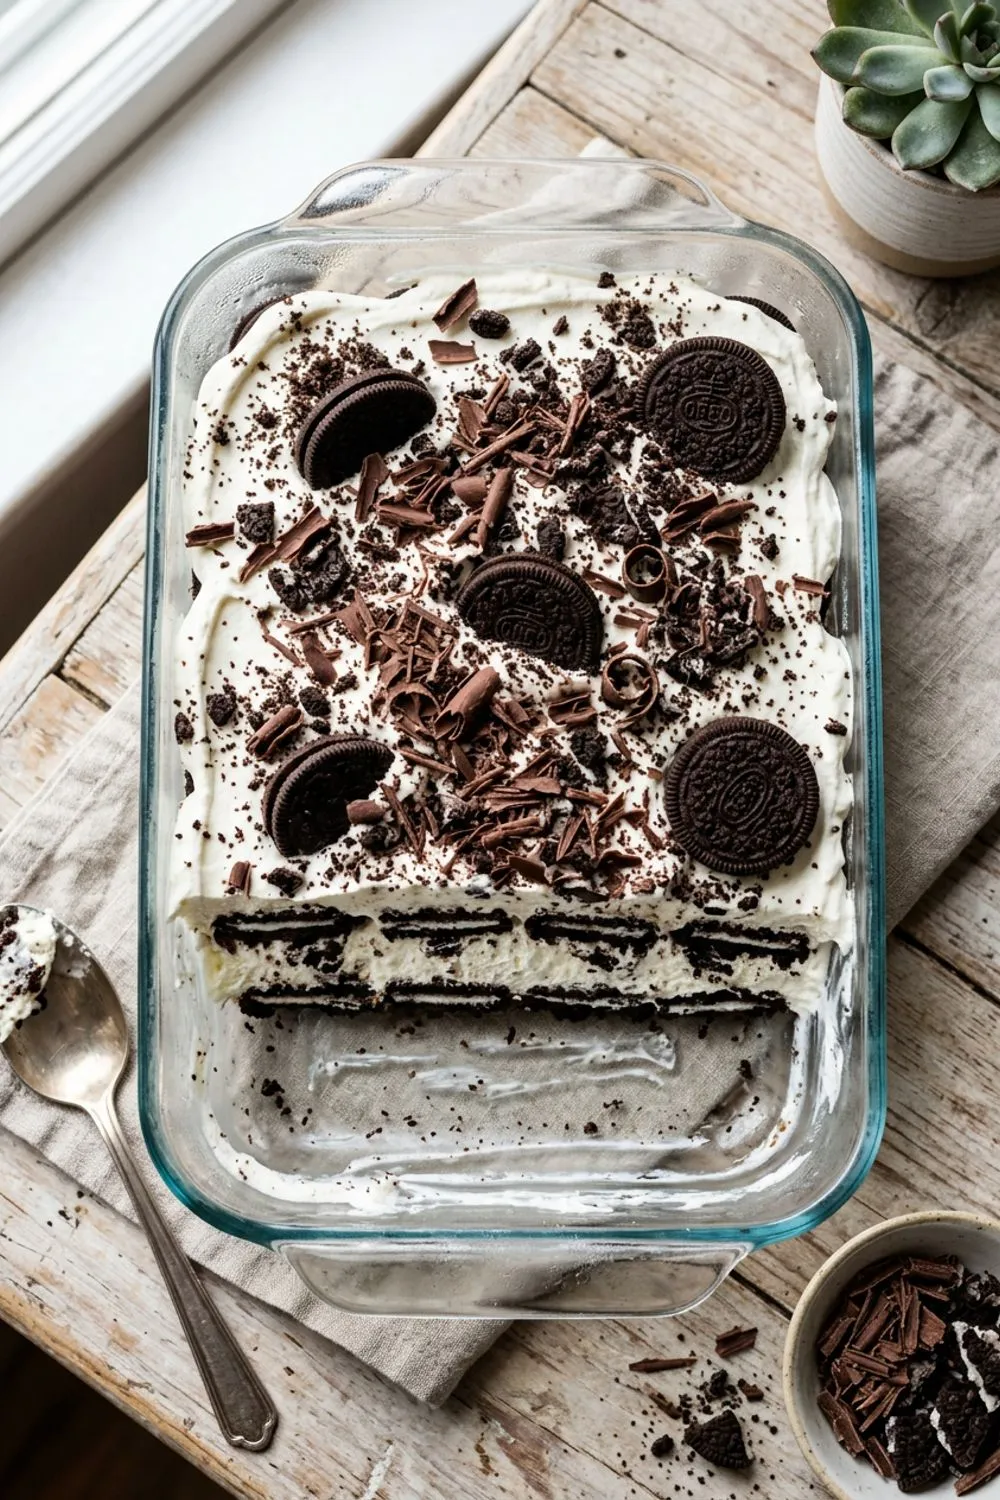
Oreo Icebox Cake
The Dessert That Builds Itself While You Sleep
There are desserts that require skill, and there are desserts that require patience. The Oreo icebox cake belongs firmly to the second category. You don’t need any baking experience, any special equipment, or even much time — fifteen minutes of layering, and then the refrigerator does all the real work overnight. You go to bed, and by morning you have a cake that looks like it came from a bakery.
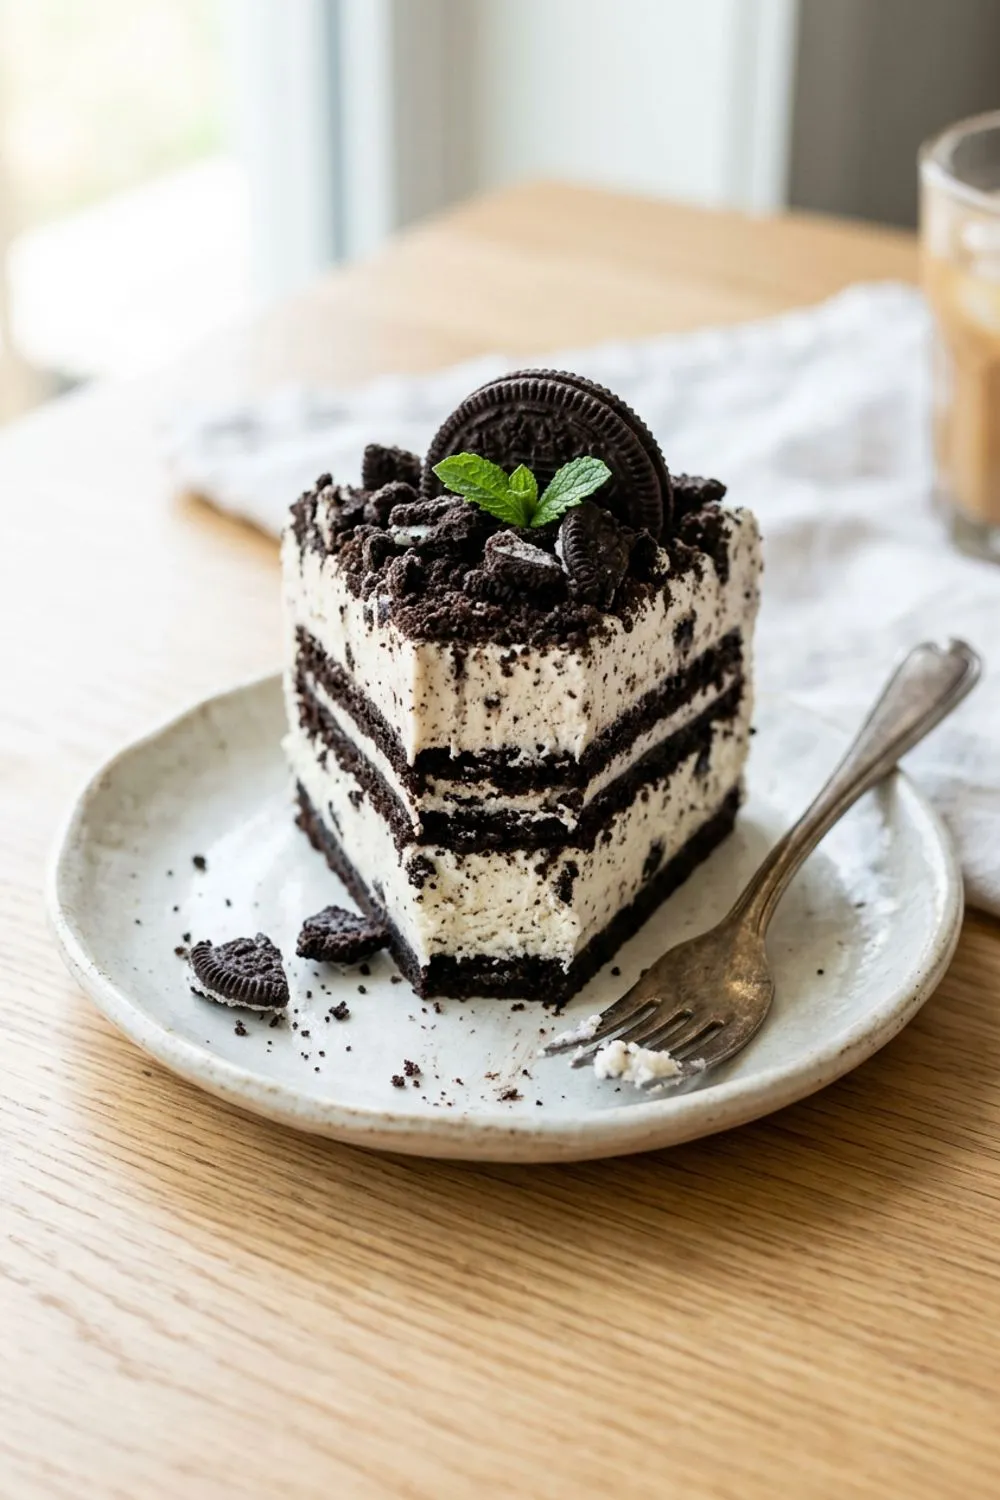
The concept is almost absurdly simple: layer cookies with whipped cream, refrigerate, and wait. Over the course of several hours, the moisture from the cream slowly penetrates the cookies, transforming them from hard and crunchy into something soft, tender, and almost cake-like. When you slice into it the next day, you find distinct, beautiful layers of dark chocolate cookie alternating with pillowy white cream. It looks intentional and impressive, and the flavor — cookies and cream in its purest form — is the kind of thing that makes grown adults close their eyes on the first bite.
I discovered icebox cakes during a brutally hot July when turning on the oven felt like a personal betrayal. I needed a dessert for a neighborhood barbecue and someone suggested “just stack Oreos with whipped cream and let them sit overnight.” I remember thinking it sounded too easy, too hands-off, almost lazy. And then I tasted it. The cookies had melted into the cream, creating something that was simultaneously familiar and completely new — a texture I’d never experienced in any other dessert.
That was four summers ago, and I’ve since made this cake probably fifty times. It appears at every barbecue, every potluck, every casual dinner party I host. It’s the recipe I text to friends who are panicking about last-minute desserts. And it never, ever disappoints.
The Magic of Overnight Chilling
The science behind icebox cake is straightforward but fascinating. Oreo cookies are essentially dehydrated — hard, dry, and crunchy. When you surround them with whipped cream and seal everything in the fridge, they begin absorbing moisture from the cream through osmosis. The fat and water in the cream gradually soften the cookie’s starch and sugar structure until the once-crunchy wafers become tender and cake-like.
This process takes time, which is why patience matters. At the 2-hour mark, the outer edges of each cookie will be soft while the centers remain crunchy — pleasant but not optimal. At 4 hours, the softening has mostly penetrated through, with just a hint of texture remaining in the cookie centers. At 8-12 hours, the transformation is complete. Every layer is uniformly soft, the cream and cookie have melded into something greater than the sum of their parts, and the whole thing slices cleanly with a knife.
I’ve found that overnight — roughly 10-12 hours — is the sweet spot. The cookies are perfectly softened, the cream has firmed up slightly from the cold, and the flavors have had time to mingle and deepen. If you can resist cutting into it for a full 24 hours, the texture becomes even more cohesive, though the difference between 12 and 24 hours is subtle.
Building Perfect Layers
The layering process is simple but benefits from a few intentional choices. Here’s how I approach it for the best results.
The Base Layer Matters
Start with a thin layer of cream on the bottom of the dish. This prevents the first layer of cookies from sticking directly to the pan, which would make serving the first slice a nightmare. About half a cup of cream, spread evenly, is enough.
Cookie Placement
Arrange the Oreos in a single, tight layer with as few gaps as possible. In an 8x8 inch dish, you’ll need about 9 cookies per layer (3 rows of 3). Some gaps are inevitable due to the cookies’ round shape — break cookies in half or quarters to fill them. Those broken pieces will soften just as well and prevent cream-only pockets that make the cake uneven.
Keep the cookies flat side down so the embossed Oreo design faces up — this is purely aesthetic and won’t affect the taste, but it gives each layer a tidier appearance if you happen to cut through a cookie.
Cream Distribution
Each cream layer should be about 1/4 inch thick — generous enough to fully envelop the cookies above and below, but not so thick that the cake becomes nothing but cream with the occasional cookie. I use about 3/4 cup of whipped cream per layer, spreading it all the way to the edges.
The final top layer should be your thickest — about 1 inch of cream — since this is the most visible layer and creates that beautiful smooth canvas for decoration.
Whipping Cream: The Foundation
Whipped cream is the majority of this dessert, so getting it right matters. Cold heavy whipping cream, whipped to stiff peaks with a touch of sugar and vanilla, is all you need. But a few details make the difference between cream that holds up overnight and cream that weeps and deflates.
Start with cold everything. The cream, the bowl, and even the beaters should be cold. I put my bowl and beaters in the freezer for 10 minutes before whipping. Cold cream incorporates air faster and holds it longer.
Use powdered sugar, not granulated. Powdered sugar dissolves instantly into the cream without any graininess. Granulated sugar takes longer to dissolve and can leave a slightly sandy texture if you don’t whip long enough. The small amount of cornstarch in powdered sugar also helps stabilize the cream.
Whip to stiff peaks, full stop. For this cake, you need the cream to be firmly whipped — it needs to support the weight of the cookies on top of it and maintain its structure for hours in the fridge. When you lift the beaters, the cream should stand straight up in a firm peak that doesn’t droop. If the peaks flop over, keep whipping.
Know when to stop. There’s a fine line between stiff peaks and over-whipped cream. Over-whipped cream looks grainy, starts to separate, and will eventually turn into butter. Once you see firm peaks, stop immediately. If you accidentally go too far, fold in a couple tablespoons of fresh cold cream to bring it back.
Variations and Creative Twists
The basic Oreo icebox cake is perfect as-is, but the format is incredibly adaptable. Once you understand the concept — cookies plus cream plus time — you can riff endlessly.
Mint Oreos: Use mint-flavored Oreos and add 1/2 teaspoon of peppermint extract to the cream. This version tastes like a Thin Mint in cake form and is outstanding during the holidays.
Peanut Butter Cup: Use regular Oreos and fold 1/3 cup of smooth peanut butter into the whipped cream before layering. Scatter chopped peanut butter cups between the layers. Dangerously good.
Strawberry: Layer fresh sliced strawberries between each cookie and cream layer. The berries add brightness and a pop of color when you slice into it. Use about 2 cups of thinly sliced strawberries total.
Mocha: Dissolve 1 tablespoon of instant espresso powder in the cream before whipping. The coffee flavor pairs beautifully with the chocolate cookies and gives the whole cake a sophisticated depth.
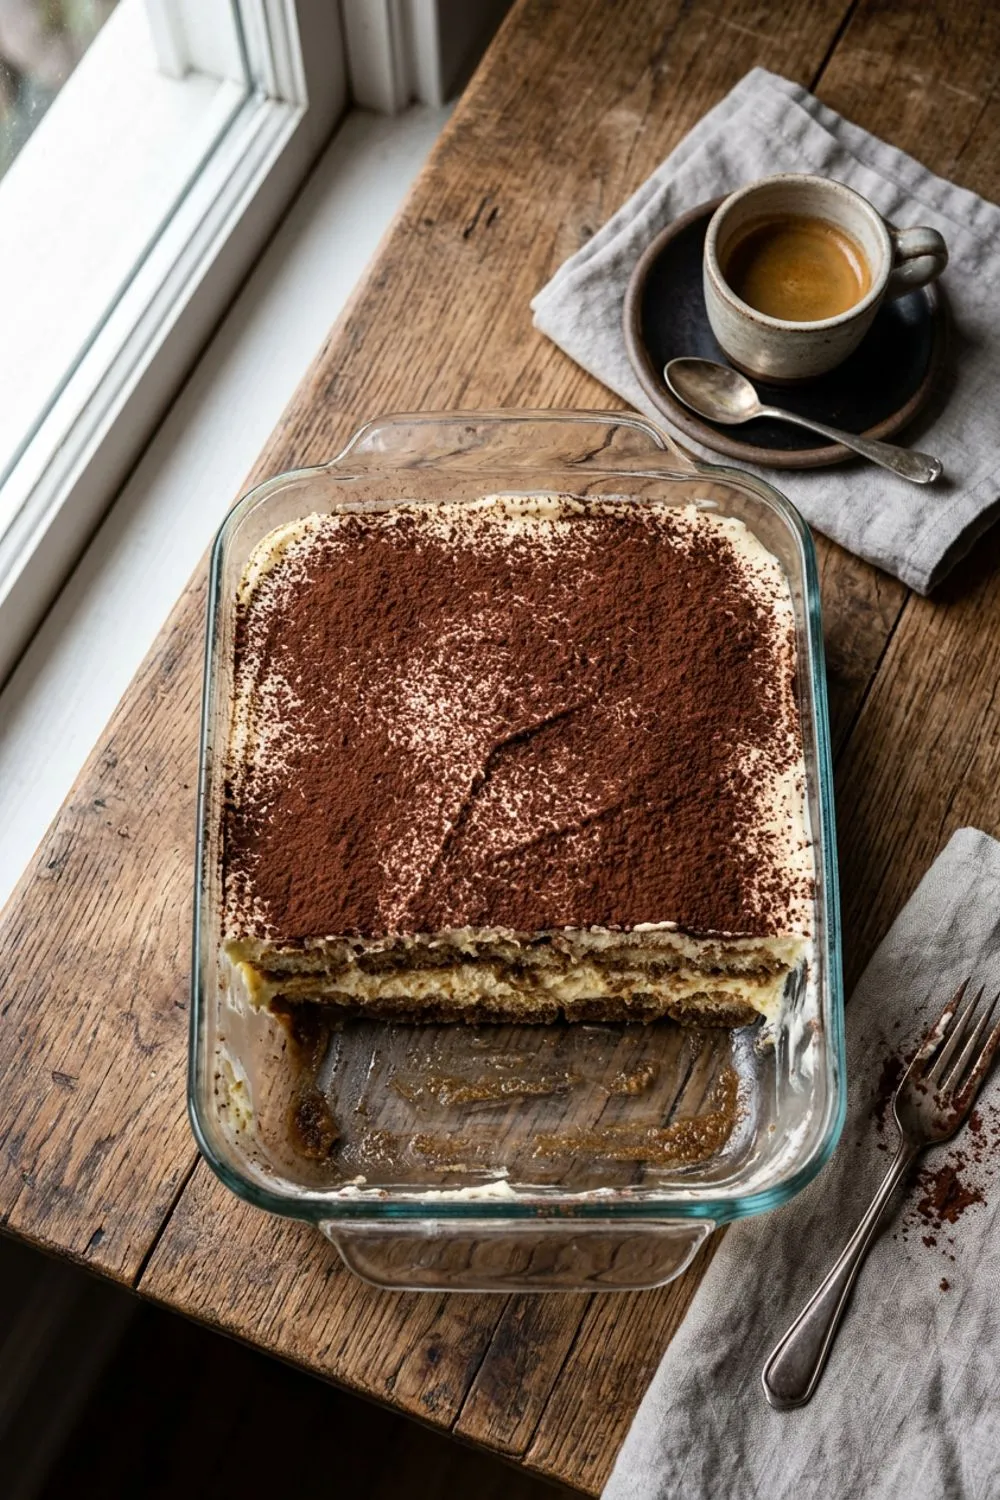
Tiramisu Style: Quickly dip each Oreo in cooled espresso before layering. Dust the top with cocoa powder. This creates a hybrid dessert that borrows the best qualities of classic tiramisu and icebox cake.
Double Chocolate: Add 3 tablespoons of cocoa powder to the cream before whipping for an intensely chocolatey cake. Top with chocolate shavings and a drizzle of chocolate ganache.
Choosing the Right Dish
The vessel you use affects both presentation and texture:
8x8 square dish: My standard recommendation. It fits the Oreos nicely in neat rows, provides 4 generous cookie layers, and the square slices look clean and appealing.
9x13 dish: Good for a crowd but produces a thinner cake with fewer layers. You might only get 2-3 cookie layers depending on quantity. Better for casual gatherings where presentation matters less.
Loaf pan (9x5): This creates a tall, dramatic cake with many thin layers. When sliced crosswise, the layered pattern is stunning. This is my pick for dinner parties when I want maximum visual impact.
Springform pan (round): For the most cake-like presentation. Line the bottom and sides with cream, then create concentric circles of cookies for each layer. This makes a round “cake” that you can unmold by removing the springform ring.
Individual glasses or jars: Layer crushed Oreos and cream in mason jars or wine glasses for individual portions. No slicing required, and they look adorable. These are perfect for picnics, potlucks, or meal prep.
Make-Ahead Strategy
Icebox cake is one of the ultimate make-ahead desserts — in fact, it requires being made ahead. Here’s how to plan:
Two days before: Make and assemble the cake. Cover tightly and refrigerate. It will be perfectly set and actually benefits from the extra chill time.
Day before: The most common timeline. Assemble in the evening and let it chill overnight. This is my go-to approach.
Day of: If you’re in a rush, 4 hours of chilling gives you a reasonably set cake, though the cookies will be slightly less softened in the center.
Garnishing: Always add the garnish — extra whipped cream, chocolate shavings, crushed cookies — within an hour of serving. This keeps the toppings fresh and attractive rather than deflated or soggy.
Serving and Storage
Slicing: The cleanest slices come from a sharp, thin knife dipped in hot water and wiped clean between each cut. The hot blade glides through the cream without dragging, and wiping prevents cookie crumbs from smearing onto adjacent slices.
Portions: This cake is rich, so moderate slices are appropriate. In an 8x8 dish, I cut it into 10 portions — 2 rows of 5 rectangles. Each piece is substantial without being overwhelming.
Leftovers: Cover the cut surface with plastic wrap pressed directly against the exposed layers. Refrigerate and consume within 4 days. The texture holds up surprisingly well, though the cream will continue to soften the cookies slightly each day.
Freezing: Wrap the whole cake or individual slices in plastic wrap, then foil, and freeze for up to 1 month. Frozen icebox cake is honestly spectacular — it eats like a gourmet ice cream cake. Let it sit at room temperature for 10-15 minutes before serving for a semi-frozen texture, or thaw fully in the fridge for regular icebox cake consistency.
The History of Icebox Cakes
Icebox cakes emerged in the 1920s and 1930s, during the golden age of American refrigeration. Before electric refrigerators became common household appliances, most families relied on literal iceboxes — insulated cabinets cooled by blocks of ice delivered by an iceman. These early refrigerators weren’t cold enough for baking-dependent desserts that needed precise temperature control, but they were perfect for chilling assembled desserts into something cohesive and sliceable.
Nabisco popularized the concept in the 1930s by printing an icebox cake recipe on the back of their Famous Chocolate Wafer box — a recipe that remains there to this day. The idea was brilliant marketing: buy our cookies, layer them with cream, and you have an instant cake without an oven. Depression-era home cooks, who were already stretching every ingredient as far as it would go, embraced the concept enthusiastically.
The beauty of the icebox cake concept is that it’s infinitely adaptable. Any crisp cookie or cracker can be softened with cream or pudding to create a layered cake. Graham crackers, vanilla wafers, gingersnaps, and of course Oreos all work beautifully. The principle is always the same: moisture migrates from the wet ingredient (cream, pudding, whipped topping) to the dry ingredient (cookies), transforming both in the process. The cream firms up slightly, the cookies soften dramatically, and the boundary between the two blurs into something uniquely delicious.
Why Oreos Make the Best Icebox Cake
I’ve made icebox cakes with at least a dozen different cookies, and Oreos consistently produce the best result. Here’s why.
The chocolate wafer component of an Oreo has the ideal density for moisture absorption. It’s hard enough to hold its shape during assembly (so your layers stay distinct) but porous enough to soften completely within 8-12 hours. Some cookies — like shortbread — are too butter-dense and never fully soften. Others — like vanilla wafers — are too thin and dissolve into mush within a few hours. Oreos hit the perfect middle ground.
Then there’s the cream filling, which melts into the surrounding whipped cream during chilling and adds an extra layer of sweetness and vanilla flavor. You don’t need to scrape it off or separate the cookies — the filling is a feature, not a bug.
And finally, the color contrast. Those dark chocolate wafers against white whipped cream create the most visually stunning cross-section of any icebox cake. Every slice looks like a magazine photograph without any effort on your part. The drama is built into the ingredient itself.
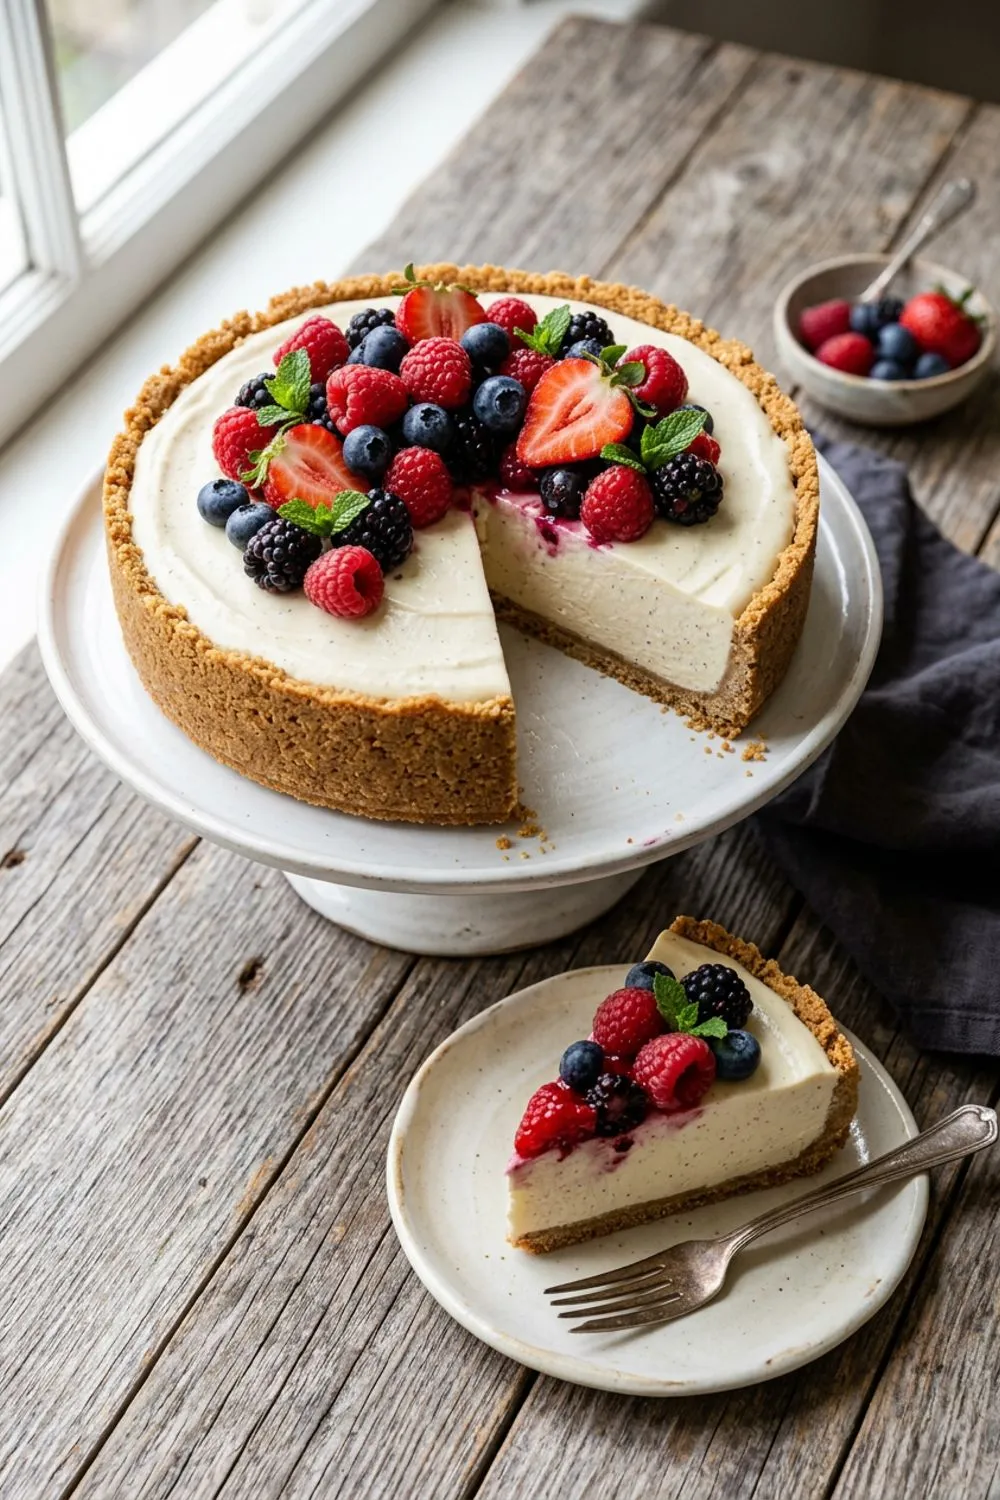
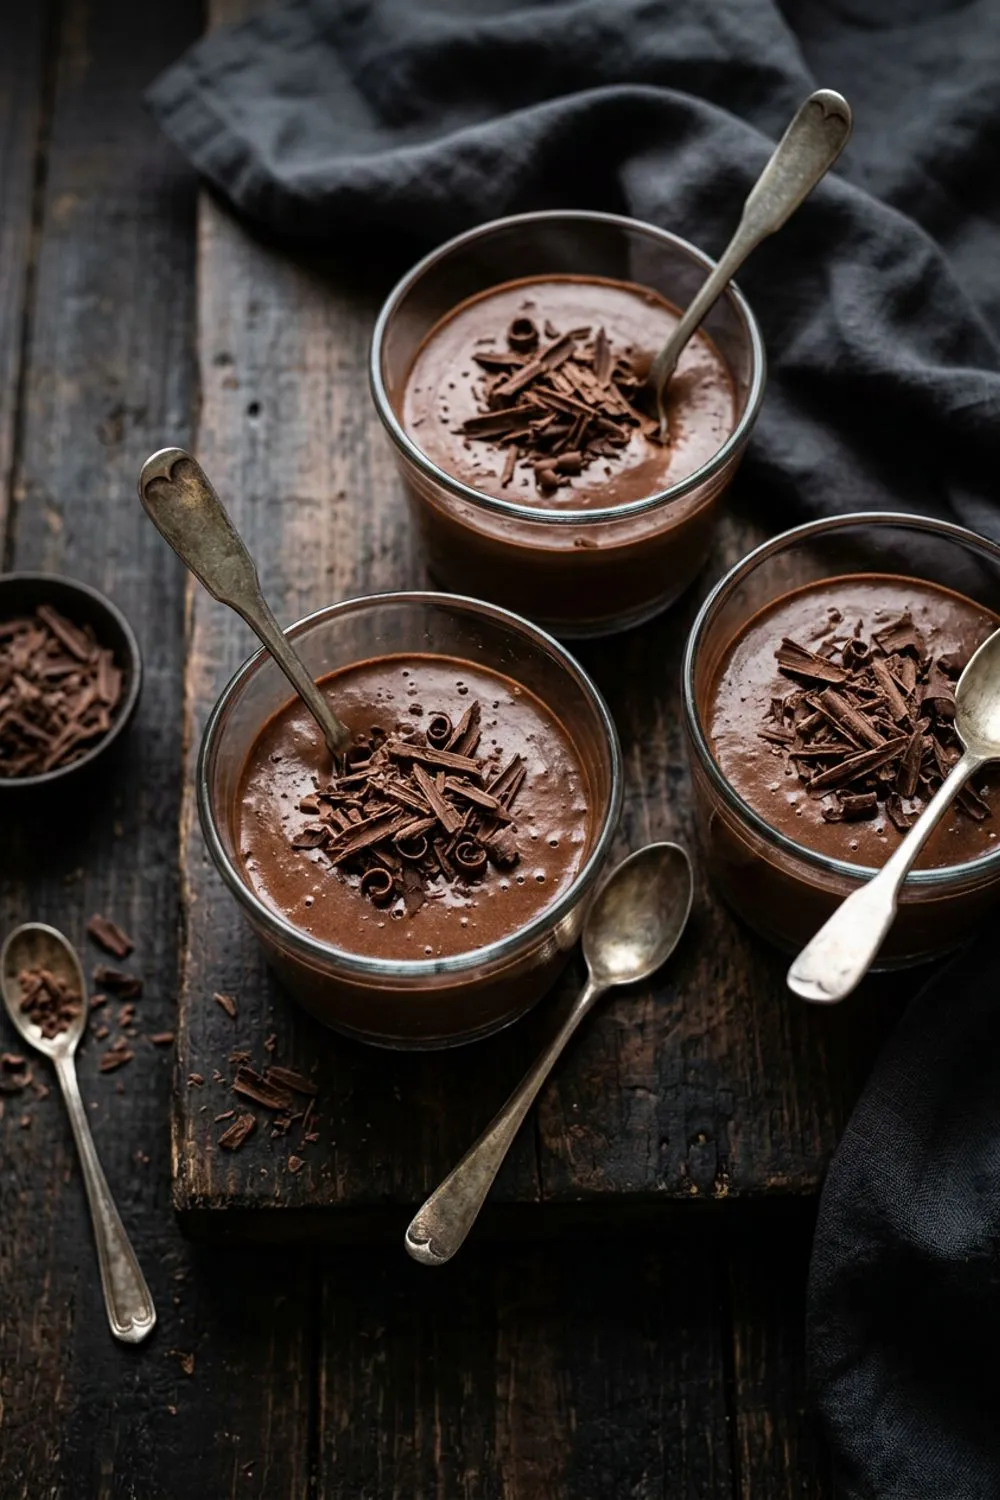
If you love the no-bake, cream-based approach, my no-bake cheesecake uses a similar chilling technique with a cream cheese filling that’s just as impressive. For a more complex layered dessert that uses the same “cookies softened by cream” principle, the classic tiramisu is the Italian cousin of icebox cake. And for pure chocolate indulgence in a completely different format, my chocolate mousse is airy, rich, and equally easy to make ahead.
Never Miss a Sweet Recipe
Join 5,000+ home bakers and get new recipes straight to your inbox.
Ingredients
For the cake
For garnish
Instructions
- 1
Whip the cream
In a large, cold bowl, combine the heavy cream, powdered sugar, and vanilla extract. Using an electric mixer on medium-high speed, whip until stiff peaks form — about 3-4 minutes. The cream should hold its shape firmly when you lift the beaters. Don't over-whip or it will become grainy and start to look like butter.
- 2
Start the first layer
Spread a thin layer of whipped cream (about 1/2 cup) across the bottom of an 8x8 inch square baking dish or a 9x5 inch loaf pan. This base layer prevents the bottom cookies from sticking. Arrange a single layer of Oreo cookies on top of the cream, flat side down, fitting them as closely together as possible. You may need to break a few cookies to fill gaps.
- 3
Build the layers
Spread a generous layer of whipped cream over the first cookie layer — about 3/4 cup — covering the cookies completely. Arrange another layer of Oreos on top. Repeat this process until you've used all the cookies, finishing with a thick layer of whipped cream on top. You should have roughly 4 layers of cookies and 5 layers of cream.
- 4
Smooth the top
Use an offset spatula or the back of a spoon to smooth the final cream layer into an even, attractive surface. Make sure the cream extends to all edges and fully covers the top layer of cookies.
- 5
Chill overnight
Cover the dish tightly with plastic wrap, being careful not to let it touch the cream surface. Refrigerate for at least 4 hours, but ideally 8-12 hours or overnight. During this time, the moisture from the cream softens the cookies into a cake-like texture. The longer it chills, the softer and more cohesive the layers become.
- 6
Garnish and serve
Just before serving, whip the garnish cream with sugar until stiff and spread or pipe it over the top of the cake. Scatter chocolate shavings and crushed Oreo pieces over the surface. Slice with a sharp knife dipped in hot water for the cleanest cuts, wiping the blade between slices.
Nutrition Information
Per serving (serves 10). Values are approximate.
| Calories | 310 calories |
| Total Fat | 20g |
| Saturated Fat | 12g |
| Carbohydrates | 30g |
| Sugar | 20g |
| Protein | 3g |
| Sodium | 180mg |
| Fiber | 1g |
* Percent Daily Values are based on a 2,000 calorie diet. Your daily values may be higher or lower depending on your calorie needs. Nutritional information is an estimate and may vary.
Frequently Asked Questions
How long does icebox cake need to chill?
A minimum of 4 hours, but 8-12 hours (overnight) is ideal. The cookies need time to absorb moisture from the cream and transform from crunchy to soft and cake-like. At 4 hours, the center cookies may still have a slight crunch. At 12 hours, every layer is uniformly soft and the whole cake slices like a dream.
Can I use other cookies besides Oreos?
Absolutely! Graham crackers are the classic icebox cake cookie. Chocolate wafers (like Nabisco Famous Chocolate Wafers) are traditional. Biscoff cookies, shortbread, Nilla wafers, and even thin ginger snaps all work beautifully. Each gives the cake a completely different personality.
Can I freeze icebox cake?
Yes, and it's actually incredible frozen — like a cookies and cream ice cream cake. Wrap tightly with plastic wrap and freeze for up to 1 month. Let it sit at room temperature for 10-15 minutes before slicing. The texture is somewhere between ice cream and cake.
Why is my whipped cream runny?
The cream and bowl must be cold. Warm cream won't hold air properly. Also make sure you're using heavy whipping cream with at least 35% fat — anything labeled light cream or half-and-half won't whip. If the cream starts to look curdled or grainy, you've over-whipped it.
Can I add other flavors?
Yes! Add 2 tablespoons of cocoa powder to the cream for a double-chocolate version. Fold in crushed candy bars, peanut butter chips, or fresh berries between the layers. You can also replace the vanilla with peppermint extract for a mint cookies and cream version.

Reader Reviews
Based on 182 reviews