No-Bake Desserts
Vanilla Panna Cotta
The Italian Dessert That Proves Simplicity Wins
Panna cotta translates literally to “cooked cream,” and that straightforward name tells you almost everything you need to know. This is a dessert built on the principle that when you start with excellent cream, sugar, and vanilla, you don’t need to do much else. Just warm them together, add a whisper of gelatin, pour into molds, and let the refrigerator do the rest.
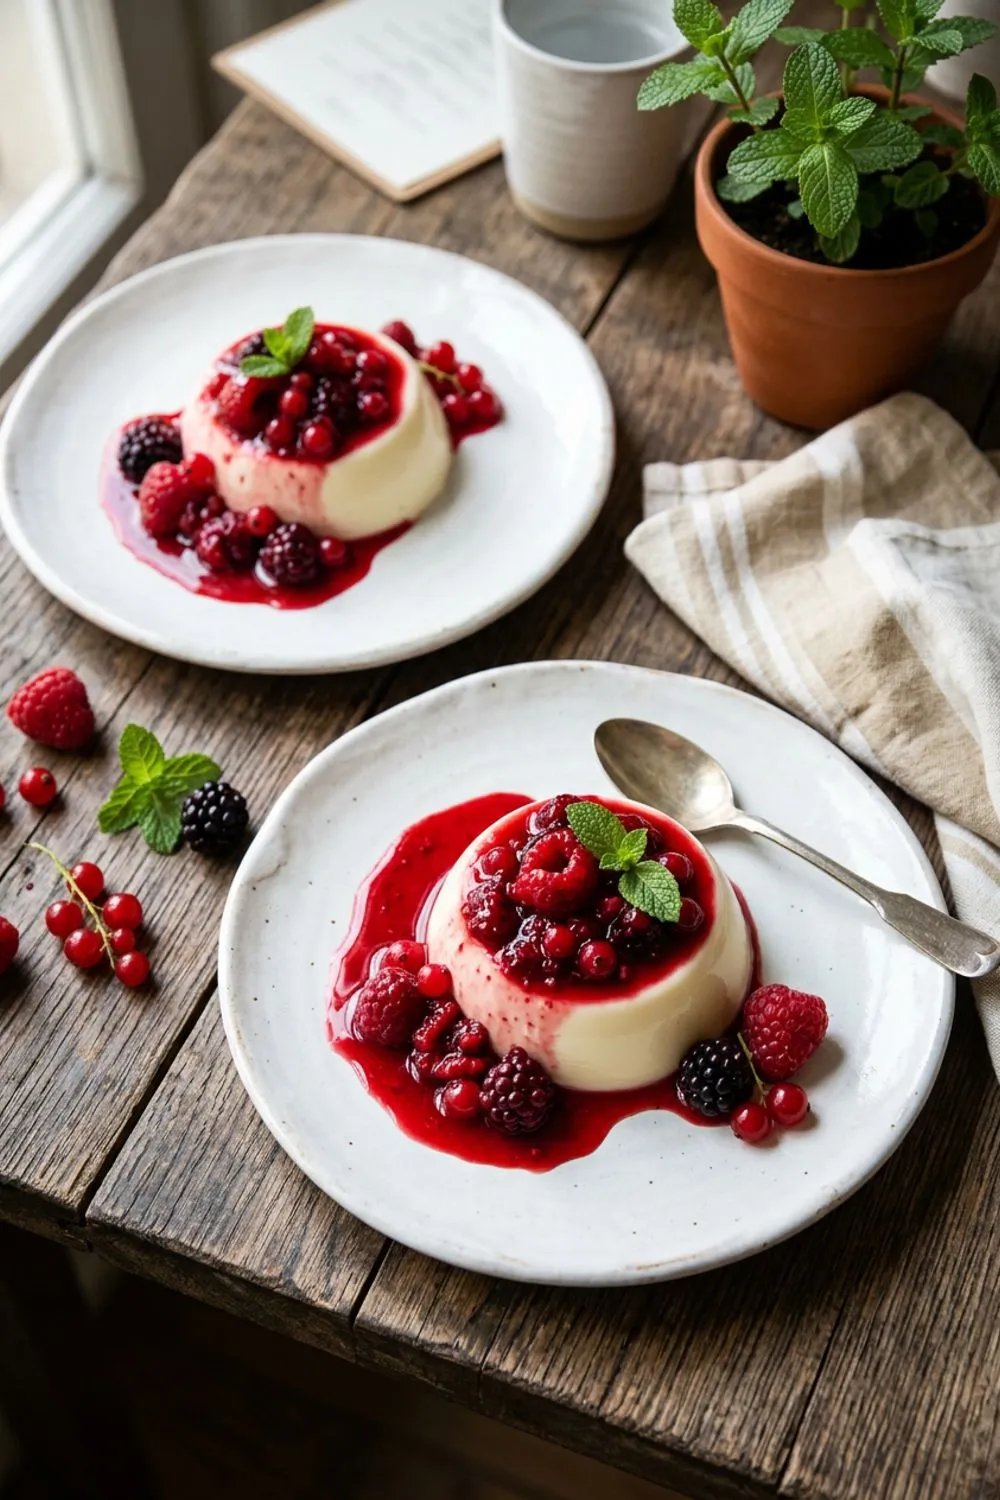
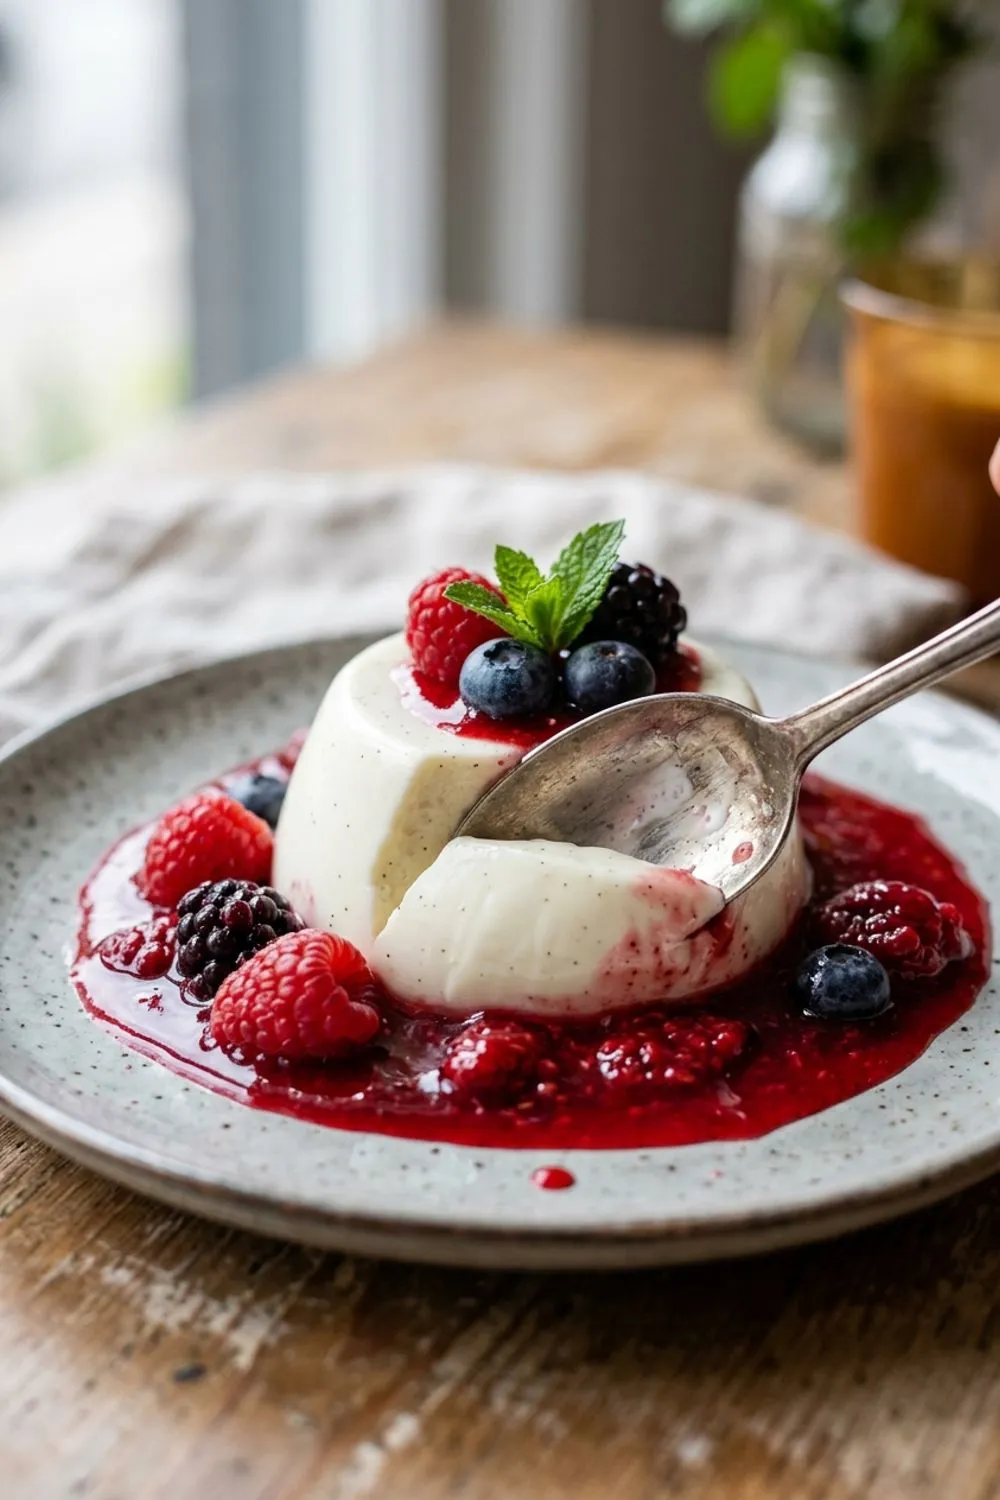
I fell in love with panna cotta on a trip to Piedmont, the northern Italian region where this dessert was born. At a small trattoria overlooking vineyards, the owner brought out a plate with a trembling white dome surrounded by a pool of dark berry sauce. One spoonful and I understood immediately why this simple dessert has endured for centuries. The texture was unlike anything I’d made before — softer than set custard, richer than blancmange, with a silky mouthfeel that dissolved on the tongue and left behind the purest vanilla flavor.
What makes panna cotta remarkable is its ratio of effort to impression. Ten minutes of active work gives you a dessert that looks like it came from a Michelin-starred restaurant. There’s no tempering eggs, no water bath, no monitoring oven temperature. You heat cream, stir in gelatin, pour, and wait. And yet the result is more elegant than desserts that take three times the effort.
This is my go-to recipe when I need a dessert that looks stunning, tastes sophisticated, and can be made entirely ahead of time. It’s the dessert I bring to dinner parties, the one I make for holidays, and honestly the one I make for myself on a random Wednesday when I want something beautiful without spending my whole evening in the kitchen.
The Gelatin Factor
Gelatin is the only thing standing between you and a bowl of sweet cream, so getting the amount right matters enormously. Too much gelatin and your panna cotta will be rubbery and bouncy — more like a Jell-O mold than an Italian dessert. Too little and it won’t hold its shape at all, collapsing into a puddle when you unmold it.
One packet of unflavored gelatin (2 1/4 teaspoons) for 3 cups of total liquid gives you what I consider the ideal panna cotta texture: firm enough to unmold cleanly, but with a gorgeous, seductive wobble. When you tap the plate, the panna cotta should shiver like it’s alive. When you cut into it with a spoon, it should yield without resistance, and the cut surface should be glossy and smooth.
Blooming Is Non-Negotiable
Blooming gelatin means sprinkling it over cold water and letting it sit for 5-10 minutes until it absorbs the liquid and becomes spongy. This step is essential — if you dump powdered gelatin directly into hot liquid, it will clump into stubborn lumps that no amount of stirring will dissolve. Those lumps end up as unpleasant chewy bits in your otherwise smooth panna cotta.
I use 3 tablespoons of cold water for blooming. Sprinkle the gelatin in an even layer over the surface rather than dumping it in a pile. After 5 minutes, the gelatin should look like a soft, translucent sponge. Then you add this to your hot (but not boiling) cream, and it melts right in.
Temperature Precision
Here’s the thing about gelatin that trips people up: it’s sensitive to temperature. You need the cream to be hot enough to dissolve the bloomed gelatin (at least 150°F/65°C), but not so hot that it damages the gelatin’s setting power (above 180°F/82°C). My sweet spot is heating the cream until it’s steaming and just barely starting to form small bubbles around the edges, then removing from heat before adding the gelatin. This gives you clean dissolution every time.
Choosing Your Vanilla
Vanilla is the star flavor of panna cotta, so this is one dessert where the type of vanilla you use makes a noticeable difference. I’ve made it with everything from imitation vanilla to single-origin beans from Madagascar, and I can tell you the spectrum is wide.
A real vanilla bean gives you the best flavor — complex, aromatic, almost floral, with those gorgeous little black specks suspended throughout the white cream. Split the bean lengthwise with a sharp knife and scrape out the seeds with the back of the blade. Drop both the seeds and the empty pod into the cream while it heats. The pod infuses even more flavor during the warming process. Just remember to fish it out before pouring.
If you don’t have vanilla beans (they can be expensive and hard to find), high-quality pure vanilla extract is a perfectly good substitute. Use 2 teaspoons for 6 servings. What I’d encourage you to avoid is imitation vanilla — in a dessert this simple, the artificial flavor is detectable and distracting.
One trick I learned from an Italian pastry chef: save your scraped vanilla pods. Bury them in a jar of sugar, and within a week you’ll have vanilla sugar that’s incredible for baking and coffee.
The Berry Compote Makes It Sing
Panna cotta on its own is lovely, but panna cotta with a vibrant berry compote is transcendent. The compote provides everything the cream doesn’t — acidity, color, texture, and a fruity brightness that makes the vanilla pop even more.
I use a simple mixture of raspberries, blueberries, and strawberries, though any combination of berries works well. Fresh berries in summer are ideal, but frozen berries actually make a slightly better compote because they break down faster and release more juice. If using frozen, don’t bother thawing — just cook them straight from the freezer.
The key to a great compote is restraint. You want the berries to burst and create a syrupy sauce, but you don’t want to cook them into jam. Eight to ten minutes over medium heat is usually perfect. You should see whole berry pieces suspended in a glossy, deep-colored liquid. The lemon juice and zest are essential — they brighten the flavor and keep the compote from tasting flat or overly sweet.
Let the compote cool completely before spooning it over the panna cotta. Warm compote on cold panna cotta will start to melt the surface, and you want that clean, beautiful contrast between the pristine white cream and the jewel-toned berries.
Unmolding Like a Professional
The moment of truth with panna cotta is unmolding. There’s a brief, thrilling second of uncertainty when you flip the ramekin and wonder if the panna cotta will release cleanly or stick stubbornly to the sides. With the right technique, it comes out perfectly every time.
First, lightly oil your ramekins before pouring. A tiny amount of neutral oil (like canola or grapeseed) rubbed with a paper towel is all you need. This creates an invisible barrier that makes unmolding dramatically easier.
When you’re ready to unmold, fill a bowl with hot (not boiling) water. Dip each ramekin into the water for 5-10 seconds — just long enough to slightly melt the outer layer of gelatin so it releases from the mold. Run a thin-bladed knife or offset spatula around the inside edge of the ramekin, being careful not to cut too deeply into the panna cotta.
Place a plate upside down on top of the ramekin, grip both together firmly, and flip. Give the ramekin a confident shake or two — you should feel the panna cotta release. Lift the ramekin away, and there it is: a perfect, trembling dome.
If you’re nervous about unmolding, there’s absolutely nothing wrong with serving panna cotta in the glasses or ramekins. Just spoon the compote on top. Many Italian restaurants serve it this way, and it looks beautiful.
Variations That Keep Things Interesting
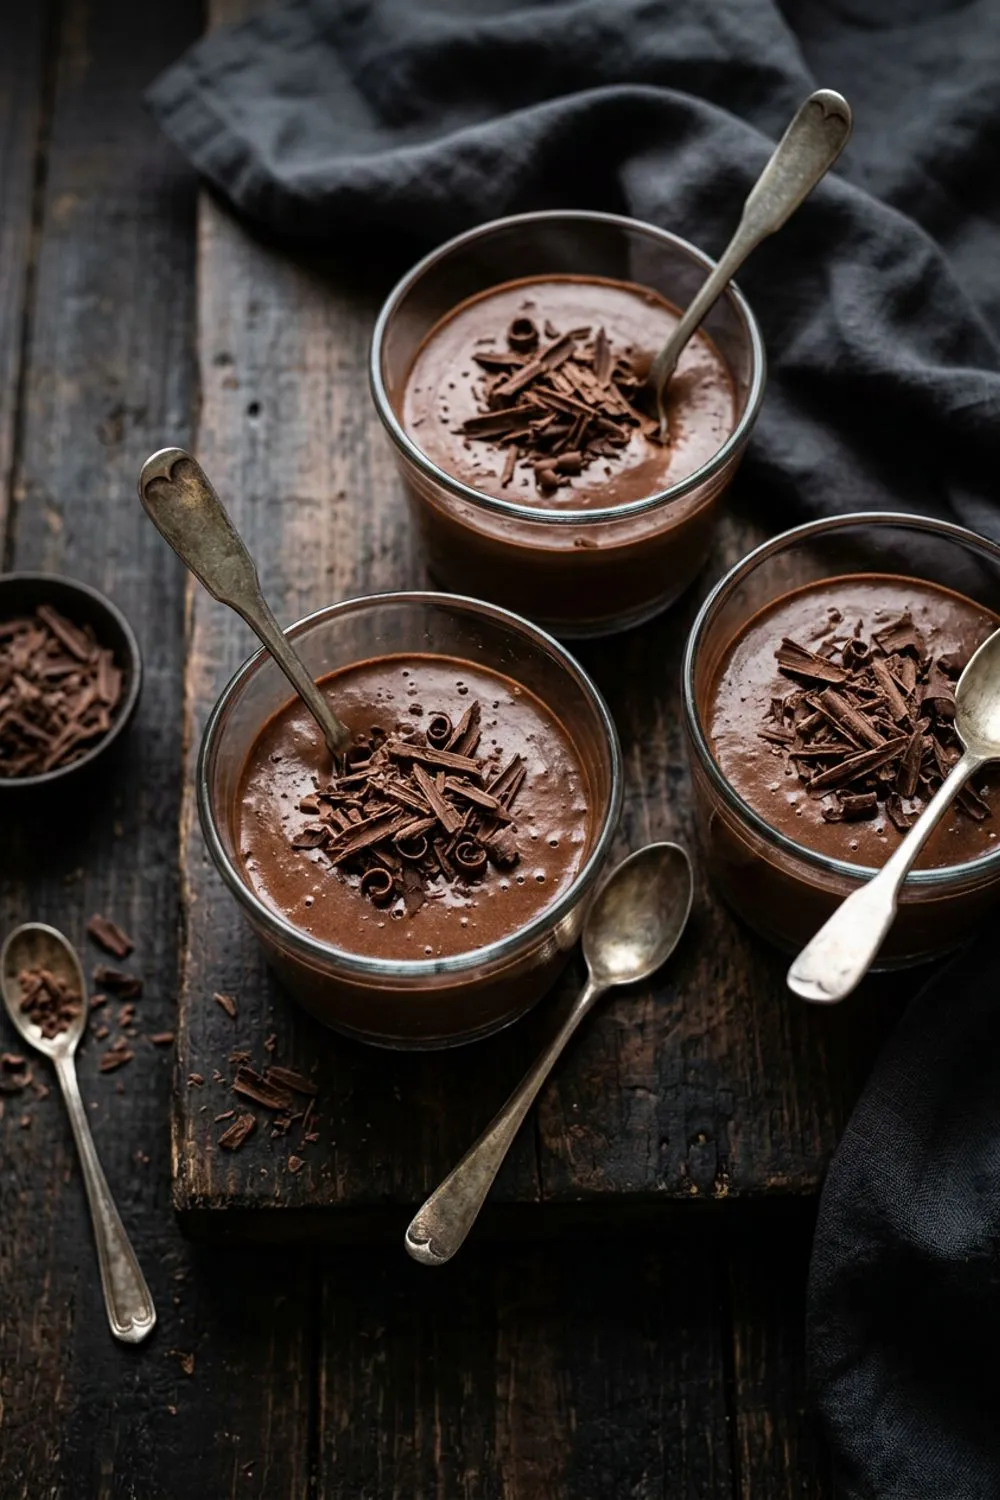
Espresso Panna Cotta: Add 2 tablespoons of instant espresso powder to the cream while heating. The result is a gorgeous cafe-au-lait colored panna cotta with a sophisticated coffee flavor. Top with chocolate shavings instead of berries.
Coconut Panna Cotta: Replace half the heavy cream with full-fat coconut milk and add 1/2 cup of toasted shredded coconut to the warm cream mixture (strain it out before pouring). Top with mango puree and toasted coconut flakes for a tropical variation.
Lemon Panna Cotta: Add the zest of 2 large lemons and 2 tablespoons of fresh lemon juice to the cream mixture. The result is bright, tangy, and refreshing — perfect for summer. Serve with a simple blueberry compote.
Honey Lavender Panna Cotta: Replace the sugar with 1/4 cup of honey and add 1 tablespoon of dried culinary lavender to the cream while heating (strain it out before pouring). This is one of the most sophisticated flavor combinations I know — floral, fragrant, and utterly memorable.
Chocolate Panna Cotta: Stir 4 oz of finely chopped dark chocolate into the hot cream until melted. The result is like a cross between panna cotta and chocolate mousse — rich and indulgent but with that characteristic wobble.
Storage and Make-Ahead Strategy
Panna cotta is the ultimate make-ahead dessert. Here’s how to plan around it:
Two days ahead: Make the panna cotta and compote. Store separately in the refrigerator, both covered with plastic wrap. The panna cotta will be perfectly set and the compote will have time for its flavors to meld.
Day of serving: Unmold the panna cotta (if desired) and spoon the compote over or around each serving. Add any final garnishes — a sprig of fresh mint, a few whole berries, or a light dusting of powdered sugar.
Leftovers: Covered panna cotta keeps for up to 4 days in the refrigerator. The texture may firm up slightly over time, but it remains delicious. I’ve never had it last longer than 4 days, though — it always gets eaten first.
Common Mistakes and How to Avoid Them
Boiling the cream: This is the most common mistake I see. Boiling can cause the cream to reduce and thicken too much, and it can create a skin on the surface. Heat gently until steaming with a few bubbles around the edges, and that’s it.
Not straining: If you used a vanilla bean or any whole spice infusion, strain the mixture through a fine-mesh sieve before pouring into molds. Even without add-ins, straining catches any stray gelatin lumps and gives you a smoother result.
Rushing the chill time: Four hours is the minimum. Overnight is better. A panna cotta that hasn’t fully set will collapse when unmolded and have a pudding-like rather than custard-like texture. Be patient — this is a dessert that rewards waiting.
Using ultra-heavy cream only: Some recipes call for all heavy cream and no milk. This produces a very rich panna cotta that can feel heavy and cloying. The combination of cream and whole milk gives you luxury without excess — rich enough to feel indulgent, but light enough that you want a second serving.
The History Behind the Wobble
Panna cotta’s origins are debated, but most food historians trace it to the Piedmont region of northern Italy, where dairy has been central to the cuisine for centuries. The name first appeared in Italian cookbooks in the 1960s, though versions of cream-set-with-gelatin almost certainly existed earlier in various forms across Europe.
What distinguishes panna cotta from other set cream desserts — like French blancmange or Bavarian cream — is its simplicity and its ratio. Blancmange traditionally includes almonds and sometimes cornstarch. Bavarian cream uses egg yolks for richness and custard-like body. Panna cotta uses neither. It is cream, sugar, gelatin, and flavoring, nothing more. The Italians, characteristically, stripped the concept down to its essence and created something more elegant in the process.
The dessert didn’t gain widespread international recognition until the 1990s, when it became a fixture on Italian restaurant menus around the world. Chefs loved it for its versatility — the neutral vanilla base accepts virtually any topping or flavor infusion — and diners loved it for its silky, almost sensuous texture that felt refined without being stuffy.
Today, panna cotta has become a canvas for culinary creativity. You’ll find it flavored with everything from saffron to black sesame to roasted beet. But at its core, the best panna cotta is still the simplest: good cream, real vanilla, a gentle set, and a pool of bright fruit to cut through the richness. That’s the version I keep coming back to, and the one that consistently draws the most compliments when I serve it.
Pairing Panna Cotta with Meals
One of the things I appreciate most about panna cotta is how well it fits at the end of a meal without overwhelming anyone. After a rich pasta course or a heavy braised meat, a slice of dense cake can feel like too much. Panna cotta, with its light texture and refreshing berry topping, provides a sweet ending that cleanses rather than burdens the palate.
For an Italian-themed dinner, serve panna cotta after a simple main course of grilled fish or chicken with herbs. The cream echoes the richness of the meal while the berry compote provides a bright, acidic finish. For a summer barbecue, the cold panna cotta is a refreshing contrast to the smokiness of grilled meats.
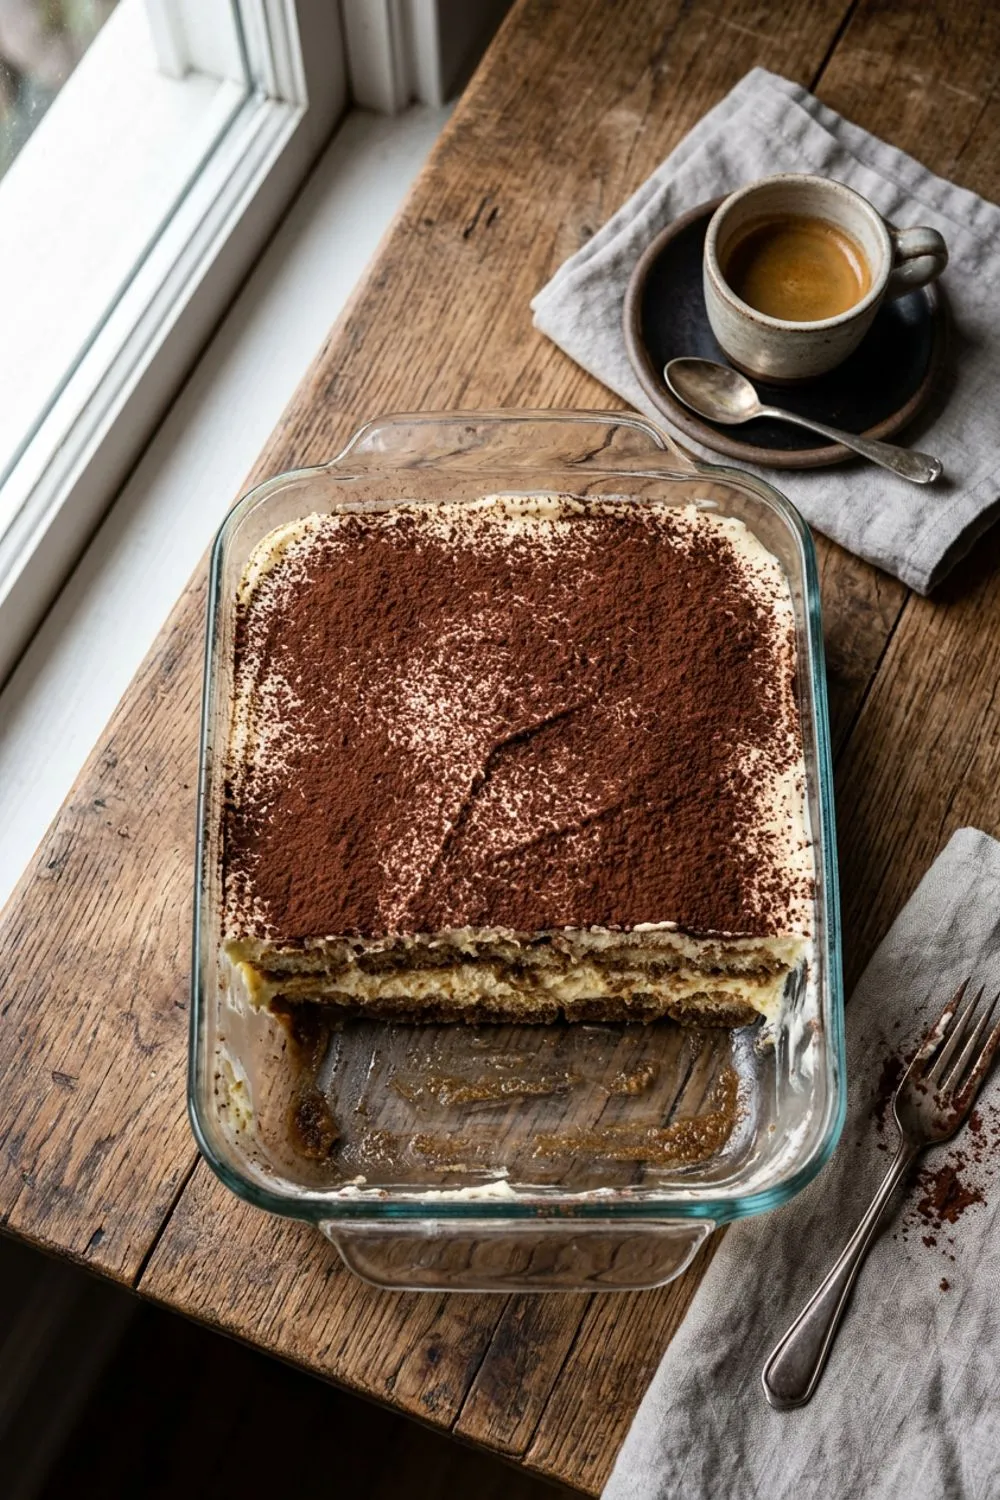
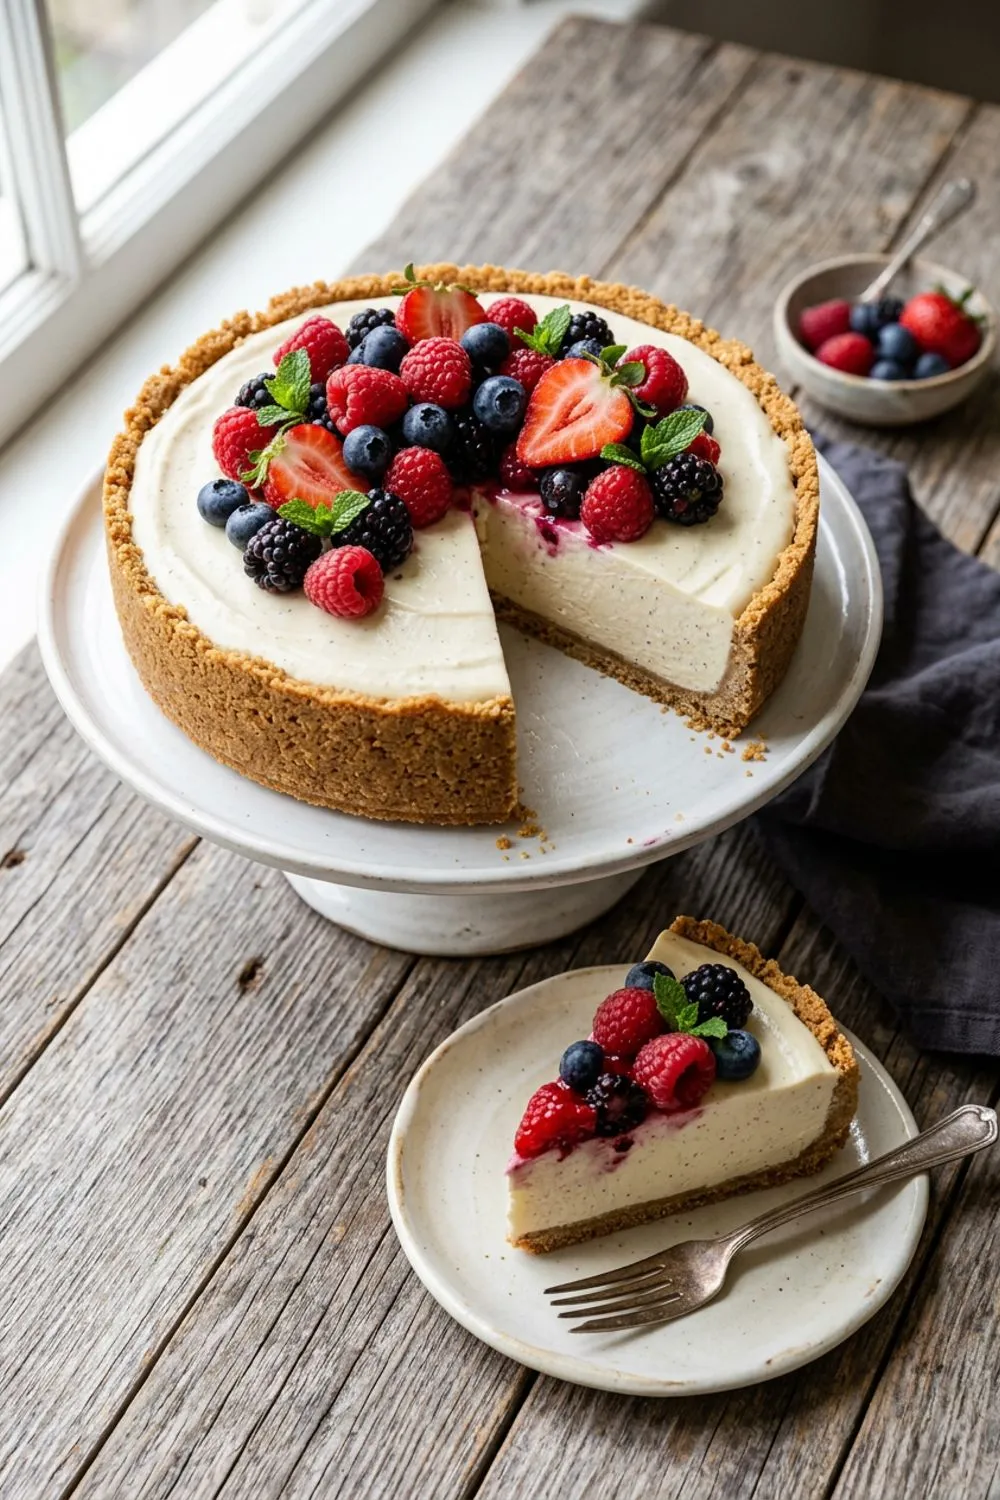
For more Italian-inspired no-bake desserts, you should absolutely try my classic tiramisu — it shares that same philosophy of elegant simplicity. And if you want to explore another creamy, chilled dessert from a completely different tradition, my no-bake cheesecake is a crowd-pleasing American classic that couldn’t be easier to make.
Never Miss a Sweet Recipe
Join 5,000+ home bakers and get new recipes straight to your inbox.
Ingredients
For the panna cotta
For the berry compote
Instructions
- 1
Bloom the gelatin
Pour the cold water into a small bowl and sprinkle the gelatin evenly over the surface. Let it sit undisturbed for 5-10 minutes while you prepare the cream mixture. The gelatin will absorb the water and become spongy — this step ensures it dissolves smoothly later without leaving any lumps.
- 2
Heat the cream mixture
In a medium saucepan, combine the heavy cream, whole milk, sugar, vanilla bean seeds and pod (or vanilla extract), and salt. Set over medium heat and stir occasionally until the sugar dissolves and the mixture is steaming and just beginning to bubble around the edges — about 160°F (71°C). Do not let it boil, as this can affect the texture.
- 3
Add the gelatin
Remove the saucepan from heat. If using a vanilla bean, fish out the pod. Add the bloomed gelatin to the hot cream and stir continuously for about 1 minute until completely dissolved. You shouldn't see any granules or lumps — the mixture should be perfectly smooth.
- 4
Pour into molds
Divide the mixture evenly among 6 ramekins, custard cups, or small glasses. If unmolding later, lightly grease the ramekins with a thin layer of neutral oil first. Pour slowly to avoid bubbles. If any bubbles form on the surface, pop them gently with a toothpick.
- 5
Chill until set
Let the panna cottas cool at room temperature for 20 minutes, then cover each with plastic wrap and transfer to the refrigerator. Chill for at least 4 hours or overnight until firmly set. The panna cotta should jiggle slightly when shaken — like the gentle wobble of set custard — but hold its shape.
- 6
Make the berry compote
While the panna cotta chills, combine the berries, sugar, and lemon juice in a small saucepan over medium heat. Cook, stirring occasionally, for 8-10 minutes until the berries have burst and released their juices, creating a thick, syrupy sauce. Stir in the lemon zest, then let cool completely. Refrigerate until ready to serve.
- 7
Unmold and serve
To unmold, dip each ramekin in hot water for 5-10 seconds, then run a thin knife around the edge. Place a plate on top, flip, and give it a gentle shake. The panna cotta should slide out with a satisfying wobble. Spoon the berry compote generously over and around each panna cotta.
Nutrition Information
Per serving (serves 6). Values are approximate.
| Calories | 260 calories |
| Total Fat | 16g |
| Saturated Fat | 10g |
| Carbohydrates | 26g |
| Sugar | 22g |
| Protein | 4g |
| Sodium | 65mg |
| Fiber | 1g |
* Percent Daily Values are based on a 2,000 calorie diet. Your daily values may be higher or lower depending on your calorie needs. Nutritional information is an estimate and may vary.
Frequently Asked Questions
Can I use agar-agar instead of gelatin?
Yes, but the texture will be different — agar sets firmer and less wobbly than gelatin. Use 1 1/2 teaspoons of agar-agar powder instead of the gelatin packet. Whisk it directly into the cold cream mixture, then bring to a gentle boil and simmer for 2 minutes. Agar needs to boil to activate, unlike gelatin.
How far in advance can I make panna cotta?
Panna cotta keeps beautifully in the refrigerator for up to 4 days, covered with plastic wrap. This makes it a perfect make-ahead dessert for dinner parties or holidays. Add the compote just before serving.
Why didn't my panna cotta set?
The most common reasons are not using enough gelatin, not blooming it properly, or adding it to liquid that was too hot (above 180°F/82°C, which can weaken gelatin). Make sure you bloom the gelatin in cold water first, and add it to cream that's hot but not boiling.
Can I make this dairy-free?
Yes! Substitute the heavy cream and milk with full-fat coconut cream (two 13.5 oz cans, chilled and using just the thick cream). The result is rich and creamy with a subtle coconut flavor. You'll still need gelatin or agar-agar to set it.
What other toppings work with panna cotta?
Almost anything! Try passion fruit puree, caramel sauce, honey with pistachios, fig compote, espresso syrup, or a simple drizzle of aged balsamic vinegar (trust me, it's incredible). Panna cotta is a blank canvas that pairs with both fruit and caramel flavors.

Reader Reviews
Based on 167 reviews