Pies & Tarts
Classic Pumpkin Pie
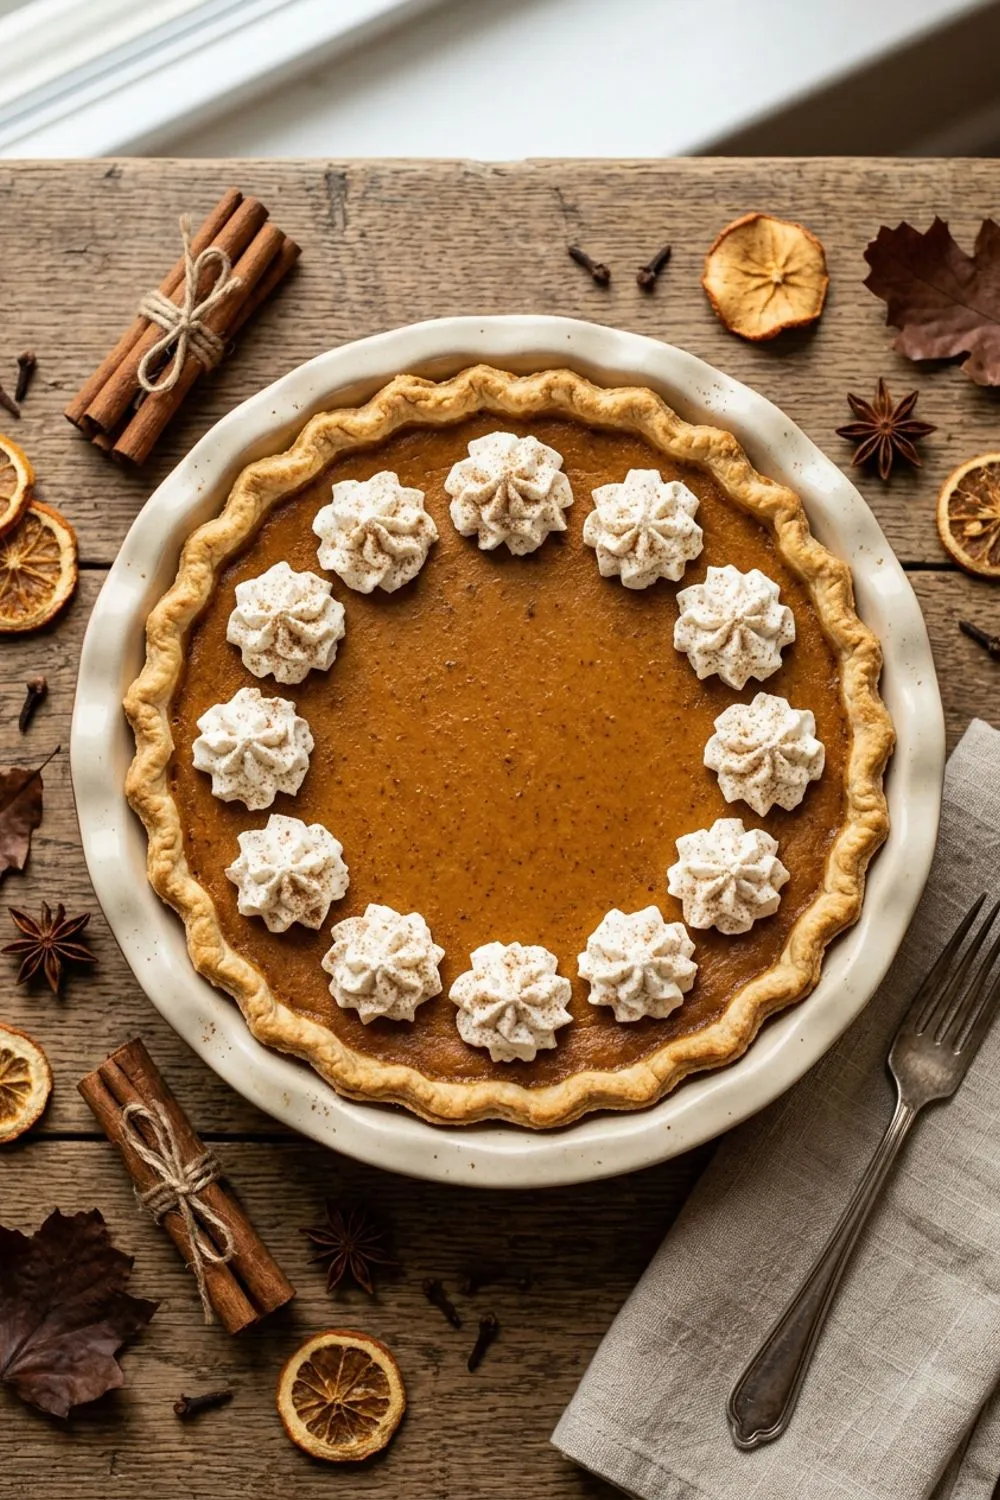
The Pie That Anchors Every Thanksgiving Table
Every family has a Thanksgiving dish that is non-negotiable, the one that would cause genuine distress if it were missing from the table. For my family, that dish is pumpkin pie. Not the turkey, not the stuffing, not even the gravy. The pumpkin pie. It sits at the end of the table like a quiet promise that no matter how chaotic the cooking process was, no matter who burned the rolls or forgot the cranberry sauce, everything is going to be all right because there is pumpkin pie.
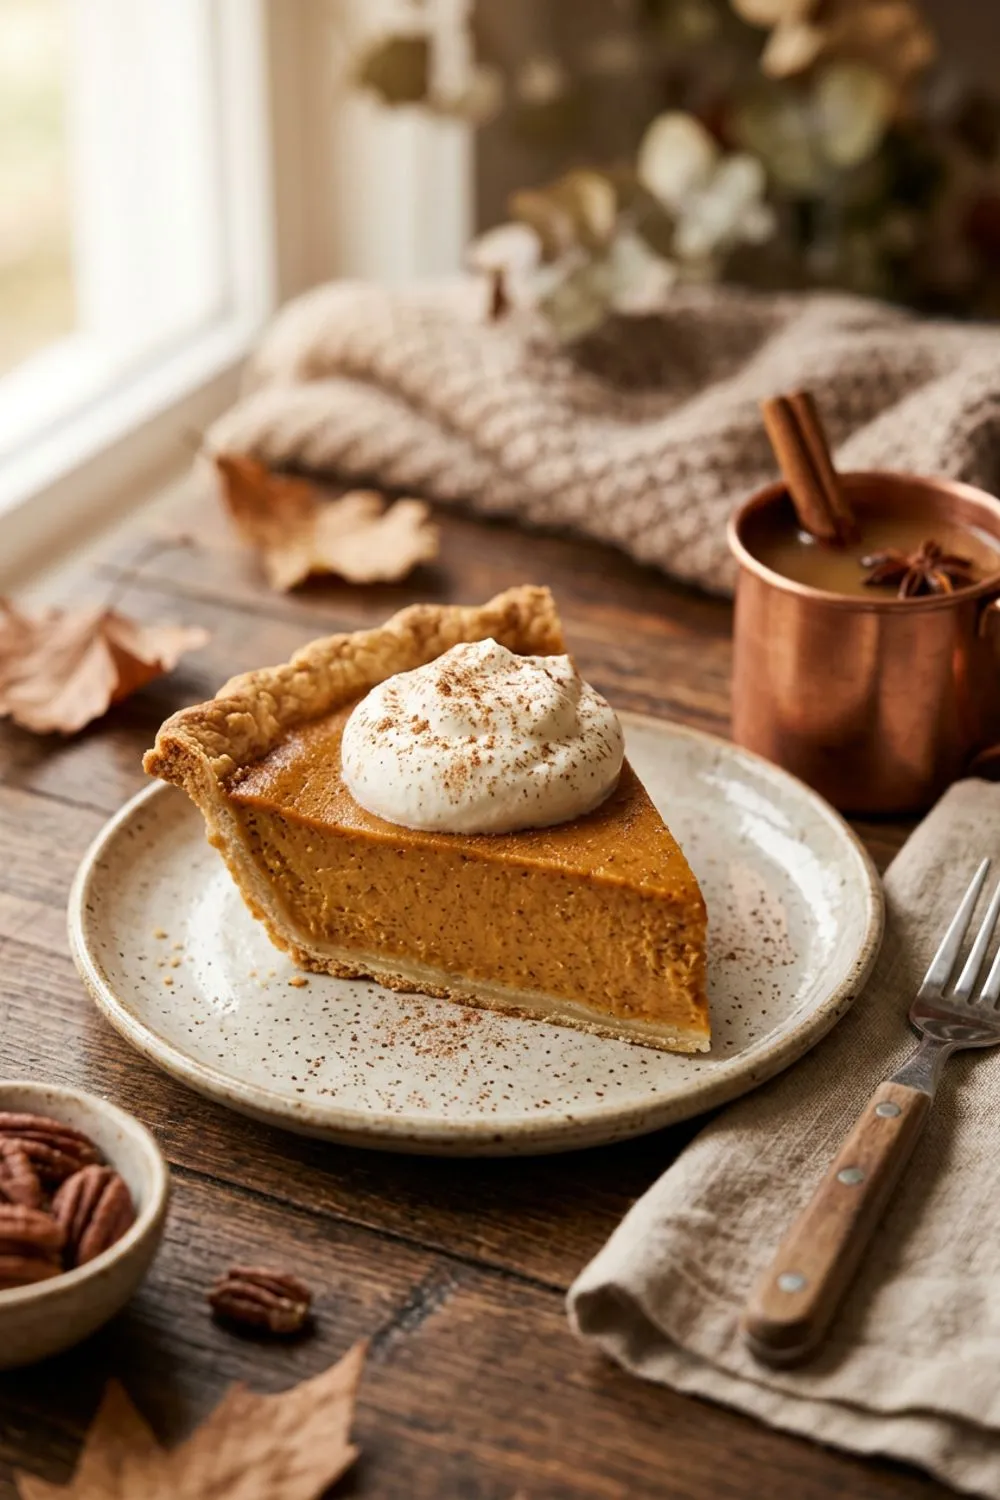
I realize that is a lot of emotional weight to place on a custard pie, but I stand by it. There is something about the warmth of the spices, the smooth, velvety filling, and the buttery crust that feels like comfort distilled into dessert form. It tastes like fall, like family, like coming home.
This recipe has been my go-to for over a decade. It uses sweetened condensed milk instead of the more traditional evaporated milk, which gives the filling a richer, creamier texture and a more balanced sweetness. The spice blend is warm but not aggressive — you taste pumpkin first, with the cinnamon, ginger, nutmeg, and cloves playing supporting roles rather than overwhelming the star ingredient. And the two-temperature baking method ensures a crisp bottom crust and a silky smooth filling every single time.
Why Sweetened Condensed Milk Changes Everything
Most pumpkin pie recipes call for evaporated milk, and they produce perfectly good pies. But switching to sweetened condensed milk makes a noticeably better pie, and I am prepared to defend that position enthusiastically.
Evaporated milk is unsweetened, which means you need to add a significant amount of granulated sugar to the filling. That sugar dissolves but does not fully integrate the way the already-dissolved sugars in sweetened condensed milk do. The result with evaporated milk can sometimes feel slightly grainy, especially when the pie is cold. Sweetened condensed milk, by contrast, creates a filling that is impossibly smooth — almost silky — because the sugars are already in solution.
The richness is different too. Sweetened condensed milk has a higher fat content and a more concentrated dairy flavor. The filling tastes more decadent without being heavy, which is exactly the balance you want in a pie that is already quite rich from the butter in the crust.
The trade-off is that you have less control over the sugar level, since the sweetness is built into the condensed milk. But I have found that one can provides exactly the right amount of sweetness for one can of pumpkin puree — sweet enough to be dessert, but not so sweet that it obscures the earthy, autumn flavor of the pumpkin.
Choosing the Right Pumpkin Puree
This might seem like a trivial decision — you grab a can off the shelf and move on. But there is a meaningful difference between brands, and choosing wisely eliminates a common source of frustration.
The most important thing is to buy pure pumpkin puree, not pumpkin pie filling. These are two different products that sit side by side on the shelf and look almost identical. Pure pumpkin puree contains one ingredient: pumpkin. Pumpkin pie filling contains sugar, spices, and sometimes thickeners. Using pie filling when a recipe calls for puree will produce an overly sweet, strangely textured pie.
Libby’s is the dominant brand and my personal recommendation. Their canned pumpkin is actually made from Dickinson pumpkins, which are technically a variety of butternut squash — which explains why it tastes so consistently smooth and sweet. The texture is thick and not watery, which produces a filling that sets firmly without being dense.
Getting the Spices Right
The spice blend in pumpkin pie is almost as important as the pumpkin itself. Too little and the pie tastes flat. Too much and it tastes like you dumped a bottle of pumpkin spice into the batter. Here is my approach:
Cinnamon leads. At 1 1/2 teaspoons, cinnamon is the dominant spice. It provides the warm, familiar backbone that people expect from pumpkin pie.
Ginger adds brightness. One teaspoon of ground ginger gives the pie a subtle sharpness that lifts the other flavors and prevents the filling from tasting heavy or one-dimensional. Fresh ginger is even better if you have it — use 1 tablespoon of finely grated fresh ginger in place of the ground.
Nutmeg provides depth. Half a teaspoon of nutmeg adds a slightly sweet, almost woody quality that rounds out the spice blend. Freshly grated nutmeg is dramatically better than pre-ground — it is more fragrant and more flavorful. A single whole nutmeg and a microplane grater will last you through dozens of pies.
Cloves are the secret weapon. Just a quarter teaspoon — and no more. Cloves are incredibly potent, and too much will make the pie taste medicinal. In the right amount, they add a warm, slightly peppery note that gives the spice blend complexity.
I always mix the spices into the pumpkin puree before adding the wet ingredients. This ensures even distribution and allows the spices to bloom slightly in the thick puree, which intensifies their flavor.
The Two-Temperature Baking Method
Starting at 425°F and then dropping to 350°F is the technique that makes this recipe foolproof. Here is why it works:
The high initial temperature accomplishes two things. First, it begins to set the bottom crust immediately, creating a barrier against the wet filling that prevents sogginess. Second, it gives the filling a head start on setting around the edges, which creates a stable structure that holds the still-liquid center in place.
After 15 minutes at 425°F, reducing to 350°F allows the center of the filling to cook gently and evenly. Custard-based fillings are temperamental — too much heat causes the proteins in the eggs to seize, creating a grainy, watery texture and surface cracks. The lower temperature gives the center time to set without overcooking the edges.
The total bake time at 350°F is 35 to 40 minutes, but start checking at 30 minutes. The pie is done when the edges are puffed and set but the center still wobbles gently — like set gelatin, not like liquid. If you are unsure, remember this: an underbaked pumpkin pie is better than an overbaked one. An underbaked pie will eventually set in the refrigerator. An overbaked pie is grainy and cracked, and there is no fixing that.
The Long Cool-Down
Pumpkin pie requires patience. Two hours at room temperature followed by at least one hour in the refrigerator. I know it is tempting to rush this, especially on Thanksgiving when the meal has a set timeline, but cutting a warm pumpkin pie is a disaster — the filling will be soupy and the slices will collapse.
This is actually one of the best things about pumpkin pie: it is a make-ahead dessert. Bake it the evening before Thanksgiving, let it cool to room temperature, cover it loosely, and refrigerate overnight. The next day, the filling will be perfectly set, the flavors will have melded beautifully, and you have one less thing to worry about on the most hectic cooking day of the year.
Bring the pie out of the refrigerator about 30 minutes before serving. Pumpkin pie is best at cool room temperature — the filling is more flavorful than when it is cold, and the spices are more aromatic.
Variations That Honor the Classic
Brown Butter Pumpkin Pie
Brown the butter for the crust before chilling and using it. The nutty, toasty flavor of browned butter is extraordinary with pumpkin and warm spices. This single change elevates the pie from very good to transcendent.
Bourbon Pumpkin Pie
Add 2 tablespoons of bourbon to the filling. It adds warmth and depth without making the pie taste alcoholic. The bourbon complements the spices beautifully and gives the filling a slightly more complex, grown-up flavor that pairs exceptionally well with after-dinner coffee.
Gingersnap Crust Pumpkin Pie
Replace the homemade crust with a gingersnap cookie crust: 2 cups of crushed gingersnap cookies combined with 6 tablespoons of melted butter, pressed into the dish and baked for 10 minutes. The spicy ginger cookie crust amplifies the warm spices in the filling. My apple pie uses a traditional crust, but this gingersnap version brings something completely different to the table.
Tips From Years of Making This Pie
Use a strainer. For the absolute smoothest filling, pour the mixed filling through a fine-mesh strainer before pouring it into the crust. This catches any lumps of pumpkin, bits of egg, or unmixed spice. It takes 30 seconds and the difference is real.
Protect the crust edges. The crimped edges of the crust brown faster than the filling bakes. After 30 minutes of total baking, check the edges. If they are getting too dark, cover them with a pie crust shield or strips of aluminum foil for the remaining bake time.
Do not overbeat the eggs. Whisk them in just until incorporated. Over-beating introduces air, which causes the filling to puff up in the oven and then deflate as it cools, creating cracks on the surface.
A water bath is not necessary. Some recipes bake pumpkin pie in a water bath to prevent cracking. The two-temperature method in this recipe accomplishes the same goal with much less hassle. No soggy towels, no sloshing water, no wrestling a heavy pan in and out of the oven.
Storing Pumpkin Pie
In the refrigerator: Cover the pie loosely with plastic wrap or aluminum foil and refrigerate for up to 4 days. The filling actually improves over the first day as the flavors continue to develop.
In the freezer: Cool completely, then wrap tightly in plastic wrap and aluminum foil. Freeze for up to 2 months. Thaw overnight in the refrigerator. The texture may be very slightly softer after freezing, but the flavor is unaffected.
Equipment and Tools
A good pie dish matters. I use a 9-inch glass pie dish, which conducts heat evenly and lets me check the color of the bottom crust. Ceramic pie dishes are beautiful for presentation but can produce a softer bottom crust. Metal pie pans are fine for everyday baking. Avoid dark-colored pans, which absorb more heat and can over-brown the crust edges before the filling is set.
A wire rack is essential for cooling. Cooling the pie on a flat surface traps steam underneath, which softens the bottom crust. A wire rack allows air to circulate around the entire pie, keeping the crust as crisp as possible during the long cooling period.
A fine-mesh strainer elevates the texture. I mentioned this in the tips section, but it deserves elaboration. Pouring the mixed filling through a fine-mesh strainer before filling the crust catches tiny lumps of pumpkin, bits of unmixed spice, and any stringy egg white that was not fully incorporated. The result is a filling that is absolutely silken — smoother than you thought pumpkin pie filling could be. This single step takes 30 seconds and makes a real difference.
An instant-read thermometer removes guesswork. If you are uncertain about the wobble test, an instant-read thermometer inserted into the center of the pie should read about 170°F (77°C) when the pie is done. Above 180°F, the eggs start to over-set, producing a grainy texture. Below 165°F, the center will not firm up properly even after cooling.
The Perfect Topping
Whipped cream is traditional and ideal. Sweetened very lightly — just enough sugar to take the edge off the cream’s richness — and flavored with a touch of vanilla. Pipe it in decorative rosettes or simply dollop it generously on each slice.
For something different, try a maple whipped cream: replace the sugar with 2 tablespoons of maple syrup. Or a spiced whipped cream: add 1/4 teaspoon each of cinnamon and ginger to the cream as you whip it. Both variations amplify the autumn flavors of the pie beautifully.
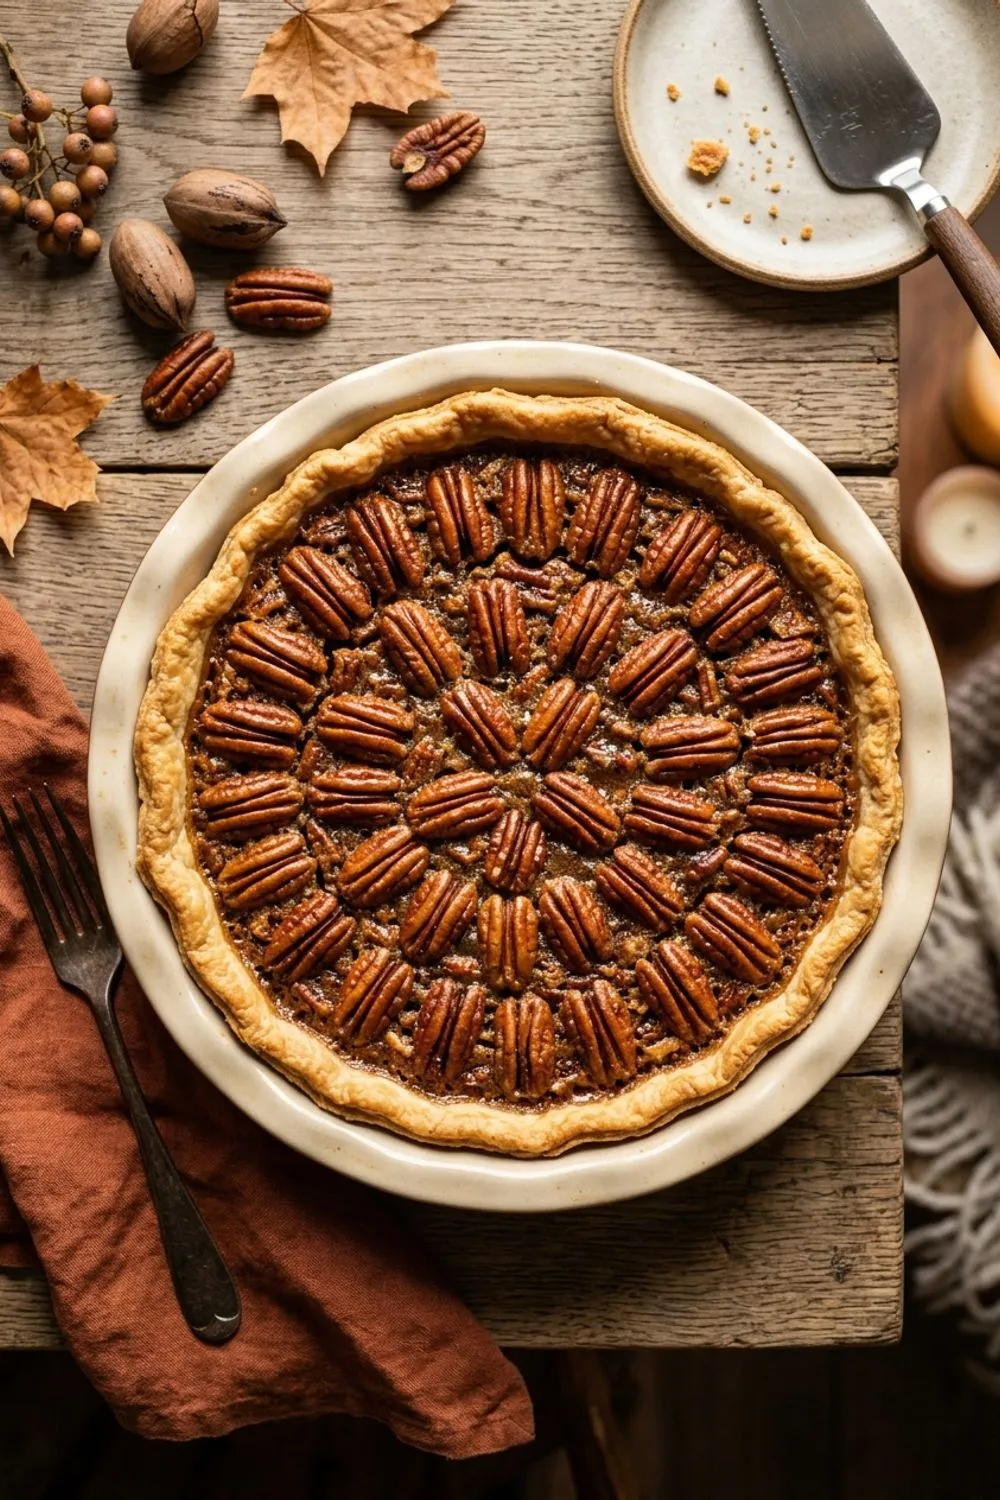
Alongside a wedge of pecan pie and a cup of strong coffee, a slice of this pumpkin pie is Thanksgiving distilled to its essence.
Why Homemade Beats Store-Bought Every Time
I have nothing against convenience, and I understand that Thanksgiving is an intensely busy cooking day. But the difference between homemade pumpkin pie and the versions sold in bakery sections of grocery stores is stark enough that I think the effort is always worth it.
Store-bought pumpkin pies are typically made with pumpkin pie filling (not pure puree), which means the spice levels and sweetness are predetermined and often overly aggressive. The crusts are designed for shelf stability rather than flavor, producing a texture closer to cardboard than pastry. And the fillings frequently contain stabilizers and thickeners that give them a somewhat gelatinous texture that is a far cry from the smooth, velvety custard of a homemade pie.
A homemade pumpkin pie, made with pure pumpkin puree, real spices, a buttery hand-rolled crust, and sweetened condensed milk for richness, is a completely different experience. The spices are balanced rather than overpowering. The crust is tender and flaky. The filling is genuinely smooth — silky in a way that no additive can replicate. And the whole thing tastes like someone cared enough to make it from scratch, which on Thanksgiving, is its own form of love.
The time investment is modest: 15 minutes of prep, an hour of baking, and a few hours of cooling. The crust can be made days ahead. The pie is best when made the night before. There is no reason this should be the thing that gets cut from your Thanksgiving timeline, because it practically makes itself.
Never Miss a Sweet Recipe
Join 5,000+ home bakers and get new recipes straight to your inbox.
Ingredients
Pie Crust
Pumpkin Filling
For Serving
Instructions
- 1
Prepare the Crust
Whisk flour, sugar, and salt in a bowl. Cut in the cold butter until the mixture resembles coarse crumbs with pea-sized pieces remaining. Add ice water one tablespoon at a time, mixing with a fork until the dough holds together when squeezed. Form into a disc, wrap in plastic, and refrigerate for at least 1 hour.
- 2
Roll and Line the Pie Dish
Roll the dough on a floured surface into a 12-inch circle. Transfer to a 9-inch pie dish, pressing gently into the corners. Trim the overhang to 1 inch, fold it under, and crimp decoratively. Refrigerate for 20 minutes while you prepare the filling.
- 3
Make the Filling
Preheat oven to 425°F (220°C). In a large bowl, whisk the pumpkin puree with the cinnamon, ginger, nutmeg, cloves, and salt until evenly combined. Add the sweetened condensed milk and whisk until smooth. Beat in the eggs one at a time, mixing just until incorporated. Do not overmix — you want a smooth batter without excess air.
- 4
Fill and Start Baking
Pour the filling into the chilled pie crust. It should come nearly to the top of the crimped edge. Place the pie on a rimmed baking sheet and bake at 425°F for 15 minutes. This initial high heat sets the crust and jump-starts the filling.
- 5
Reduce Heat and Continue Baking
Without opening the oven, reduce the temperature to 350°F (175°C). Continue baking for 35–40 minutes until the edges of the filling are set and puffed slightly, but the center still wobbles gently when you jiggle the pan. The center should not look liquid — it should move as one piece, like set gelatin.
- 6
Cool Completely
Remove the pie from the oven and cool on a wire rack for at least 2 hours at room temperature, then refrigerate for at least 1 additional hour before slicing. The filling needs this time to set fully. Serve with whipped cream and a dusting of cinnamon.
Nutrition Information
Per serving (serves 8). Values are approximate.
| Calories | 290 calories |
| Total Fat | 13g |
| Saturated Fat | 7g |
| Carbohydrates | 38g |
| Sugar | 26g |
| Protein | 6g |
| Sodium | 280mg |
| Fiber | 2g |
* Percent Daily Values are based on a 2,000 calorie diet. Your daily values may be higher or lower depending on your calorie needs. Nutritional information is an estimate and may vary.
Frequently Asked Questions
Can I use fresh pumpkin instead of canned?
You can, but it requires extra work. Roast sugar pumpkin halves at 400°F for about 45 minutes, then puree and strain the flesh to remove excess water. Canned pumpkin is already perfectly cooked and has consistent moisture content, which makes it more reliable for pie.
Why does my pumpkin pie crack on top?
Cracking usually means the pie was overbaked or the oven temperature was too high. Pull the pie when the center still has a gentle wobble — it will firm up as it cools. Over-mixing the filling (incorporating too much air) can also cause cracking.
Can I make pumpkin pie the day before Thanksgiving?
Yes, and I actually recommend it. Pumpkin pie tastes better after a night in the refrigerator. The flavors meld and the filling sets perfectly. Make it the evening before and refrigerate overnight.
What is the difference between pumpkin puree and pumpkin pie filling?
Pumpkin puree is simply cooked, pureed pumpkin with no additives. Pumpkin pie filling already contains sugar and spices. This recipe uses pure pumpkin puree so you can control the sweetness and spice levels. Make sure the can says 100% pumpkin.

Reader Reviews
Based on 245 reviews