Cakes & Cupcakes
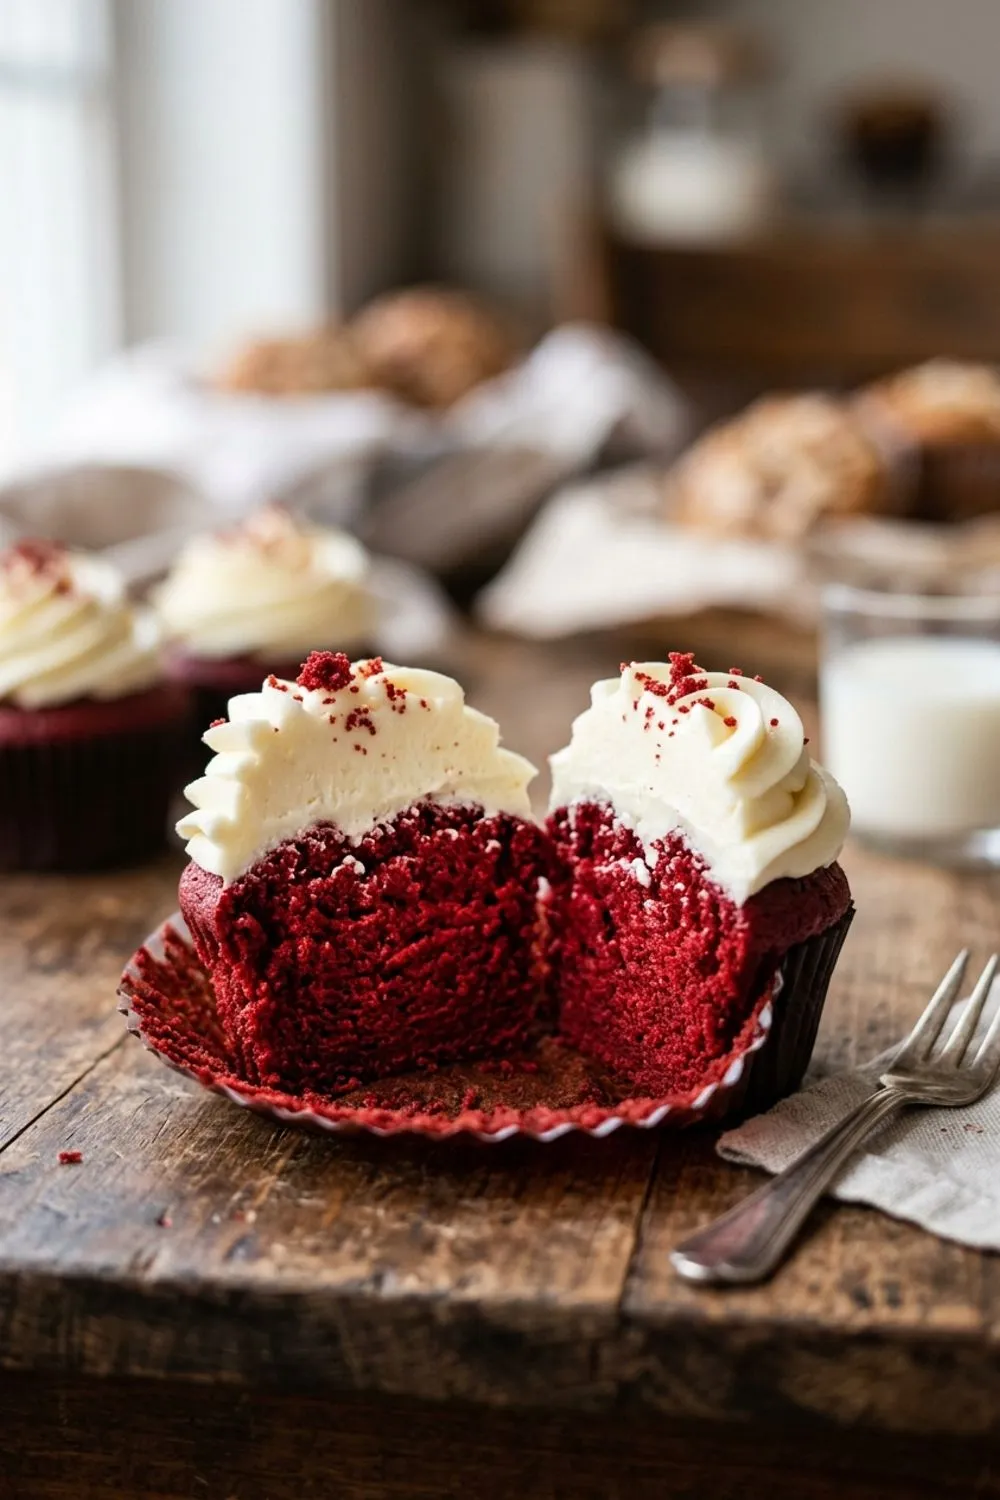
Red Velvet Cupcakes

The Best Red Velvet Cupcakes I Have Ever Made
There is something undeniably magnetic about red velvet cupcakes. That striking crimson color peeking out from beneath a cloud of cream cheese frosting — it stops people in their tracks every single time. I have been baking red velvet in various forms for over a decade now, and this particular cupcake recipe is the one I keep coming back to. It is the one people request for birthdays, the one that disappears first at potlucks, and the one I am most proud to share with you today.
Red velvet has always held a special place in American baking. Its origins trace back to the early 1900s, and while the story has been romanticized over the years — the Waldorf Astoria legend, the Southern tradition, the revival through popular culture — the truth is simpler and more beautiful. Red velvet is a butter-free cocoa cake with a tangy buttermilk backbone, and when it is done right, there is genuinely nothing else like it. It is not chocolate cake with red dye. It is its own thing entirely, with a flavor profile that is subtle, complex, and completely addictive.
I spent the better part of three months testing and retesting this recipe before I felt confident enough to call it finished. The goal was specific: a cupcake that is incredibly moist without being dense, with just the right amount of cocoa flavor that whispers rather than shouts, and a crumb so tender it practically melts on your tongue. Paired with a cream cheese frosting that is tangy, smooth, and not cloyingly sweet, these cupcakes genuinely taste like they came from a high-end bakery.
What Makes This Recipe Different
The Oil Makes All the Difference
Most red velvet recipes use either all oil or a combination of oil and butter. I have tested both extensively, and for cupcakes specifically, vegetable oil wins every time. Oil-based cakes stay moister longer because oil remains liquid at room temperature, whereas butter solidifies as the cake cools. This means your cupcakes will still be perfectly tender even two or three days after baking — assuming they last that long, which in my experience they rarely do.
Buttermilk Is Non-Negotiable
The tanginess of buttermilk is what gives red velvet its signature flavor. It also tenderizes the gluten in the flour, creating that famously soft crumb. Please do not substitute regular milk here. If you do not have buttermilk on hand, you can make a quick substitute by adding 1 tablespoon of white vinegar or lemon juice to 1 cup of whole milk and letting it sit for 10 minutes. It works in a pinch, though the real thing always yields the best results.
The Vinegar and Baking Soda Reaction
You might wonder why this recipe calls for both vinegar and baking soda. Together, they create a chemical reaction that lifts the batter and produces an exceptionally light crumb. This is one of those old-school baking techniques that has been part of red velvet since the very beginning, and skipping it will give you noticeably denser cupcakes.
Step-by-Step Tips for Perfect Cupcakes Every Time
Room Temperature Ingredients Are Critical
I cannot stress this enough. Your eggs, buttermilk, and cream cheese for the frosting all need to be at room temperature before you start. Cold ingredients do not emulsify properly, which means your batter could turn out lumpy and your frosting could be grainy. I usually set everything out on the counter about an hour before I plan to bake. If you forget, you can place eggs in a bowl of warm water for 10 minutes to take the chill off.
Do Not Overmix the Batter
Once you add the flour mixture to the wet ingredients, switch to gentle folding motions or keep your mixer on its lowest setting. Overmixing develops too much gluten, which turns your tender cupcakes into tough little hockey pucks. Mix just until the flour disappears — a few small streaks are perfectly fine, as they will work themselves out during baking.
Fill the Liners Properly
Each cupcake liner should be about two-thirds full. I use a large cookie scoop (the kind that holds about 3 tablespoons) to get consistent portions every time. This ensures even baking and uniform cupcakes that look beautiful when frosted.
Test for Doneness Early
Start checking your cupcakes at the 17-minute mark. Ovens vary, and even a minute or two of overbaking can dry out the crumb. Insert a toothpick into the center of a cupcake — it should come out clean or with just a few moist crumbs clinging to it. If you see wet batter, give them another 2 minutes and check again.
All About the Cream Cheese Frosting
A red velvet cupcake without cream cheese frosting is like a sunrise without color — technically complete, but missing the whole point. This frosting recipe is one I have refined over years of baking, and it strikes the perfect balance between tangy and sweet.
Getting It Smooth
The biggest complaint people have about homemade cream cheese frosting is graininess. The fix is simple: make sure your cream cheese and butter are truly soft before you start beating. They should yield easily when you press them with your finger. Then beat them together for a full 2-3 minutes before adding any sugar. This emulsifies the fats and creates a smooth, stable base.
Sifting the Powdered Sugar Matters
I know sifting feels like an unnecessary step, but it takes 30 seconds and makes a genuine difference. Lumps of powdered sugar are incredibly difficult to beat out once they are in the frosting. Sifting first guarantees a silky-smooth result with zero effort.
Keeping It Pipeable
If your frosting seems too soft to hold its shape when piped, pop it in the refrigerator for 15-20 minutes to firm up slightly. You want it cold enough to hold a swirl but soft enough to pipe smoothly. If it gets too firm, let it sit at room temperature for a few minutes and give it a quick stir.
Variations and Customizations
White chocolate cream cheese frosting: Melt 4 oz of white chocolate, let it cool slightly, then beat it into the frosting along with the vanilla. It adds a subtle sweetness and richness that pairs beautifully with the red velvet.
Red velvet cake pops: If you happen to overbake a batch (it happens to all of us), crumble the cupcakes, mix with frosting, roll into balls, and dip in white chocolate. Waste nothing.
Mini cupcakes: Use a mini muffin tin and reduce the baking time to 10-12 minutes. You will get about 48 mini cupcakes from this recipe, which are perfect for parties and events.
Chocolate cream cheese frosting: Add 1/3 cup of unsweetened cocoa powder to the frosting for a double-chocolate experience. It is decadent and deeply satisfying.
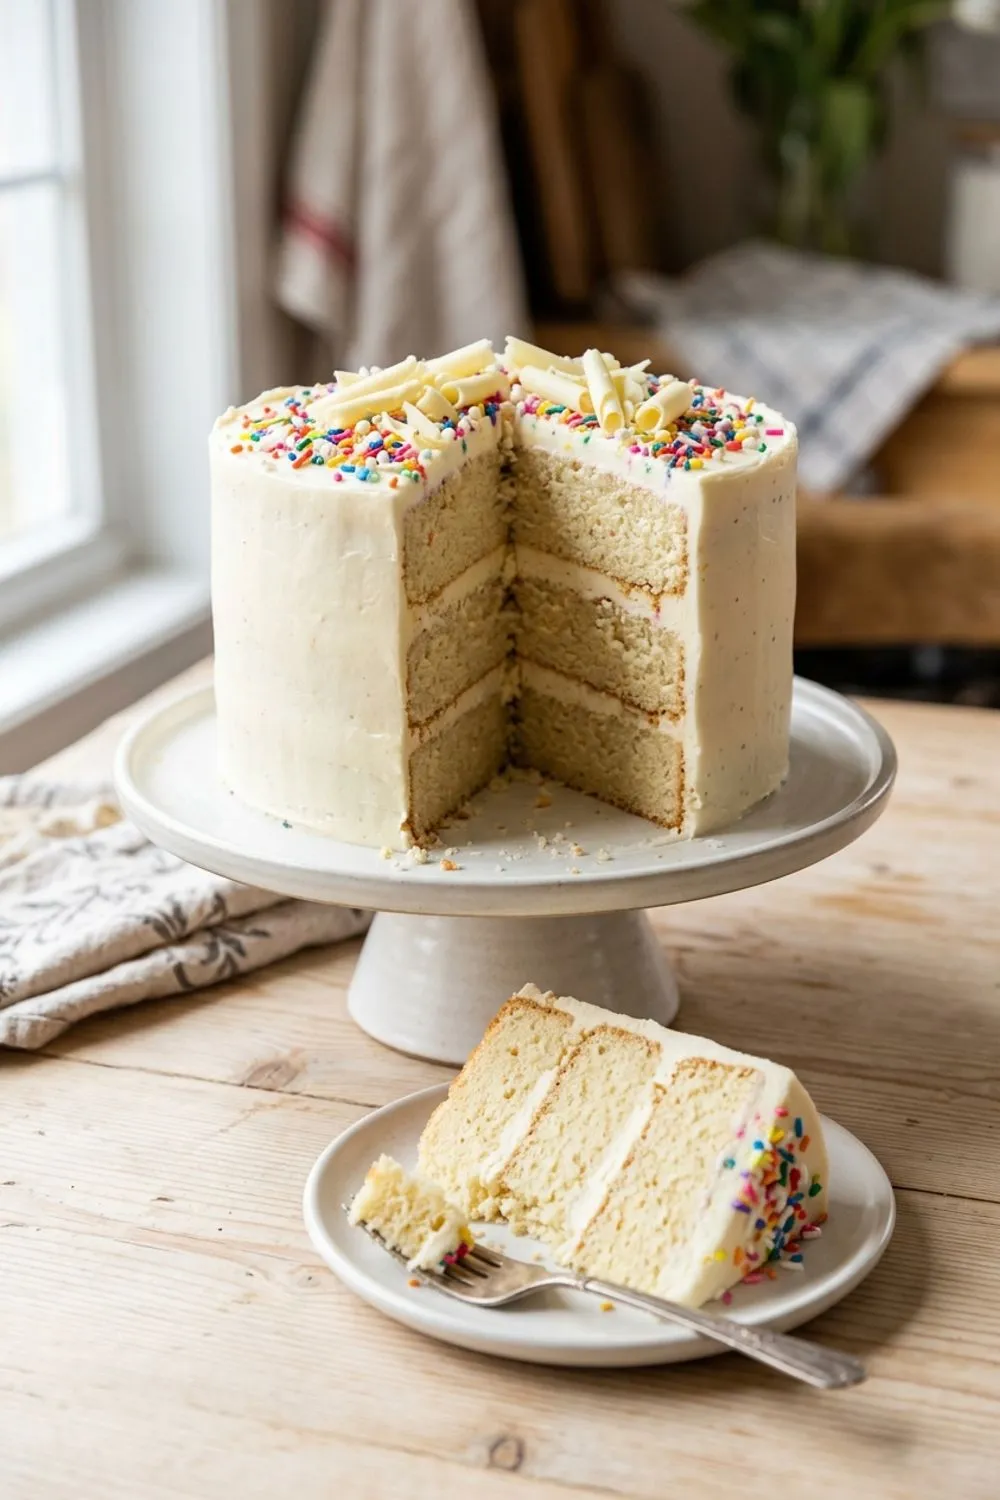
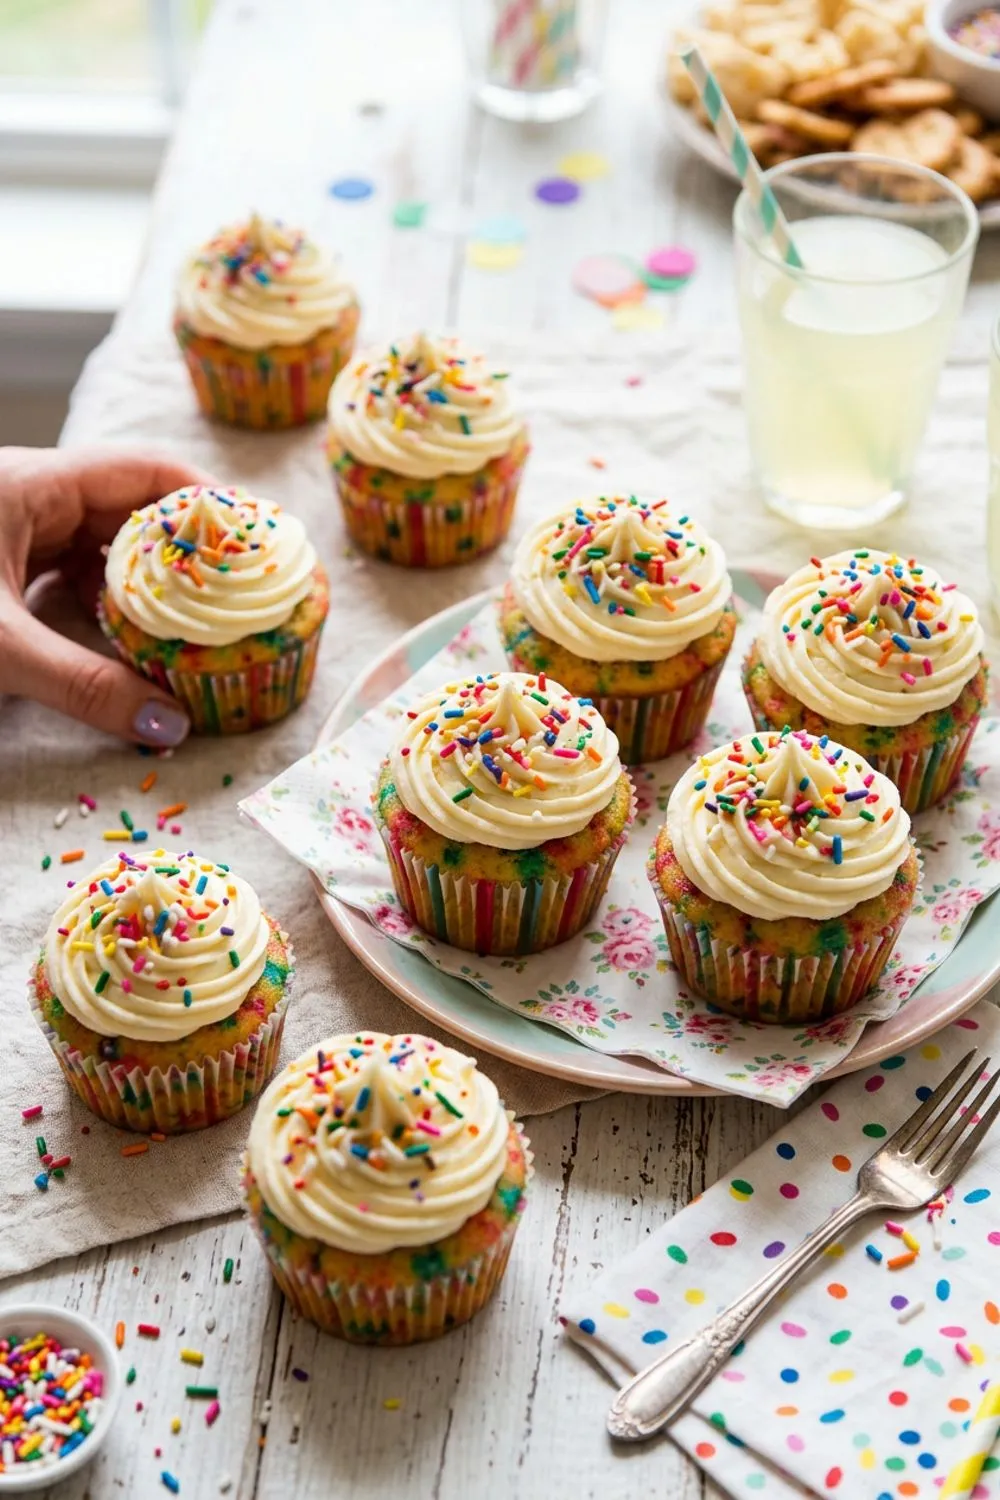
If you love these cupcakes, you should also try my classic vanilla cake for a beautiful layered centerpiece, or my funfetti cupcakes for something fun and colorful.
Making These for a Crowd
Red velvet cupcakes are one of the best options for large events because the recipe scales up beautifully and they can be made ahead. Here is how I handle big batches:
Doubling the recipe: Simply double every ingredient. The batter can be mixed in one large batch without any issues. You will get 36 cupcakes, which is perfect for a party of 15-20 people (assuming everyone takes two, which they will).
Baking in batches: If you only have one muffin tin, bake the first 12, let the tin cool for 5 minutes, then re-line and fill for the next batch. Leftover batter can sit at room temperature for up to 30 minutes without any loss in quality.
Assembly line frosting: When I need to frost a large batch quickly, I fill two piping bags and alternate between them. It saves the constant refilling and cuts my frosting time in half. Set up a station with the cupcakes lined up on a sheet pan, the piping bags ready, and a bowl of crumbs or sprinkles for garnishing.
For kids’ parties: These cupcakes are a massive hit with children, but I find that kids prefer a slightly simpler frosting. Consider reducing the cream cheese by half and increasing the butter to compensate — it creates a sweeter, milder frosting that younger palates love.
How to Decorate Like a Pro
You do not need professional training to make these cupcakes look gorgeous. Here are my go-to decoration techniques:
Classic swirl: Fit a piping bag with a large open star tip (Wilton 1M or Ateco 849). Starting from the outside edge of the cupcake, pipe in a continuous spiral toward the center, then pull up to create a peak. This takes about 5 seconds per cupcake once you get the rhythm.
Red velvet crumbs: Set aside one unfrosted cupcake, crumble it finely, and sprinkle the crumbs over the frosted cupcakes. This is the classic bakery garnish and it looks absolutely stunning against the white frosting.
Cream cheese drizzle: Thin a small amount of frosting with a tablespoon of milk and drizzle it over the cupcakes in a zigzag pattern. Simple but elegant.
Storage and Make-Ahead Tips
These cupcakes actually improve in flavor after sitting for a few hours, as the buttermilk and cocoa continue to develop. Here is how to store them:
Room temperature: Unfrosted cupcakes keep beautifully in an airtight container at room temperature for up to 2 days. This is my preferred method when I am baking ahead for an event.
Refrigerator: Once frosted with cream cheese frosting, they must go in the fridge. Store in a single layer in an airtight container for up to 4 days. Bring them to room temperature for about 20 minutes before serving — the frosting tastes so much better when it is not ice cold.
Freezer: Unfrosted cupcakes freeze exceptionally well. Wrap each one individually in plastic wrap, then place them all in a freezer-safe bag. They will keep for up to 3 months. Thaw overnight in the refrigerator, then frost before serving. I do not recommend freezing them with the frosting already on, as cream cheese frosting can become watery when thawed.
Troubleshooting Common Issues
Cupcakes sank in the middle: This usually means you overmixed the batter or opened the oven door too early. The baking soda and vinegar create gas bubbles that need time to set — opening the oven before the structure has firmed up lets them collapse.
Frosting is too runny: Your cream cheese or butter was likely too warm. Pop the frosting in the fridge for 15-20 minutes, then re-whip briefly. You can also add more powdered sugar, a quarter cup at a time, until you reach the right consistency.
Color is not red enough: Liquid food coloring gives a more muted red, while gel coloring produces a brighter, more vivid shade. If you want that deep, dramatic red, switch to gel coloring and use about 1 tablespoon. You can also add a tiny amount — just a drop or two — of pink food coloring to intensify the hue.
Cupcakes are dry: The most common cause is overbaking. Next time, check 2-3 minutes earlier than the recipe suggests. Also, make sure you are measuring your flour correctly — too much flour is the number one reason baked goods turn out dry.
Understanding Red Velvet’s Unique Flavor
One of the most common questions I get about red velvet is: what does it actually taste like? It is a fair question, because the flavor is subtle and hard to pin down. Red velvet is not chocolate cake, even though it contains cocoa powder. The cocoa is present in such a small amount that it creates a mild, almost earthy undertone rather than a bold chocolate flavor. Combined with the tang of buttermilk and the slight acidity from the vinegar, the overall profile is something uniquely its own — mellow, slightly tangy, with a faint cocoa warmth that lingers.
This subtlety is actually what makes red velvet so compelling. It does not overwhelm your palate the way a rich chocolate cake might, which means you can eat more of it without feeling heavy. And the cream cheese frosting provides the perfect counterpoint — its bright tanginess wakes up the gentle flavors of the cake and creates a harmonious balance that is greater than the sum of its parts.
I think red velvet’s widespread popularity comes from this combination of visual drama and flavor restraint. The cake looks bold and striking, but the taste is refined and approachable. It is a cake that appeals to almost everyone, which is why it remains one of the most requested desserts at celebrations across the country.
Why These Cupcakes Deserve a Spot in Your Recipe Collection
I genuinely believe this is the best red velvet cupcake recipe you will find online. Not because I think I am some kind of baking genius, but because I have made every mistake in the book and refined this recipe until those mistakes were impossible to repeat. The proportions are precise, the technique is forgiving, and the results are consistent batch after batch.
Whether you are making these for a holiday party, a birthday celebration, or just a Tuesday night because you deserve something beautiful and delicious, these cupcakes will deliver. They look impressive, they taste incredible, and they come together in about an hour from start to finish.
The combination of tangy cream cheese frosting against that soft, cocoa-kissed red velvet crumb is one of those flavor pairings that never gets old. I have been making these cupcakes for years, and I still get a little thrill every time I bite into one. I hope they bring the same joy to your kitchen.
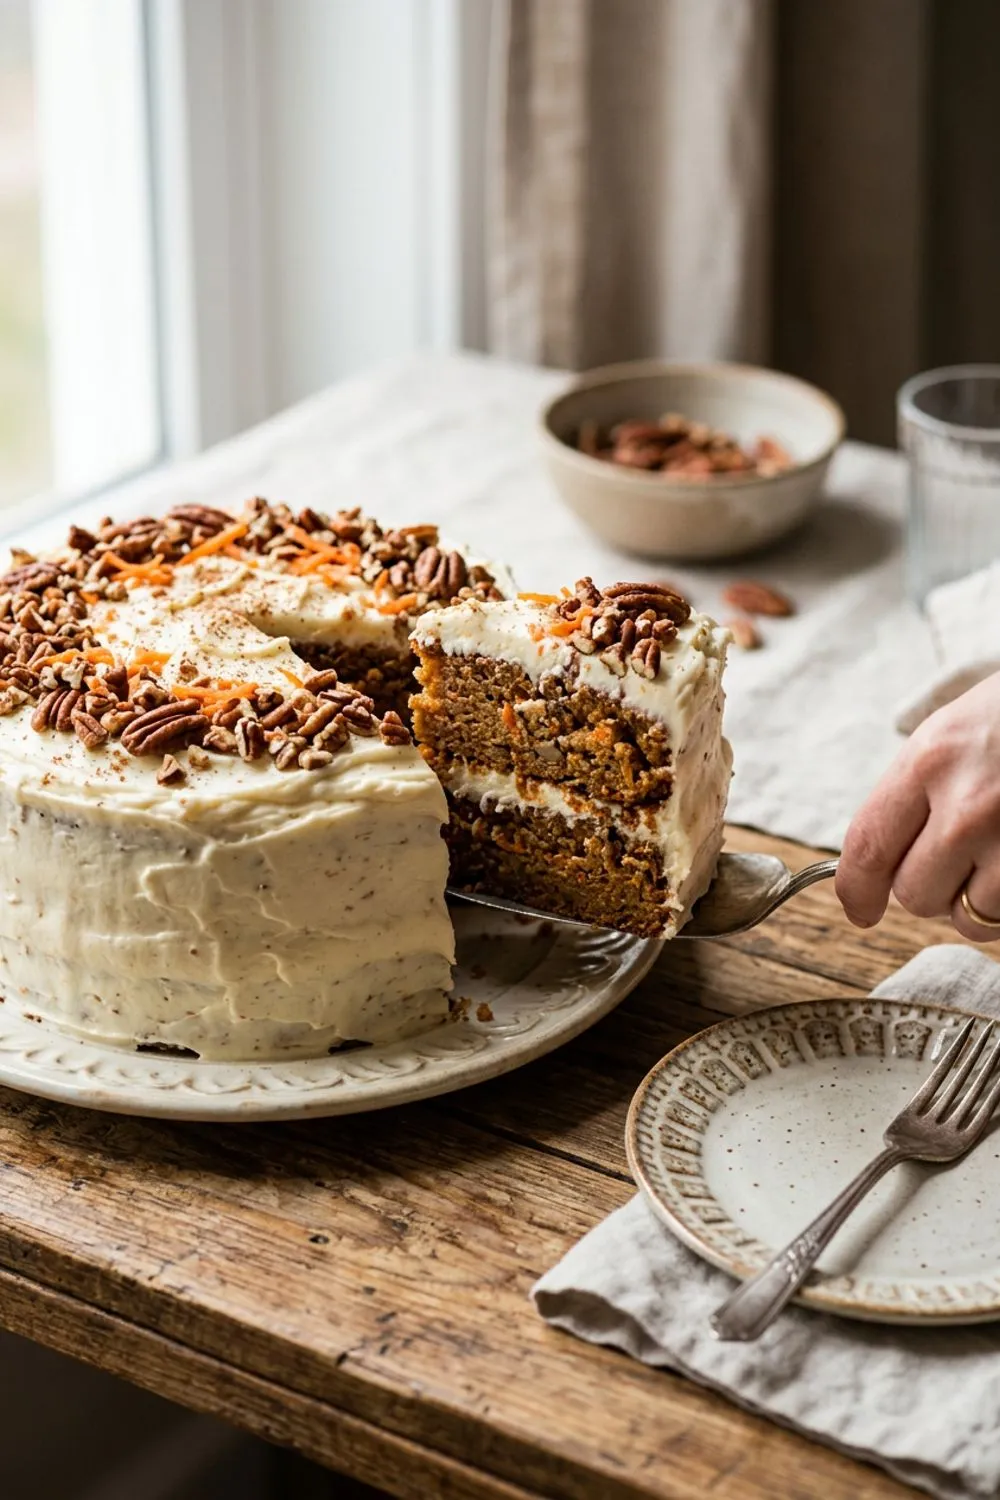
If you try this recipe, I would love to hear how they turned out. And if you are looking for more cake inspiration, do not miss my carrot cake with cream cheese frosting — it uses the same frosting recipe and is equally spectacular.
Never Miss a Sweet Recipe
Join 5,000+ home bakers and get new recipes straight to your inbox.
Ingredients
Red Velvet Cupcakes
Cream Cheese Frosting
Instructions
- 1
Prepare Your Pans and Preheat
Preheat your oven to 350°F (175°C). Line two standard 12-cup muffin tins with 18 cupcake liners. In a medium bowl, whisk together the flour, cocoa powder, baking soda, and salt until evenly combined. Set aside.
- 2
Mix the Wet Ingredients
In a large mixing bowl, whisk together the sugar and vegetable oil until smooth. Add the eggs one at a time, beating well after each addition. Mix in the buttermilk, vanilla extract, vinegar, and red food coloring until the batter is a uniform vibrant red color.
- 3
Combine Wet and Dry
Add the flour mixture to the wet ingredients in two additions, stirring gently with a spatula or mixing on low speed just until combined. Do not overmix — a few small lumps are fine. The batter should be smooth, pourable, and deeply red.
- 4
Fill and Bake
Divide the batter evenly among the 18 prepared cupcake liners, filling each about two-thirds full. Bake for 18-20 minutes, or until a toothpick inserted in the center comes out clean. Let the cupcakes cool in the pan for 5 minutes, then transfer to a wire rack to cool completely.
- 5
Make the Cream Cheese Frosting
Using a stand mixer or hand mixer, beat the softened cream cheese and butter on medium speed until completely smooth and creamy, about 2-3 minutes. Add the sifted powdered sugar one cup at a time, mixing on low after each addition. Add the vanilla and beat on medium-high for 1 minute until light and fluffy.
- 6
Frost the Cupcakes
Once the cupcakes are fully cooled, pipe or spread the cream cheese frosting generously on top. For a classic swirl, use a large open star tip (like Wilton 1M) and pipe in a spiral from the outside in. Garnish with red velvet crumbs if desired.
Nutrition Information
Per serving (serves 18). Values are approximate.
| Calories | 310 calories |
| Total Fat | 14g |
| Saturated Fat | 8g |
| Carbohydrates | 42g |
| Sugar | 30g |
| Protein | 4g |
| Sodium | 200mg |
| Fiber | 0.5g |
* Percent Daily Values are based on a 2,000 calorie diet. Your daily values may be higher or lower depending on your calorie needs. Nutritional information is an estimate and may vary.
Frequently Asked Questions
Can I use gel food coloring instead of liquid?
Yes, but use about half the amount since gel coloring is much more concentrated. Start with 1 tablespoon and add more until you reach the desired shade of red.
Why does red velvet cake use vinegar?
The vinegar reacts with the baking soda to give the cupcakes a lighter, more tender crumb. It also helps activate the red food coloring for a more vibrant hue.
Can I make these cupcakes without food coloring?
Absolutely. Without the coloring, you will get a lovely chocolate-tinged cupcake. Some bakers substitute beet powder for a natural red tint — use about 2 tablespoons.
How far in advance can I make these?
You can bake the cupcakes up to 2 days ahead and store them unfrosted in an airtight container at room temperature. Frost them the day you plan to serve. Frosted cupcakes keep in the fridge for up to 4 days.

Reader Reviews
Based on 234 reviews