Quick & Easy
3-Ingredient Peanut Butter Cookies
Why You’ll Love These 3-Ingredient Peanut Butter Cookies
There is a category of recipes that I call miracle recipes. These are the ones that seem too simple to work, too minimal to taste good, and too easy to be worth sharing. And yet they are extraordinary. Three-ingredient peanut butter cookies sit firmly at the top of that category.
Peanut butter. Sugar. Egg. That is the entire ingredient list. No flour, no butter, no baking soda, no vanilla. Just three things that you almost certainly have in your kitchen right now. And from those three humble ingredients comes a cookie that is crisp around the edges, tender in the center, intensely peanut-buttery, and somehow more satisfying than cookies with ingredient lists three times as long.
I first made these cookies when my son was in kindergarten and I had volunteered to bring treats for a class party — then completely forgot until the morning of the event. I had twenty minutes before we needed to leave, and my pantry was not exactly well-stocked. But I had peanut butter, sugar, and eggs, and a vague memory of someone telling me you could make cookies from just those three things.
Fifteen minutes later, I pulled a tray of golden, fork-marked peanut butter cookies from the oven, threw them in a container, and rushed out the door convinced they were going to be terrible. They were not terrible. They were wonderful. Every single cookie was eaten, and two parents asked me for the recipe. When I told them it was three ingredients, one of them thought I was joking.
That was eight years ago, and these cookies have been in my regular rotation ever since. They are the recipe I turn to when I need cookies fast, when I am baking with kids, when I need a gluten-free option, or when I simply want the pure, undiluted flavor of peanut butter in cookie form.
How Three Ingredients Make a Cookie
You might be wondering how on earth three ingredients can produce an actual cookie. Where is the structure? Where is the fat? Where is the leavening? The answer is that peanut butter is doing an incredible amount of work in this recipe.
Commercial peanut butter is not just ground peanuts. It contains peanut oil, which serves as the fat. It contains protein from the peanuts, which provides structure when it cooks — similar to how eggs provide structure in other recipes. It even contains a small amount of sugar and salt. When you add granulated sugar for sweetness and an egg for binding, you have covered all the basic functions that a cookie dough needs: fat for tenderness, protein for structure, sugar for sweetness and crispness, and moisture to hold everything together.
The lack of flour is what makes these cookies taste so intensely of peanut butter. In a traditional peanut butter cookie, the flour dilutes the peanut butter flavor and provides a more neutral, cakey structure. Without flour, the peanut butter is front and center in every bite. There is nowhere to hide and nothing to compete with it. If you love peanut butter, this is your dream cookie.
The absence of flour also means these cookies are naturally gluten-free, which makes them invaluable if you are baking for someone with celiac disease or a gluten sensitivity. Just double-check that your peanut butter brand does not have any gluten-containing additives — most major brands are fine, but it is always worth verifying.
The Peanut Butter Debate
Not all peanut butters produce the same cookie, and this is a topic I feel strongly about. For this recipe, I recommend using a standard commercial creamy peanut butter — the kind you find in the regular peanut butter aisle, like Jif, Skippy, or the store brand equivalent.
These brands contain stabilizers (usually hydrogenated oils) that keep the peanut butter smooth and uniform. In the context of cookies, those stabilizers help the dough hold together, produce a more tender cookie, and prevent the cookies from spreading too much during baking.
Natural peanut butter — the kind where the oil separates and you have to stir it back in — will work, but the cookies will be different. They tend to be more crumbly, less cohesive, and slightly drier. The texture is still pleasant, but the cookies may fall apart more easily. If you prefer natural peanut butter, stir it very well before measuring, and know that your cookies will be a bit more delicate.
Crunchy peanut butter is a fantastic option if you like texture in your cookies. The peanut pieces toast slightly in the oven and add a wonderful crunch that contrasts with the tender cookie interior. I make crunchy peanut butter versions about half the time, and they are equally popular.
One peanut butter to avoid: reduced-fat peanut butter. The fat in peanut butter is essential to the cookie’s structure and texture. Reduced-fat versions replace some of the fat with fillers that do not behave the same way during baking, and the results are consistently disappointing — dry, tough, and crumbly.
The Mixing and Shaping Process
Mixing the dough could not be simpler. Combine all three ingredients in a bowl and stir with a spoon or spatula until everything is uniformly combined. The dough will look oily and thick, and it might seem like it is not quite holding together. Keep stirring. After about thirty seconds of vigorous mixing, it will come together into a smooth, scoopable dough.
I use a cookie scoop or a tablespoon measure to portion the dough, then roll each portion into a ball between my palms. If the dough sticks to your hands, wet them slightly or rub them with a tiny bit of oil.
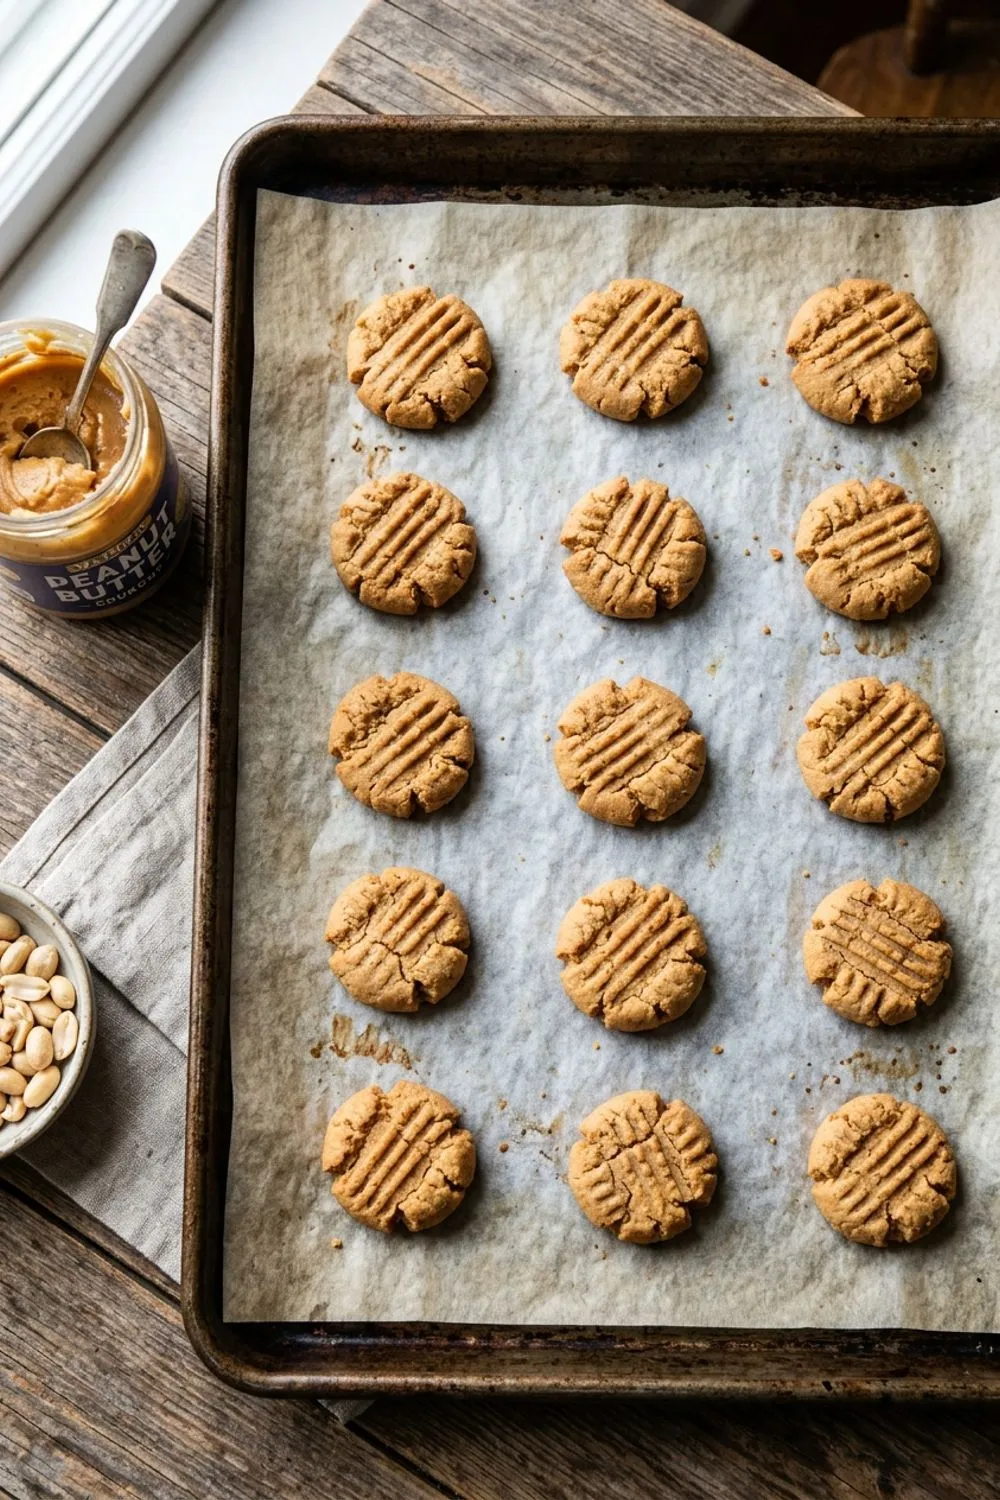
The fork crosshatch pattern is not just decorative — it actually serves a functional purpose. Because these cookies do not contain leavening agents like baking soda or baking powder, they will not spread and flatten on their own in the oven. Pressing them with a fork flattens the dough balls to the right thickness for even baking and creates the signature peanut butter cookie look that has been a tradition since the 1930s.
Dip the fork in sugar before each press. This prevents sticking and adds a subtle layer of sparkle to the cookie surface. Press firmly enough to flatten the balls to about half an inch thick. If they are too thick, the centers will be underdone. Too thin, and they will overbake and become crispy throughout.
Baking and Cooling
These cookies bake at 350 degrees for 10 to 12 minutes. The timing is important: pull them when the edges look set and barely golden but the centers still appear soft and slightly puffy. They will flatten and firm up as they cool, and the final texture depends on that resting period on the baking sheet.
Do not — I repeat, do not — try to move these cookies immediately after baking. They are incredibly fragile when hot. If you pick one up, it will crumble into pieces in your hand, and you will be sad. Let them sit on the baking sheet for a full five minutes. During this time, the sugar re-crystallizes slightly and the egg proteins finish setting, transforming the cookies from fragile to firm.
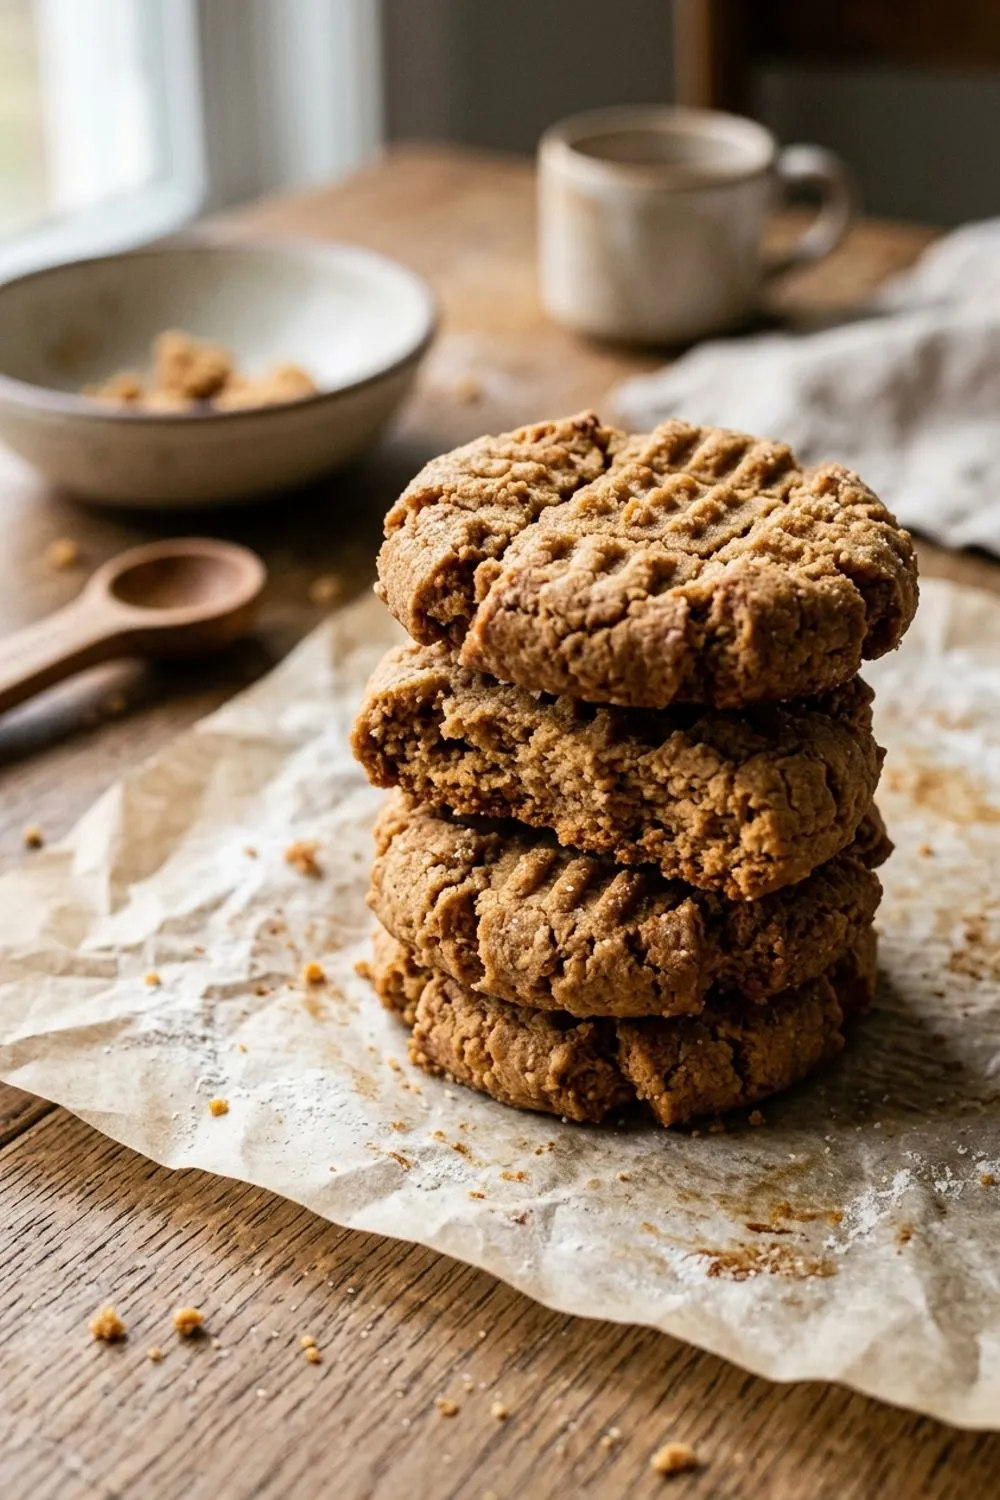
After five minutes, you can transfer them to a wire rack with a thin spatula. Handle them gently. They will continue to firm up as they reach room temperature, eventually developing that perfect combination of a crisp outer shell and a tender, slightly chewy center.
Creative Variations
The beauty of such a simple base recipe is how easily it adapts to different flavors and additions.
Chocolate chip peanut butter cookies: Press three or four chocolate chips into the top of each cookie before baking. The melted chocolate against the peanut butter is a classic combination that never gets old.
Thumbprint cookies: Instead of the fork crosshatch, press your thumb into the center of each ball to create an indent. Fill with jam — grape, strawberry, or raspberry — after baking for a peanut butter and jelly cookie.
Brown sugar swap: Replace the granulated sugar with packed brown sugar for a chewier, more caramel-flavored cookie. The molasses in brown sugar pairs beautifully with the peanut butter.
Snickerdoodle style: Roll the dough balls in a mixture of cinnamon and sugar before pressing with a fork. The warm cinnamon adds another dimension of flavor that works surprisingly well with peanut butter.
Monster cookies: Add a handful each of chocolate chips, M&Ms, and oats to the base dough. This turns the minimal recipe into something more substantial and colorful — perfect for bake sales.
Why Kids Love Making These
If you are looking for a recipe to make with children, this is one of the best. The ingredient list is short enough for even young children to memorize. The mixing is done by hand with no electric beaters to worry about. The fork-pressing step is fun and gives kids a sense of ownership over the process. And the baking time is short enough that their attention span does not give out before the cookies are done.
I have made these cookies with children ranging from three to thirteen years old, and every single one of them felt genuinely proud of the result. There is something empowering about a child realizing they can make real, delicious cookies with their own hands from just three ingredients. It builds confidence in the kitchen and makes baking feel accessible rather than intimidating.
For very young children, I pre-measure the ingredients into small bowls so all they need to do is dump and stir. For older kids, I let them do the measuring themselves — it is a great opportunity to practice fractions and reading measurements.
How to Store These Cookies
Room temperature: Store in an airtight container for up to five days. They actually taste best on the second day, once the texture has fully set and the peanut butter flavor has deepened.
Refrigerator: You can refrigerate them, but I do not recommend it unless your kitchen is very warm. Cold peanut butter cookies taste muted compared to room-temperature ones.
Freezer: These cookies freeze exceptionally well. Layer them between parchment paper in a freezer-safe container for up to three months. Thaw at room temperature for about 20 minutes.
Freezing the dough: Shape the dough into balls, freeze on a baking sheet until solid, then transfer to a freezer bag. Bake from frozen at 350 degrees for 12 to 14 minutes. Having a bag of these dough balls in the freezer means you are always fifteen minutes away from fresh cookies.
Troubleshooting
Cookies are too flat: The dough was too warm or the peanut butter was very oily. Try chilling the dough for 15 minutes before shaping, or use a peanut butter brand with more stabilizers.
Cookies are crumbly: They either need more cooling time or the egg was not mixed in thoroughly enough. Make sure the egg is fully incorporated before shaping.
Cookies taste bland: Use a peanut butter with strong flavor. Some natural or organic brands are very mild. Jif and Skippy have the robust, salty-sweet peanut butter flavor that works best here.
Cookies are too sweet: Reduce the sugar to three-quarters of a cup. The cookies will be slightly less crisp but still delicious. You can also use half brown sugar and half white for a less one-dimensionally sweet flavor.
The History Behind These Cookies
Three-ingredient peanut butter cookies are not a modern invention or an internet hack. Recipes for flourless peanut butter cookies have appeared in American cookbooks since at least the 1930s, right around the time commercial peanut butter became widely available. The original versions often used just peanut butter and sugar, with the egg added later as an improvement for texture and binding.
The crosshatch fork pattern has an interesting origin too. Peanut butter cookie dough is dense and does not spread much on its own, so pressing with a fork was originally a practical technique to flatten the cookies for even baking. Over time, the pattern became so associated with peanut butter cookies that it turned into a tradition — you could identify a peanut butter cookie from across the room just by looking at the fork marks. Some bakers press once for a simpler lined look, but the double crosshatch has become the standard that most people expect.
What I find remarkable about this recipe is how it has endured through nearly a century of American baking. While food trends come and go, the three-ingredient peanut butter cookie persists because it works. It tastes good, it is easy, and it requires ingredients that virtually everyone has on hand. There is a reason why it keeps being rediscovered by each new generation of bakers.
These cookies are proof that simple does not mean boring. For more easy cookie ideas, try my energy balls for a no-bake option, or my sugar cookies when you want something a little more traditional. But when you want maximum flavor with minimum fuss, these three-ingredient wonders are hard to beat.
Never Miss a Sweet Recipe
Join 5,000+ home bakers and get new recipes straight to your inbox.
Ingredients
Instructions
- 1
Preheat the Oven
Preheat oven to 350°F (175°C). Line a baking sheet with parchment paper or a silicone baking mat.
- 2
Mix the Dough
In a medium bowl, stir together the peanut butter, sugar, and egg until completely combined and smooth. The mixture will be thick and slightly oily — this is normal.
- 3
Shape the Cookies
Scoop tablespoon-sized portions of dough and roll into balls. Place on the prepared baking sheet, spacing about 2 inches apart. You should get approximately 12 cookies.
- 4
Create the Crosshatch Pattern
Using a fork dipped in sugar, press each ball down in one direction, then rotate the fork 90 degrees and press again to create the classic crosshatch pattern. Flatten cookies to about 1/2-inch (1.3cm) thickness.
- 5
Bake
Bake for 10-12 minutes until the edges are set and lightly golden. The centers will look slightly soft. Let cookies cool on the baking sheet for 5 minutes — they firm up significantly as they cool — then transfer to a wire rack.
Nutrition Information
Per serving (serves 12). Values are approximate.
| Calories | 170 calories |
| Total Fat | 10g |
| Saturated Fat | 2g |
| Carbohydrates | 17g |
| Sugar | 15g |
| Protein | 5g |
| Sodium | 105mg |
| Fiber | 0.5g |
* Percent Daily Values are based on a 2,000 calorie diet. Your daily values may be higher or lower depending on your calorie needs. Nutritional information is an estimate and may vary.
Frequently Asked Questions
Are these cookies really gluten-free?
Yes! There is no flour in this recipe, so they are naturally gluten-free. Just check that your peanut butter does not contain any gluten-containing additives.
Can I use natural peanut butter?
You can, but the texture will be slightly different — more crumbly and drier. Commercial peanut butter like Jif or Skippy gives the best results because it contains stabilizers that help the cookies hold together.
Why are my cookies falling apart?
They need more time to cool on the baking sheet. These cookies are very fragile when hot but firm up considerably as they cool. Wait the full 5 minutes before moving them.
Can I use crunchy peanut butter?
Absolutely! Crunchy peanut butter adds great texture to these cookies. The peanut pieces give each bite a satisfying crunch.

Reader Reviews
Based on 289 reviews