Chocolate
Chocolate Covered Strawberries
The Simplest Romantic Dessert in the World
There is something about a platter of chocolate covered strawberries that communicates effort and care far beyond the 20 minutes they actually take to make. Set them on a table at a dinner party and people gravitate toward them immediately. Hand someone a beautifully dipped strawberry and watch their face light up. Package a box of them with a ribbon and you have a gift that rivals anything from a high-end chocolatier — at a fraction of the cost.
I started making chocolate covered strawberries years ago as a last-minute Valentine’s Day dessert, and they quickly became one of my most-requested recipes. Not because the technique is groundbreaking — dipping fruit in chocolate is about as ancient as cooking gets — but because the details matter enormously and most people skip them. The difference between a strawberry that looks like it came from a professional confectionery and one that looks like it was dipped by someone in a hurry comes down to three things: dry berries, properly melted chocolate, and patience.
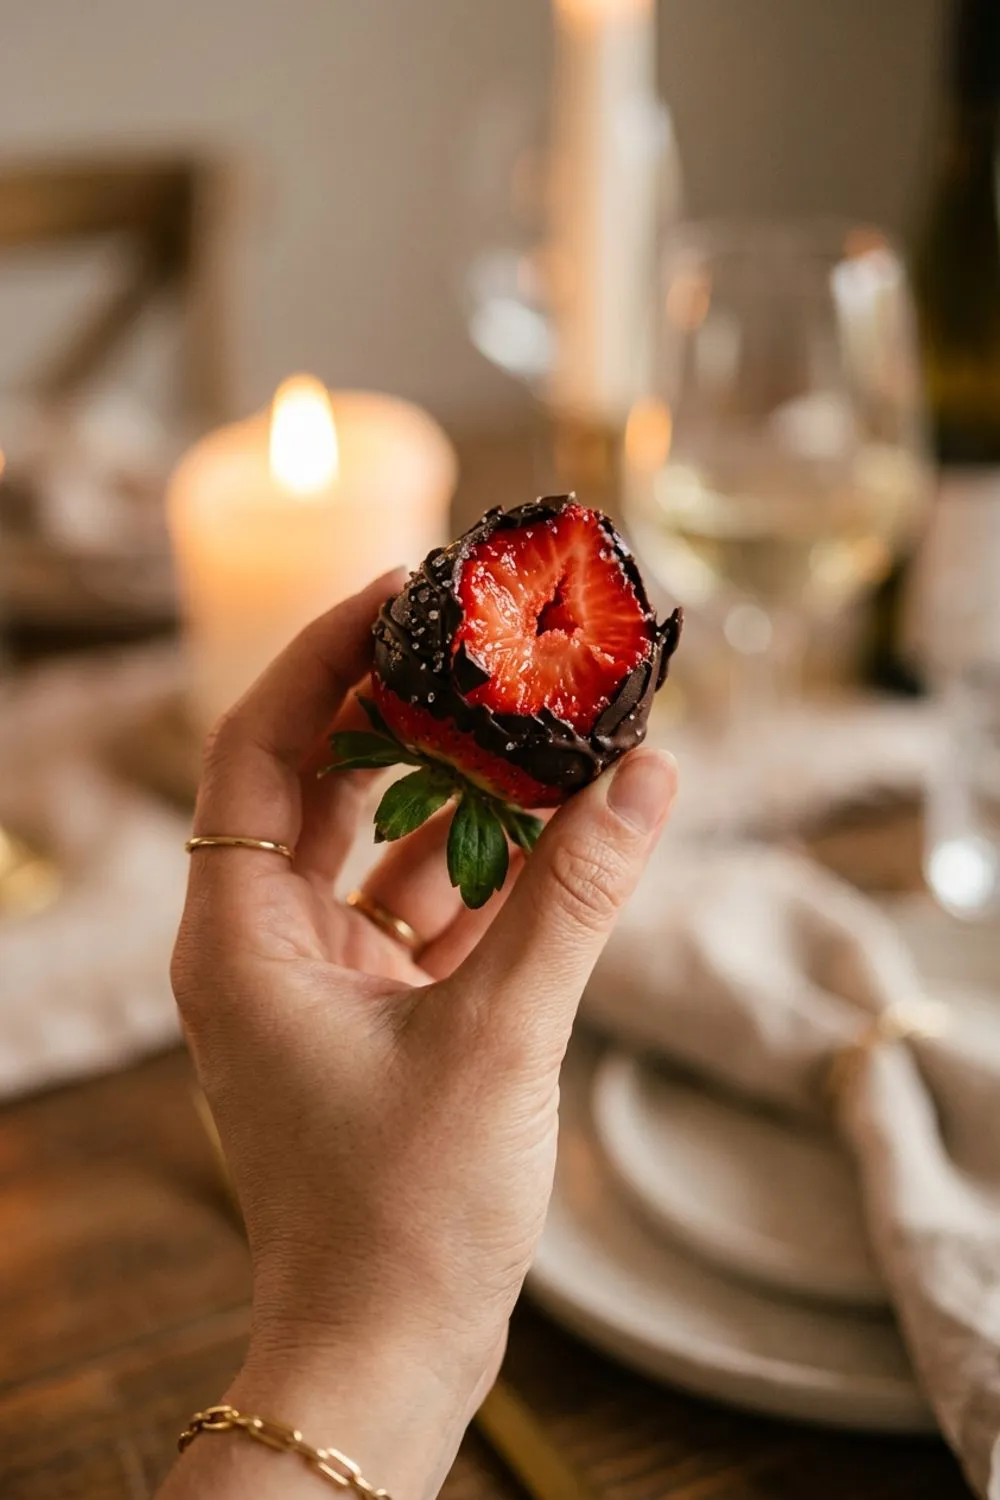
This recipe produces strawberries with a smooth, even chocolate shell that snaps when you bite through it, giving way to the juicy, slightly tart berry underneath. The contrast of cool chocolate and fresh fruit is one of the great simple pleasures in food, and once you have the technique down, you will reach for it every time you need an impressive dessert with minimal effort.
The Ingredients: Simplicity Demands Quality
Strawberries
Buy the largest, most beautiful strawberries you can find. Long-stemmed berries are ideal because the stem gives you something to hold while dipping and looks elegant on the finished product. Avoid berries with soft spots, bruises, or missing stems.
The berries should be ripe but firm — a berry that is too soft will be difficult to dip without crushing, and overripe berries release moisture faster, which is the enemy of chocolate coating. Smell them at the store: ripe strawberries have a strong, sweet fragrance even through the packaging.
Chocolate
Semi-sweet chocolate is the classic choice and produces the most balanced flavor — sweet enough to complement the berries without being cloying. I prefer good-quality chocolate bars chopped into small pieces over chocolate chips, which contain stabilizers that can prevent smooth melting. Ghirardelli baking bars, Guittard, and Trader Joe’s Pound Plus bars all work beautifully.
That said, chocolate chips are a perfectly acceptable shortcut, especially with the coconut oil addition. The oil compensates for the stabilizers by improving fluidity and creating a thinner, more even coating.
The Coconut Oil Secret
One tablespoon of coconut oil mixed into the melted chocolate does two things. First, it thins the chocolate slightly, making it more fluid and easier to create a smooth, even coating. Without it, the chocolate can be too thick and leave a chunky, uneven shell. Second, it gives the set chocolate a satisfying snap when you bite through it. The coating cracks cleanly rather than bending or crumbling.
Use refined coconut oil, which has no coconut flavor. Unrefined coconut oil works too but may impart a subtle coconut taste. Vegetable shortening is an alternative if you want to avoid coconut oil entirely.
The Critical Step Everyone Gets Wrong
Drying the strawberries is, without exaggeration, the most important step in this entire recipe. Chocolate and water are enemies. A single drop of water on a strawberry will cause the chocolate to seize — turning from smooth and glossy to thick and grainy in an instant. Once seized, there is no fix. You have to start over with fresh chocolate.
Wash the berries well, then spread them on a clean kitchen towel or layers of paper towels. Pat each one individually, paying attention to the area around the stem where water pools. Then leave them to air dry for at least 15 minutes. If you are in a humid environment, aim for 20 to 30 minutes. The berries should not feel even slightly damp when you pick them up.
I know this feels excessive, but after losing an entire batch of chocolate to one wet berry, I became evangelically devoted to thorough drying. It is the difference between success and frustration.
Dipping Technique
The Angle
Hold the strawberry by its stem and dip it into the chocolate at a slight angle rather than straight down. This creates a more elegant line on the berry — the chocolate will be higher on one side and taper gracefully on the other. Some people prefer a straight dip for uniformity, which is also beautiful. Either way, aim to cover about two-thirds of the berry, leaving the top third with its red skin visible.
The Drip
After lifting the berry from the chocolate, hold it over the bowl and let the excess drip off. Give it 3 to 5 seconds. Then, as you bring the berry toward the parchment-lined sheet, do a slight twist of your wrist. This creates a clean bottom edge and prevents a large pool of chocolate from forming at the base, which looks messy and takes much longer to set.
The Set
Place each dipped berry on the parchment paper and do not touch it again until the chocolate has fully set. Moving berries before the chocolate hardens results in smudged coatings and chocolate fingerprints. At room temperature, setting takes about 20 to 30 minutes. In the refrigerator, 10 minutes is enough.
Decoration Ideas
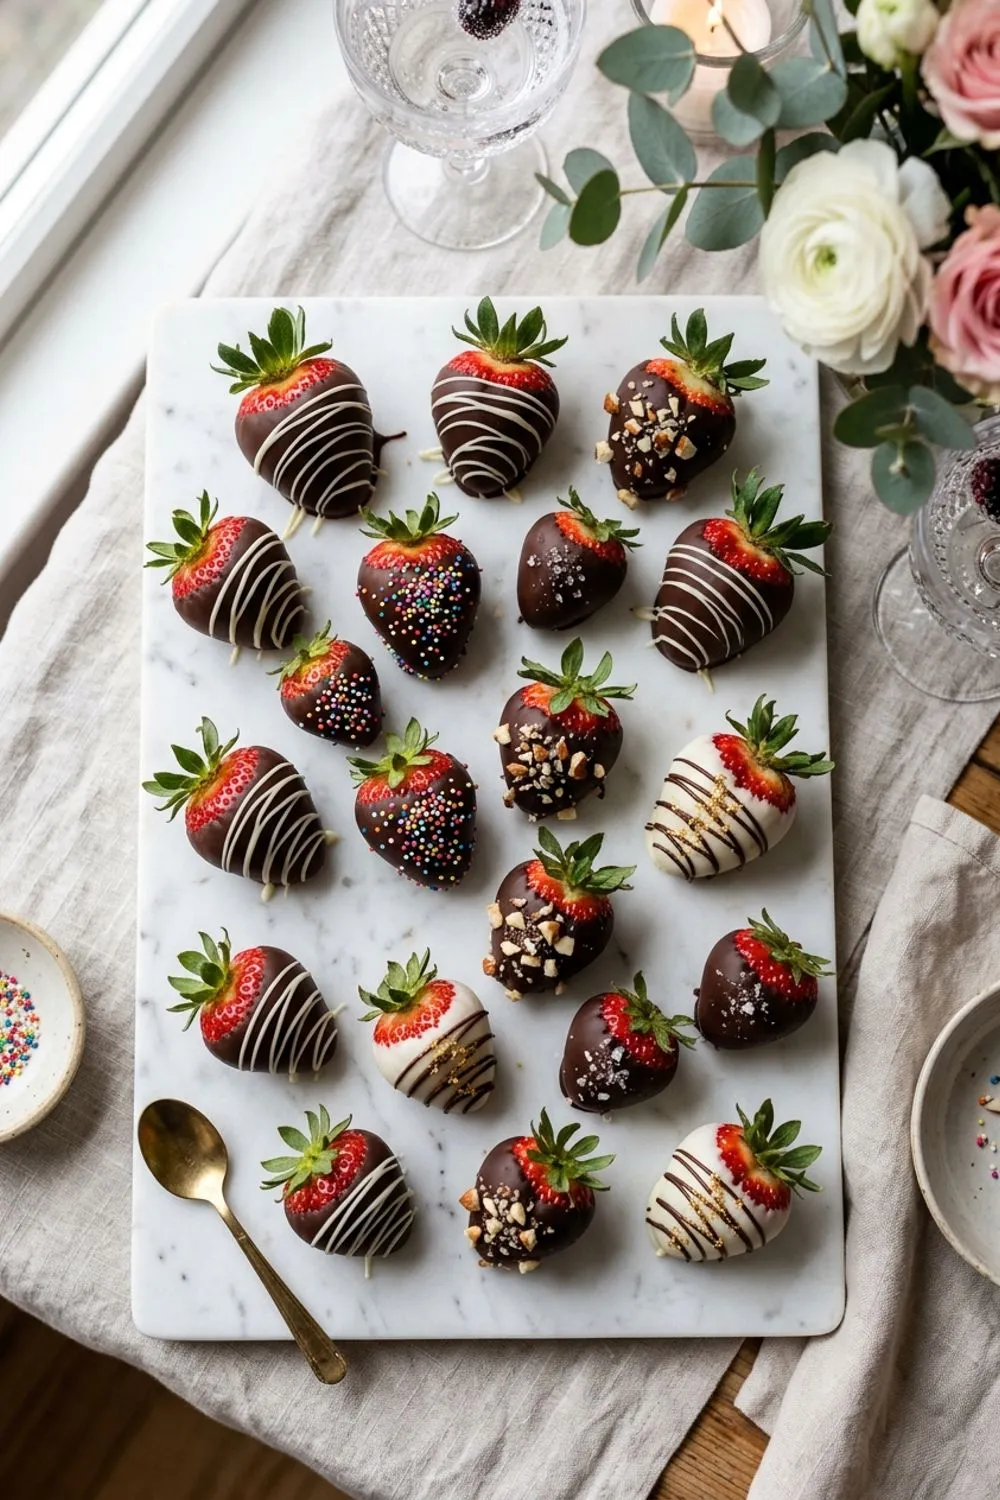
White Chocolate Drizzle
The classic decoration. Melt white chocolate with a small amount of coconut oil, let it cool for a minute or two so it thickens slightly, then drizzle it over the dark chocolate coating. You can use a fork, dipping it into the white chocolate and waving it back and forth over the berries in quick zigzag motions. Or snip a tiny corner off a zip-lock bag, fill it with white chocolate, and pipe thin, controlled lines.
Crushed Toppings
While the dark chocolate coating is still wet, sprinkle your chosen toppings directly onto the berry. Crushed graham crackers, chopped pistachios, sea salt flakes, rainbow sprinkles, crushed freeze-dried raspberries, and toasted coconut all look and taste wonderful. Apply toppings to each berry immediately after dipping — you have about 30 seconds before the chocolate starts to set.
Double-Dipped
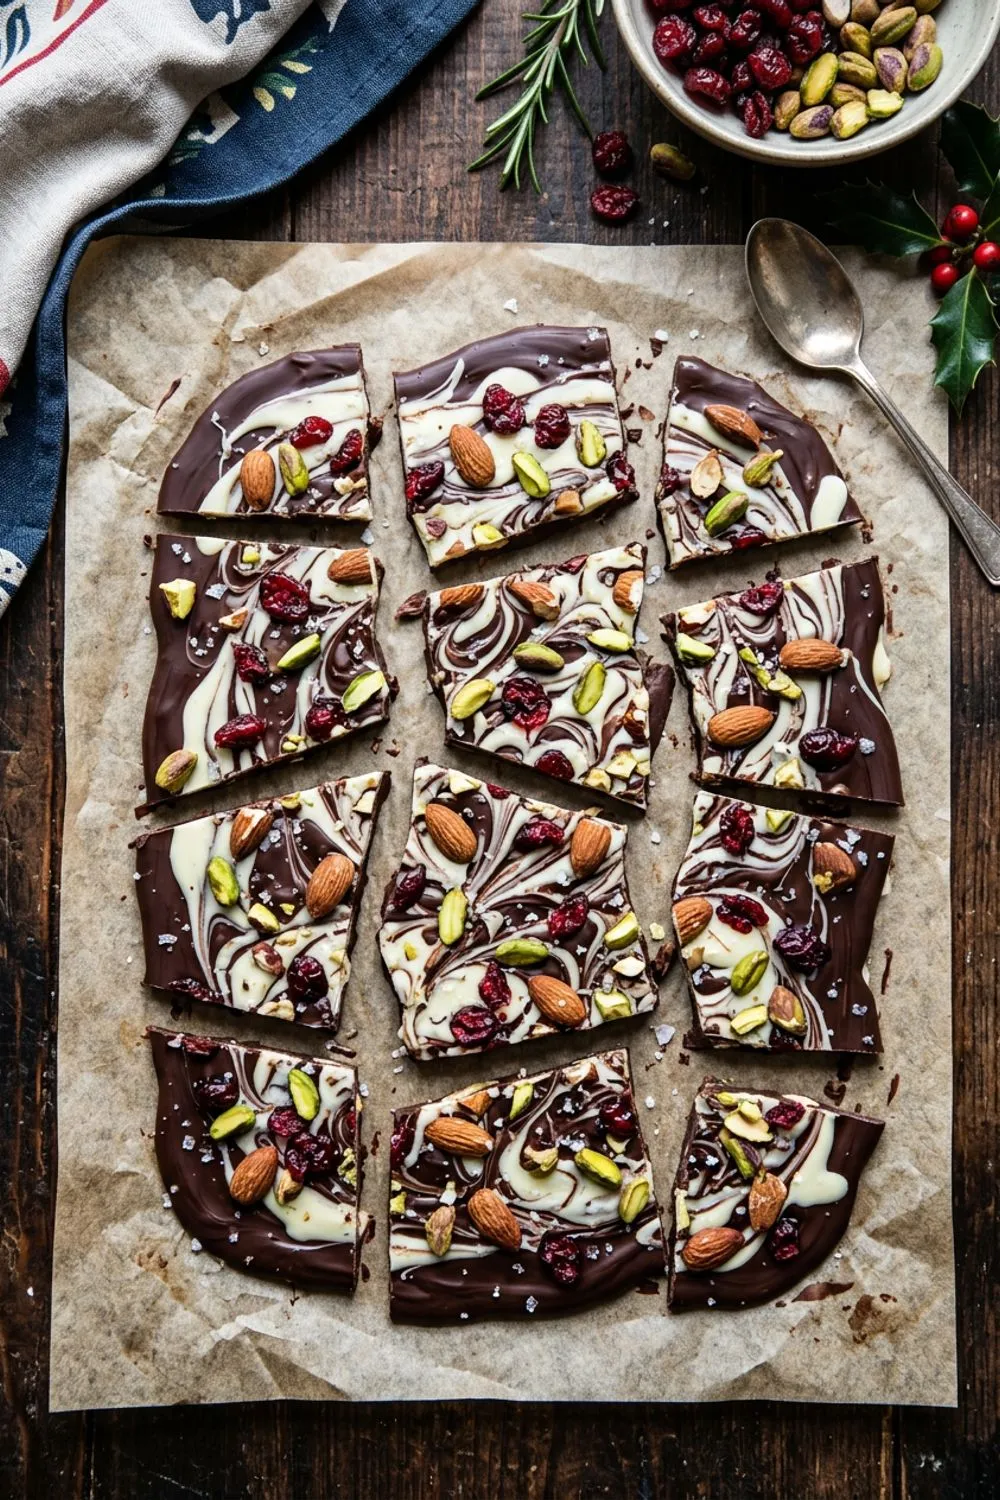
For a two-tone effect, dip the berry in white chocolate first, let it set completely, then dip the lower half in dark chocolate. The layered look is stunning and provides a variety of chocolate flavors in each bite. This technique also works with dark chocolate first and milk chocolate second, similar to the layered approach I use in my chocolate bark.
Choosing the Right Season and Source
Strawberry quality varies enormously throughout the year, and this matters more when the berries are the star of the dessert rather than hidden in a cake or blended into a sauce. The best strawberries for dipping are available from late spring through early summer, roughly April through June in most of the United States. During this window, you can find large, firm, fragrant berries with deep red color and bright green stems at farmers’ markets and well-stocked grocery stores.
Off-season strawberries — the pale, hard, oversized ones available in January — work in a pinch but will never match the flavor or appearance of peak-season fruit. If you are making these for a winter holiday or Valentine’s Day (which, inconveniently, falls in February), look for strawberries from California or Florida, which have longer growing seasons, or check if your grocery store carries greenhouse-grown varieties, which can be surprisingly good.
Regardless of season, look for berries that are uniformly red, firm to the touch, and have a strong strawberry fragrance. Avoid berries with white shoulders (the pale area near the stem), soft spots, or missing stems. The stem is both a practical handle for dipping and an attractive visual element on the finished product.
Organic versus conventional is a personal choice. Strawberries consistently appear on the Environmental Working Group’s “Dirty Dozen” list for pesticide residue, so organic may be worth the premium if that concerns you. Either way, wash them well and dry them even more thoroughly.
Making Them Perfect Every Time
Use a deep, narrow container for dipping. A tall, narrow bowl or a deep coffee mug gives you enough depth to dip the berries without needing a huge amount of chocolate. A wide, shallow bowl wastes chocolate and makes it harder to dip cleanly.
Work quickly but calmly. The chocolate will start to cool and thicken as you work. If it gets too thick, microwave it for 10 to 15 seconds to re-thin it. Do not add water to thin chocolate — it will seize.
Room temperature berries, room temperature chocolate. Cold berries straight from the fridge will cause the chocolate to set too quickly, before you can create a smooth coating. Let the berries come to room temperature after drying.
Two bites is the ideal size. Large strawberries dipped in chocolate should be about two bites. This gives you a perfect ratio of chocolate to fruit in each bite and looks more elegant than an oversized berry that requires multiple awkward bites.
Do not refrigerate longer than necessary. Chocolate covered strawberries are best at room temperature. Refrigeration firms the chocolate nicely, but prolonged cold causes the berries to sweat when brought back to room temperature, which loosens the chocolate shell. Use the fridge to set the chocolate for 10 minutes, then let them sit at room temperature until serving.
Wash your hands between colors. If you are doing multi-color decorating — dark chocolate dip followed by white chocolate drizzle — wash and thoroughly dry your hands between steps. Even a smear of dark chocolate on your fingers will contaminate white chocolate and create a muddy appearance rather than the clean contrast you want.
Serving and Presentation
Arrange the strawberries on a white platter or a slate board for the most dramatic presentation. Alternate the direction they face for visual interest. Scatter a few fresh berries, mint leaves, or rose petals around the platter for a romantic touch.
For a dessert board, pair chocolate covered strawberries with cubes of fudge, a bowl of chocolate ganache for additional dipping, shortbread cookies, and fresh fruit. This creates a stunning chocolate-themed spread that requires minimal baking.
Storage
At room temperature: Chocolate covered strawberries are best within 4 to 6 hours of making. The berries begin releasing moisture after that, which can cause the chocolate to loosen and weep.
In the refrigerator: Store in a single layer in an airtight container lined with paper towels for up to 24 hours. The chocolate may develop condensation when brought back to room temperature — let them sit for about 10 minutes before serving.
Do not freeze. Freezing ruptures the cell walls of the strawberries, and they become mushy and watery when thawed. The chocolate coating will also crack and separate.
Troubleshooting
Chocolate looks dull and streaky. This is called bloom — the cocoa butter has separated and risen to the surface. It happens when chocolate is not tempered or when it cools unevenly. The coconut oil in this recipe helps prevent bloom, but it can still occur in warm environments. The strawberries still taste excellent; the appearance is just less glossy. To prevent it, let the chocolate set in a cool, stable-temperature environment.
The chocolate coating cracked. This happens when the berry is cold and the chocolate contracts around it during setting. Make sure your strawberries are at room temperature before dipping. Also avoid refrigerating the dipped berries for too long — the cold causes the chocolate to contract while the berry’s moisture causes expansion, leading to cracks.
White spots appeared on the chocolate. This is sugar bloom, caused by moisture. Even after the chocolate has set, condensation from refrigeration or a humid environment can cause sugar to crystallize on the surface. To minimize this, bring refrigerated berries to room temperature gradually and serve in a climate-controlled environment.
The chocolate pooled at the base. You let too much excess chocolate drip onto the parchment. After dipping, hold the berry over the bowl for 3 to 5 seconds and give a gentle twist before placing it down. Some pooling is inevitable, but excess can be trimmed with a sharp knife once the chocolate has set.
When to Make Them
Valentine’s Day is the obvious occasion, but chocolate covered strawberries are welcome at virtually any event. Baby showers, bridal showers, birthday parties, dinner parties, and holiday gatherings all benefit from a platter of these beauties. They are also a wonderful treat to make with kids — messy, yes, but joyful and forgiving.
For a dessert table at a wedding or shower, elevate the strawberries on a tiered display stand and intersperse them with fresh flowers, mint sprigs, and additional fresh berries. The visual effect is breathtaking and requires nothing more than thoughtful arrangement.
For gift giving, place 6 to 8 strawberries in a small bakery box lined with wax paper. Tie with a ribbon and deliver the same day for the freshest result. Include a note that they should be eaten within 24 hours.
Never Miss a Sweet Recipe
Join 5,000+ home bakers and get new recipes straight to your inbox.
Ingredients
Main Ingredients
For Decoration
Instructions
- 1
Prepare the Strawberries
Wash the strawberries and dry them thoroughly — this is critical. Any moisture on the berries will cause the chocolate to seize and not adhere. Pat each berry with paper towels, then spread them on a clean kitchen towel and let them air dry for at least 15 minutes. The berries must be completely dry before dipping.
- 2
Set Up Your Station
Line a baking sheet with parchment paper or a silicone baking mat. Have your sprinkles and decorations ready in small bowls. Keep paper towels nearby. Clear enough counter space to work comfortably.
- 3
Melt the Chocolate
Combine the chopped semi-sweet chocolate and coconut oil in a microwave-safe bowl. Microwave in 30-second intervals, stirring after each, until completely smooth — usually 3 to 4 intervals. Alternatively, melt over a double boiler. The coconut oil keeps the chocolate fluid for easier dipping and gives the finished coating a satisfying snap.
- 4
Dip the Strawberries
Hold each strawberry by the stem or leaves. Dip it into the melted chocolate at an angle, submerging about two-thirds of the berry. Lift it out slowly, let the excess drip off for a few seconds, then gently twist the berry as you lift to create a clean edge. Place on the prepared baking sheet.
- 5
Decorate
If adding sprinkles or crushed nuts, apply them immediately after dipping while the chocolate is still wet. For white chocolate drizzle, melt the white chocolate with 1 teaspoon of coconut oil, let it cool for 2 minutes, then drizzle over the dipped berries using a fork or a piped line from a small zip-lock bag with the corner snipped off.
- 6
Set and Serve
Let the strawberries sit at room temperature for 20–30 minutes until the chocolate is completely set, or refrigerate for 10 minutes for faster setting. Serve within 4–6 hours for the best quality. Bring refrigerated berries to room temperature for 10 minutes before serving.
Nutrition Information
Per serving (serves 20). Values are approximate.
| Calories | 65 calories |
| Total Fat | 4g |
| Saturated Fat | 2g |
| Carbohydrates | 8g |
| Sugar | 6g |
| Protein | 1g |
| Sodium | 5mg |
| Fiber | 1g |
* Percent Daily Values are based on a 2,000 calorie diet. Your daily values may be higher or lower depending on your calorie needs. Nutritional information is an estimate and may vary.
Frequently Asked Questions
Why won't the chocolate stick to my strawberries?
Moisture is almost always the culprit. Strawberries must be completely bone-dry before dipping. Even a tiny drop of water can cause chocolate to seize or slide off the berry. Wash them well ahead of time and dry them thoroughly.
Can I use milk chocolate or white chocolate for dipping?
Absolutely. Milk chocolate creates a sweeter, milder coating. White chocolate is beautiful for a different look, especially when drizzled with dark chocolate. Any type of chocolate works — just add the coconut oil to keep it fluid.
How far ahead can I make chocolate covered strawberries?
They are best eaten the same day they are made. Strawberries release moisture over time, which can cause the chocolate to weep or loosen. If making ahead, store in the refrigerator for up to 24 hours, but expect some condensation when they return to room temperature.
Do I need to temper the chocolate?
For the best snap and gloss, yes. But the coconut oil shortcut in this recipe produces excellent results without tempering. The coating will be slightly softer than tempered chocolate but still looks beautiful and tastes wonderful.

Reader Reviews
Based on 267 reviews