No-Bake Desserts
Rice Krispie Treats
The Case for Homemade Rice Krispie Treats
I’m going to tell you something that might sound dramatic, but I mean it with my whole heart: homemade rice krispie treats and store-bought rice krispie treats are not the same food. They share a name and a few ingredients, but the resemblance ends there. The first time I made these from scratch and took a bite of that warm, gooey, impossibly chewy square, I understood why this recipe has been passed down through generations of American families since the 1940s.
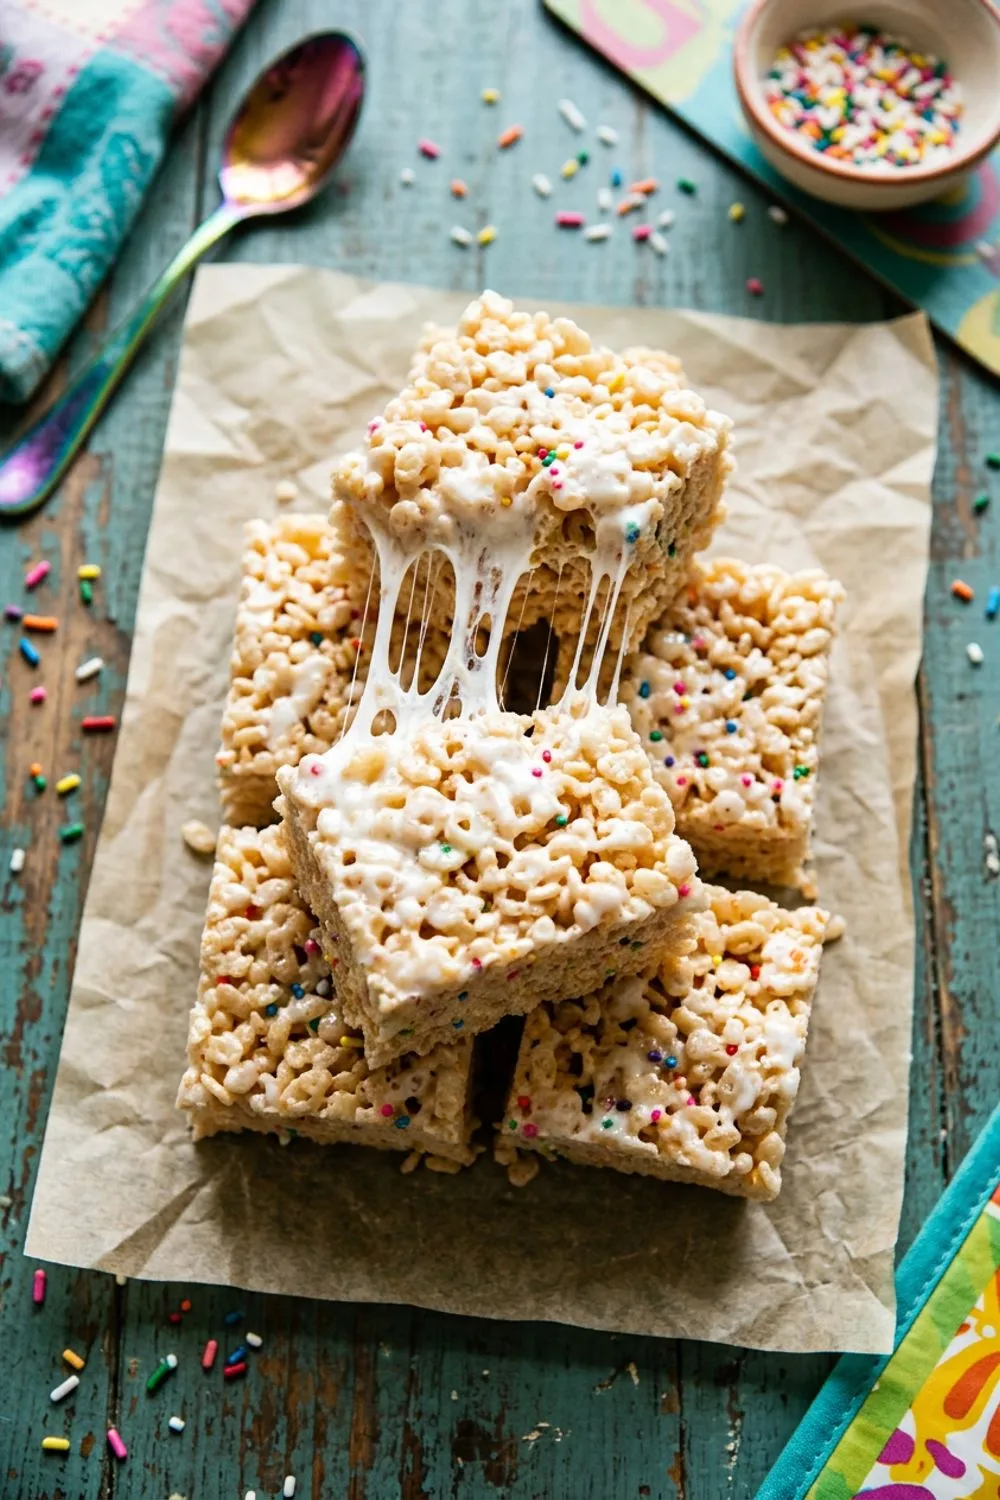
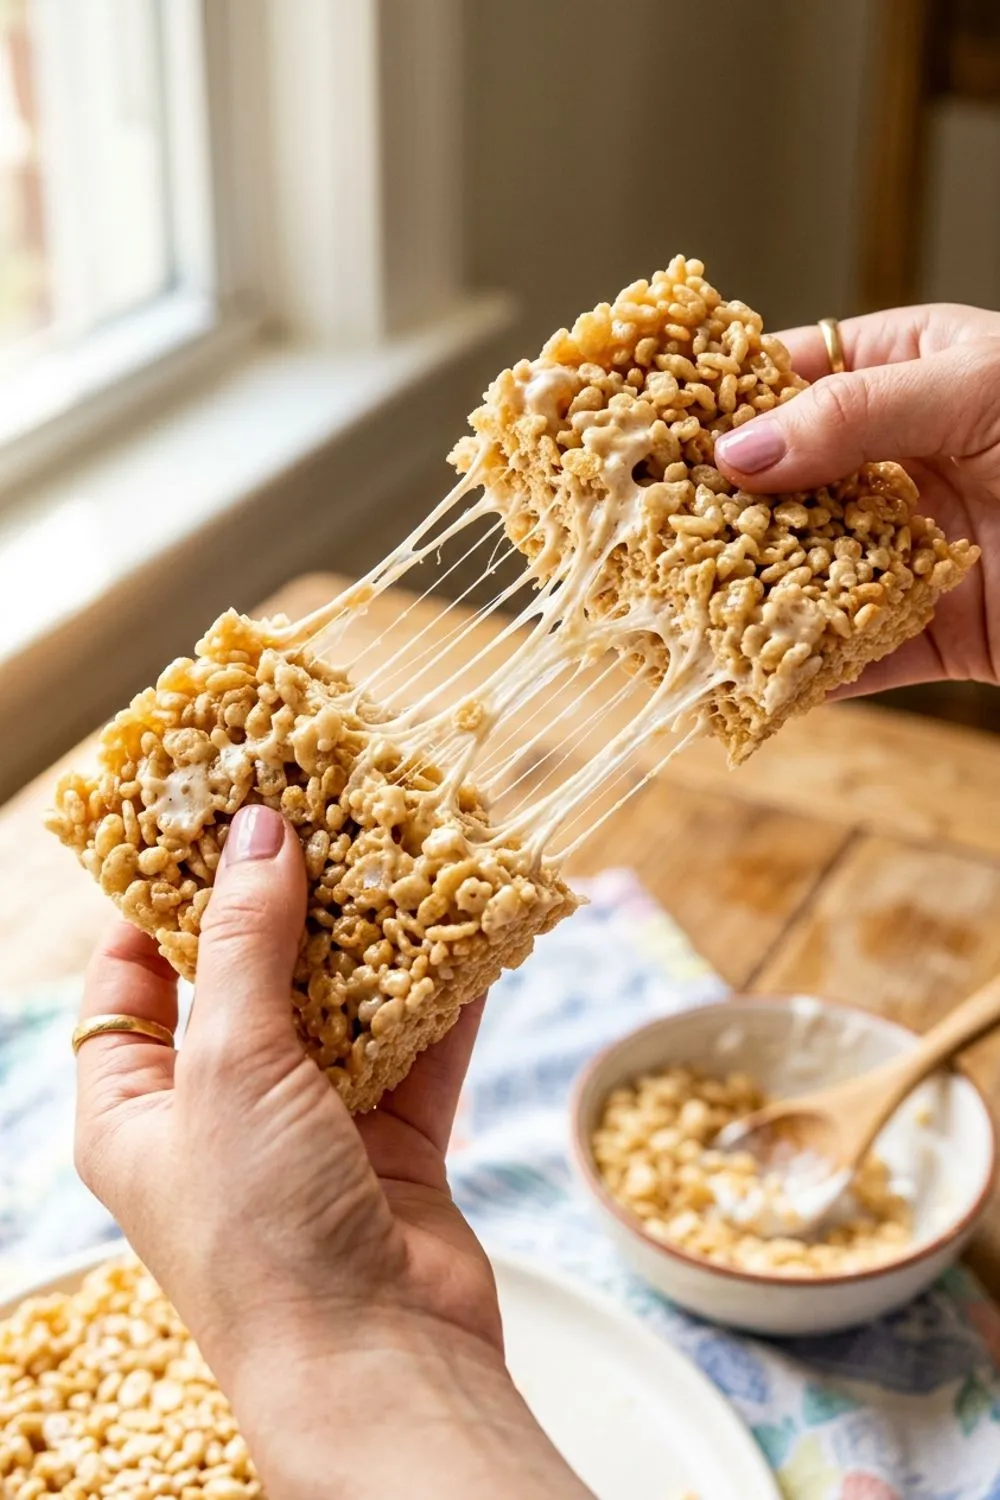
The packaged treats you buy at the store are convenient, sure. But they’re dense, slightly waxy, and taste mainly of sugar and preservatives. Homemade rice krispie treats are soft, stretchy, gooey, and taste like buttery marshmallow with a satisfying crunch. The marshmallow pulls in strings when you break one apart. The butter perfumes the whole kitchen as it browns. And the whole process takes about ten minutes from start to finish.
This is one of those recipes where the simplicity is the whole point. Five ingredients, one pot, no oven, and you get a dessert that makes adults nostalgic and kids ecstatic in equal measure. It’s the great equalizer of the dessert world — no one is too fancy for a good rice krispie treat, and no one is too young to help make them.
I make these at least twice a month. Sometimes for bake sales, sometimes for after-school snacks, sometimes because it’s raining and the kids need something to do, and sometimes just because I want one. There’s no wrong reason and no wrong time for a rice krispie treat.
The Secret to Gooey, Not Hard
Here’s the thing that separates an incredible rice krispie treat from a disappointing one: restraint. Most people use too much heat, stir too aggressively, and press the mixture into the pan too firmly. The result is a treat that’s dense, hard, and crunchy in all the wrong ways. With just a few adjustments to the standard recipe, you can make treats that are chewy, gooey, and soft enough that they almost fall apart when you pick them up — which is exactly how they should be.
The Brown Butter Advantage
Most recipes just tell you to melt the butter and move on. I take it one step further by letting the butter cook for about a minute after it melts. During that time, the milk solids in the butter toast and turn golden, creating what’s called brown butter — or beurre noisette, if you want to be fancy about it.
Brown butter has a nutty, toasty, almost caramel-like flavor that standard melted butter simply doesn’t have. It adds a depth and sophistication to the treats that people can taste but can’t quite identify. When someone tells me these are “the best rice krispie treats I’ve ever had,” I always silently credit the brown butter.
Watch the butter carefully as it cooks — it goes from golden to burned very quickly. Swirl the pot occasionally and as soon as you see golden brown bits on the bottom and smell a nutty aroma, reduce the heat and add the marshmallows immediately.
The 75% Rule
This is my most important tip: don’t melt the marshmallows all the way. Stir them over low heat until they’re about 75% melted — you should still see small lumps and pieces throughout the mixture. Those unmelted marshmallow pockets become little gooey surprises throughout the finished treats, giving them that irresistible stretchy, pulled-apart texture.
If you melt the marshmallows completely until perfectly smooth, the mixture becomes too uniform and produces treats that are denser and firmer once cooled. The partially-melted approach keeps everything lighter and more texturally interesting.
Gentle Hands
When you press the mixture into the pan, use the gentlest touch you can manage. I’m talking about guiding the mixture into place rather than pushing it flat. Lightly butter your hands or spatula and barely press — the surface should look slightly rough and uneven, not smooth and compressed.
The more you press, the more air you squeeze out and the more you crush the cereal. Dense treats are hard treats. Keep it loose and airy, and you’ll be rewarded with treats that are tender and chewy from edge to edge.
Getting the Ratio Right
The classic Kellogg’s recipe on the back of the cereal box calls for 3 tablespoons of butter, one 10-ounce bag of marshmallows, and 6 cups of cereal. My version uses 4 tablespoons of butter instead. That extra tablespoon makes a noticeable difference — the treats are more flavorful, more moist, and hold together better.
I’ve also tested making them with more marshmallows (gooier but too sweet and sticky) and more cereal (crunchier but drier). The 10-ounce bag to 6 cups ratio is the sweet spot. It gives you enough marshmallow to coat every piece of cereal generously without drowning it.
For the cereal, stick with the classic puffed rice variety. Generic brands work just as well as name-brand — the key is freshness. Stale cereal absorbs moisture from the marshmallow differently and produces a softer, soggier treat. Give the cereal a taste before you start. If it’s still crispy and snappy, you’re good to go.
Flavor Variations That Actually Work
The basic recipe is perfection, but sometimes you want to shake things up. Here are the variations I’ve actually tested and loved, not just imagined:
Chocolate Drizzle: Make the basic treats, let them set, then drizzle melted chocolate (dark, milk, or white) over the top in thin lines. Pop the pan in the fridge for 10 minutes to set the chocolate. This turns them from casual snack to semi-fancy dessert.
Birthday Cake: Fold in 1/3 cup of rainbow sprinkles with the cereal. Use vanilla marshmallows if you can find them, or add an extra 1/2 teaspoon of vanilla. These are spectacular for kids’ birthday parties and couldn’t be simpler.
Peanut Butter: Stir 1/3 cup of creamy peanut butter into the marshmallow mixture before adding the cereal. The peanut butter adds richness and a subtle salty-sweet thing that’s completely addictive. Drizzle with chocolate for the full experience.
S’mores: Use chocolate-flavored rice cereal, fold in 1/2 cup of mini chocolate chips with the marshmallows, and top the pressed treats with a layer of graham cracker crumbs mixed with a tablespoon of melted butter. Press the crumbs gently onto the surface and torch with a kitchen torch for dramatic effect.
Salted Caramel: Drizzle warmed caramel sauce over the pressed treats while they’re still slightly warm, then sprinkle with flaky sea salt. The salt-sweet combination is addictive in the truest sense of the word.
Matcha: Sift 1 tablespoon of matcha powder into the marshmallow mixture before adding the cereal. The treats turn a beautiful pale green and have a subtle earthy note that’s surprisingly good.
Making Them with Kids
Rice krispie treats are one of the best recipes for cooking with children, and I say this as a parent who has cleaned a lot of marshmallow off a lot of surfaces. The recipe is forgiving, the steps are simple, and kids get a huge kick out of watching the marshmallows melt and then squishing the mixture into the pan.
A few tips for kid-friendly baking: melt the butter and marshmallows yourself (hot sugar is no joke), then let the kids take over for adding the cereal and pressing into the pan. Give them lightly buttered hands and let them press the mixture however they want — a few thin spots and thick spots add character.
The treats are ready to eat in about 20 minutes, which is roughly the limit of most kids’ patience with baking projects. Unlike cookies or cake, there’s no long wait for the oven, and the near-instant gratification keeps everyone engaged and excited.
Presentation Ideas
For everyday snacking, just cut them into squares and pile them on a plate. But for bake sales, parties, or gifts, a little extra effort goes a long way:
Cookie cutter shapes: While the treats are still slightly warm and pliable, press cookie cutters firmly through the slab. Hearts for Valentine’s Day, stars for the Fourth of July, or gingerbread men for the holidays. The scraps are the cook’s treat.
Dipped treats: Cut into bars, push a popsicle stick or lollipop stick into one end, and dip halfway in melted chocolate. Set on parchment to cool. These are absolute showstoppers at bake sales.
Layered treats: Press half the mixture into the pan, add a thin layer of peanut butter or Nutella, then press the remaining mixture on top. Cut into squares for a surprise filling.
Storage and Freshness
Rice krispie treats are at their absolute best within the first few hours of being made. They’re softest, gooiest, and most aromatic when they’re still slightly warm. If you can serve them same-day, do.
That said, they keep reasonably well at room temperature in an airtight container for about 3 days. After that, they start to dry out and harden regardless of how perfectly you made them — that’s just the nature of marshmallow exposed to air.
For longer storage, wrap individual treats tightly in plastic wrap and store in a freezer bag. They freeze beautifully for up to 6 weeks and thaw in about 15 minutes at room temperature. I like to keep a stash in the freezer for school lunchboxes — they’re thawed and perfect by lunchtime.
One trick to extend freshness: store the treats with a slice of white bread in the airtight container. The bread donates moisture to keep the marshmallow soft. Replace the bread slice when it gets stale.
A Short History of an American Classic
Rice Krispie Treats were invented in 1939 by Malitta Jensen and Mildred Day, home economists working in the Kellogg’s test kitchen. The original recipe was created as a fundraising idea for the Camp Fire Girls, and it appeared on the back of the Rice Krispies box shortly afterward. It hasn’t left since.
What’s remarkable about this recipe is how little it’s changed in nearly nine decades. The original formula — butter, marshmallows, rice cereal — is essentially the same one I use today, with my small additions of vanilla and browned butter being the only real departures. The simplicity that made it a Depression-era crowd-pleaser is the same simplicity that makes it a staple in modern kitchens.
The treats have transcended their humble origins to become a genuine cultural touchstone. They appear at every American bake sale, school event, and potluck supper. Professional pastry chefs have elevated them with chocolate drizzles and artisan marshmallows. They’ve been flavored with matcha, studded with freeze-dried fruit, and dipped in white chocolate. But at their core, they remain exactly what they’ve always been: a three-ingredient confection that anyone can make and everyone loves.
Scaling for Crowds
Need to make a bigger batch? The recipe scales linearly and easily:
Double batch (32 treats): Use an 11x15 inch sheet pan, 8 tablespoons butter, 20 oz marshmallows, and 12 cups cereal. You’ll need a very large pot — a stockpot works well.
Half batch (8 treats): Use an 8x8 inch pan, 2 tablespoons butter, 5 oz marshmallows, and 3 cups cereal. Perfect for a small family or when you don’t trust yourself with 16 treats in the house.
Bake sale quantity: For a typical bake sale, I make a triple batch in a full sheet pan and cut into small squares. This gives you about 48 pieces — enough to sell at a dollar each and make a respectable contribution.
The technique stays exactly the same regardless of batch size. The only adjustment is pot size — you need enough room to fold the cereal without it spilling over the sides.
Why These Are Better Than the Back-of-Box Recipe
I mentioned earlier that my recipe uses an extra tablespoon of butter and includes vanilla and salt, but I want to explain why those small changes matter so much. The Kellogg’s recipe is a perfectly functional formula, but it was designed to be as simple as possible — three ingredients, no frills. My version adds three more components and one technique tweak that collectively transform the result from “fine” to “phenomenal.”
The extra butter contributes flavor and moisture. Marshmallow on its own is sweet but one-dimensional. Butter rounds out that sweetness with a rich, dairy depth and keeps the finished treats from being dry or chalky. The brown butter step takes it further by introducing nutty, caramelized notes that add complexity without any extra effort.
Vanilla extract does what it always does — amplifies and rounds out every other flavor in the mix. Without it, the treats taste like sugar and cereal. With it, they taste like a cohesive, intentional dessert. One teaspoon is all it takes.
And the salt is the secret weapon. A quarter teaspoon of fine sea salt in a batch of 16 treats is barely perceptible as saltiness, but it does something critical: it balances the sweetness and makes the marshmallow flavor pop. Without salt, sugar tastes flat. With just a whisper of salt, everything comes alive. This is the same principle that makes salted caramel so addictive, applied in a much more subtle way.
The 75% melting technique — leaving small lumps of marshmallow rather than melting to a perfectly smooth liquid — is probably the single biggest upgrade. Those little marshmallow pockets soften during cooling but retain a slightly different texture from the smooth marshmallow coating on the cereal. The result is a treat with interesting textural variation: crispy cereal, smooth marshmallow glaze, and soft marshmallow pockets that pull apart in satisfying strings.
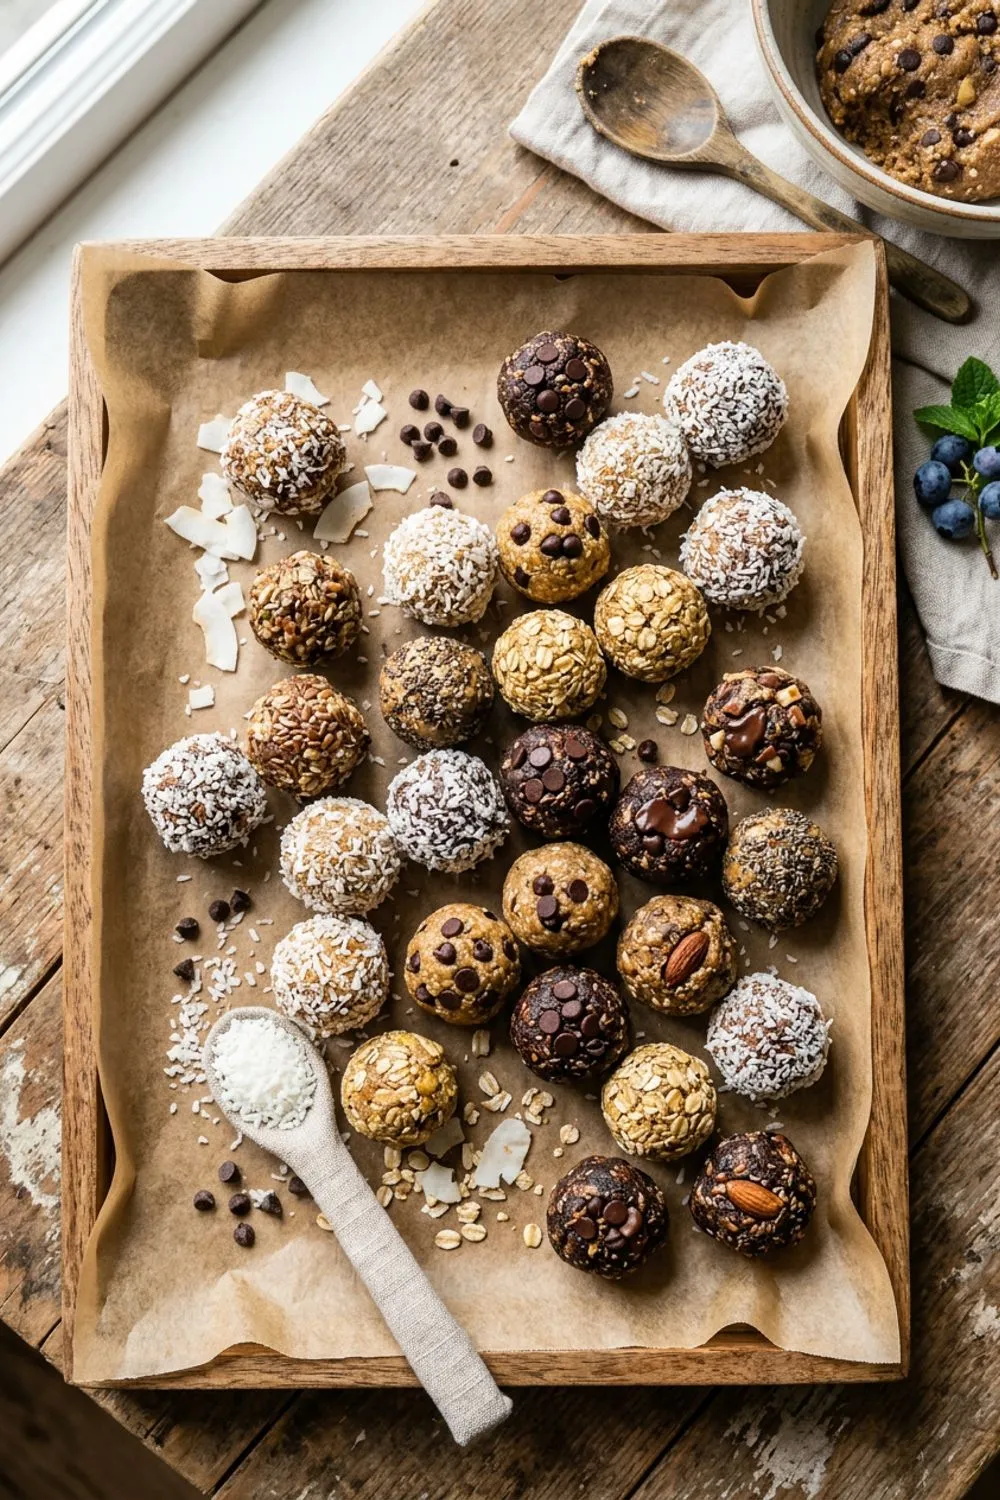
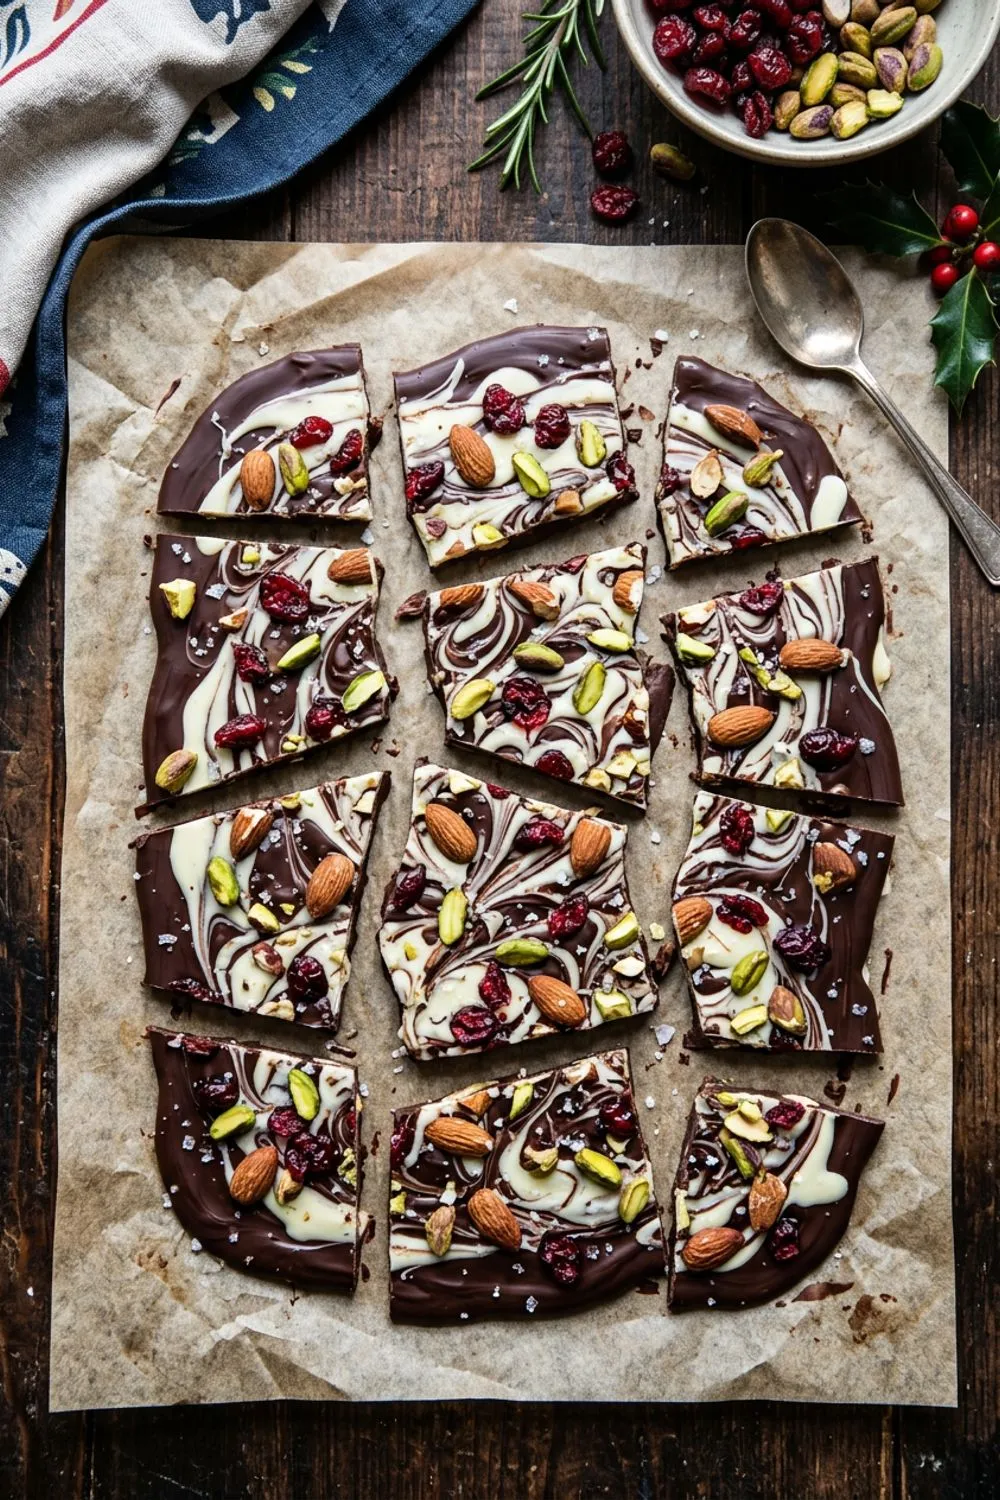
If you enjoy quick, easy no-bake snacks, try my energy balls next — they’re just as simple but packed with protein and fiber. And for another fun, family-friendly treat that uses melted chocolate, check out my chocolate bark recipe, which is endlessly customizable and perfect for gifting.
Never Miss a Sweet Recipe
Join 5,000+ home bakers and get new recipes straight to your inbox.
Ingredients
Instructions
- 1
Prepare the pan
Line a 9x13 inch baking pan with parchment paper, leaving a few inches of overhang on the long sides for easy removal. Lightly grease the parchment with butter or cooking spray.
- 2
Melt the butter
In a large pot or Dutch oven over medium-low heat, melt the butter, swirling the pot occasionally. Let it cook for about 1 minute after melting until it starts to smell nutty and turn light golden — this quick browning adds a beautiful toasty depth to the finished treats.
- 3
Melt the marshmallows
Reduce heat to low and add the marshmallows. Stir continuously with a silicone spatula or wooden spoon until the marshmallows are about 75% melted — you should still see some small lumps and pieces. Those unmelted marshmallow pockets will create extra-gooey spots throughout the treats. Stir in the vanilla extract and salt.
- 4
Add the cereal
Remove the pot from heat completely. Add the rice cereal all at once and fold gently with the spatula until every piece is coated with the marshmallow mixture. Use large, sweeping motions and avoid pressing or compacting — the goal is to coat the cereal while keeping as much air as possible.
- 5
Press into the pan
Transfer the mixture to the prepared pan. Using a lightly greased spatula or your buttered fingers, gently press the mixture into an even layer. The key word here is gently — pressing too firmly will crush the cereal and give you dense, hard treats instead of light, chewy ones. Leave the surface slightly rough and uneven rather than perfectly smooth.
- 6
Cool and cut
Let the treats cool at room temperature for at least 20 minutes until set. Using the parchment overhang, lift the entire slab out of the pan onto a cutting board. Cut into 16 squares with a sharp knife lightly greased with butter or cooking spray to prevent sticking.
Nutrition Information
Per serving (serves 16). Values are approximate.
| Calories | 150 calories |
| Total Fat | 4g |
| Saturated Fat | 2.5g |
| Carbohydrates | 28g |
| Sugar | 14g |
| Protein | 1g |
| Sodium | 95mg |
| Fiber | 0g |
* Percent Daily Values are based on a 2,000 calorie diet. Your daily values may be higher or lower depending on your calorie needs. Nutritional information is an estimate and may vary.
Frequently Asked Questions
Why are my rice krispie treats so hard?
Hard treats are almost always caused by pressing them too firmly into the pan, using too much heat when melting the marshmallows (which causes them to become stiff when cooled), or using stale cereal. Use low heat, melt only until 75% smooth, and press very gently.
Can I make these in the microwave?
Yes! Melt the butter and marshmallows together in a large microwave-safe bowl in 30-second intervals, stirring between each, until about 75% melted. Stir in vanilla and salt, then fold in the cereal. Same results, slightly less control over the melt.
How do I store rice krispie treats?
Store at room temperature in an airtight container for up to 3 days. They start to dry out and harden after that. For longer storage, wrap individual treats tightly in plastic wrap and freeze for up to 6 weeks — they thaw in about 15 minutes.
Can I add mix-ins?
Absolutely! Fold in 1/2 cup of chocolate chips, sprinkles, M&Ms, crushed Oreos, or mini peanut butter cups after adding the cereal. For a drizzle, let the treats set first, then drizzle melted chocolate over the top.
What makes homemade better than store-bought?
Store-bought rice krispie treats use corn syrup as the main binder, which gives them a dense, almost waxy texture. Homemade treats use real marshmallows and butter, which gives them that signature gooey stretch and buttery flavor that packaged versions simply cannot replicate.

Reader Reviews
Based on 234 reviews